社区微信群开通啦,扫一扫抢先加入社区官方微信群

社区微信群
系列文章目录
Nacos快速入门(1):启动Nacos Server
Nacos快速入门(2):整合Spring
Nacos快速入门(3):整合SpringBoot
Nacos快速入门(4):整合SpringCloud
Nacos整合示例完整代码地址:https://github.com/mrKyleWang/nacos_demo
<!-- 1. nacos-配置管理功能依赖 -->
<dependency>
    <groupId>com.alibaba.boot</groupId>
    <artifactId>nacos-config-spring-boot-starter</artifactId>
    <version>0.2.1</version>
</dependency>
<!-- 2. nacos-服务发现功能依赖 -->
<dependency>
    <groupId>com.alibaba.boot</groupId>
    <artifactId>nacos-discovery-spring-boot-starter</artifactId>
    <version>0.2.1</version>
</dependency>
示例场景:模拟用户服务获取配置中心的username属性,在getUser接口中返回
nacos.config.server-addr=127.0.0.1:8848
@SpringBootApplication
@NacosPropertySource(dataId = "example", autoRefreshed = true)
public class NacosBootUserApplication {

	public static void main(String[] args) {
		SpringApplication.run(NacosBootUserApplication.class, args);
	}

}
@Controller
public class UserController {

	@NacosValue(value = "${username:null}", autoRefreshed = true)
	private String username;

	@RequestMapping(value = "/getUser")
	@ResponseBody
	public String getUser() {
		return username;
	}
}
curl -X GET "http://127.0.0.1:8082/user/getUser"
null
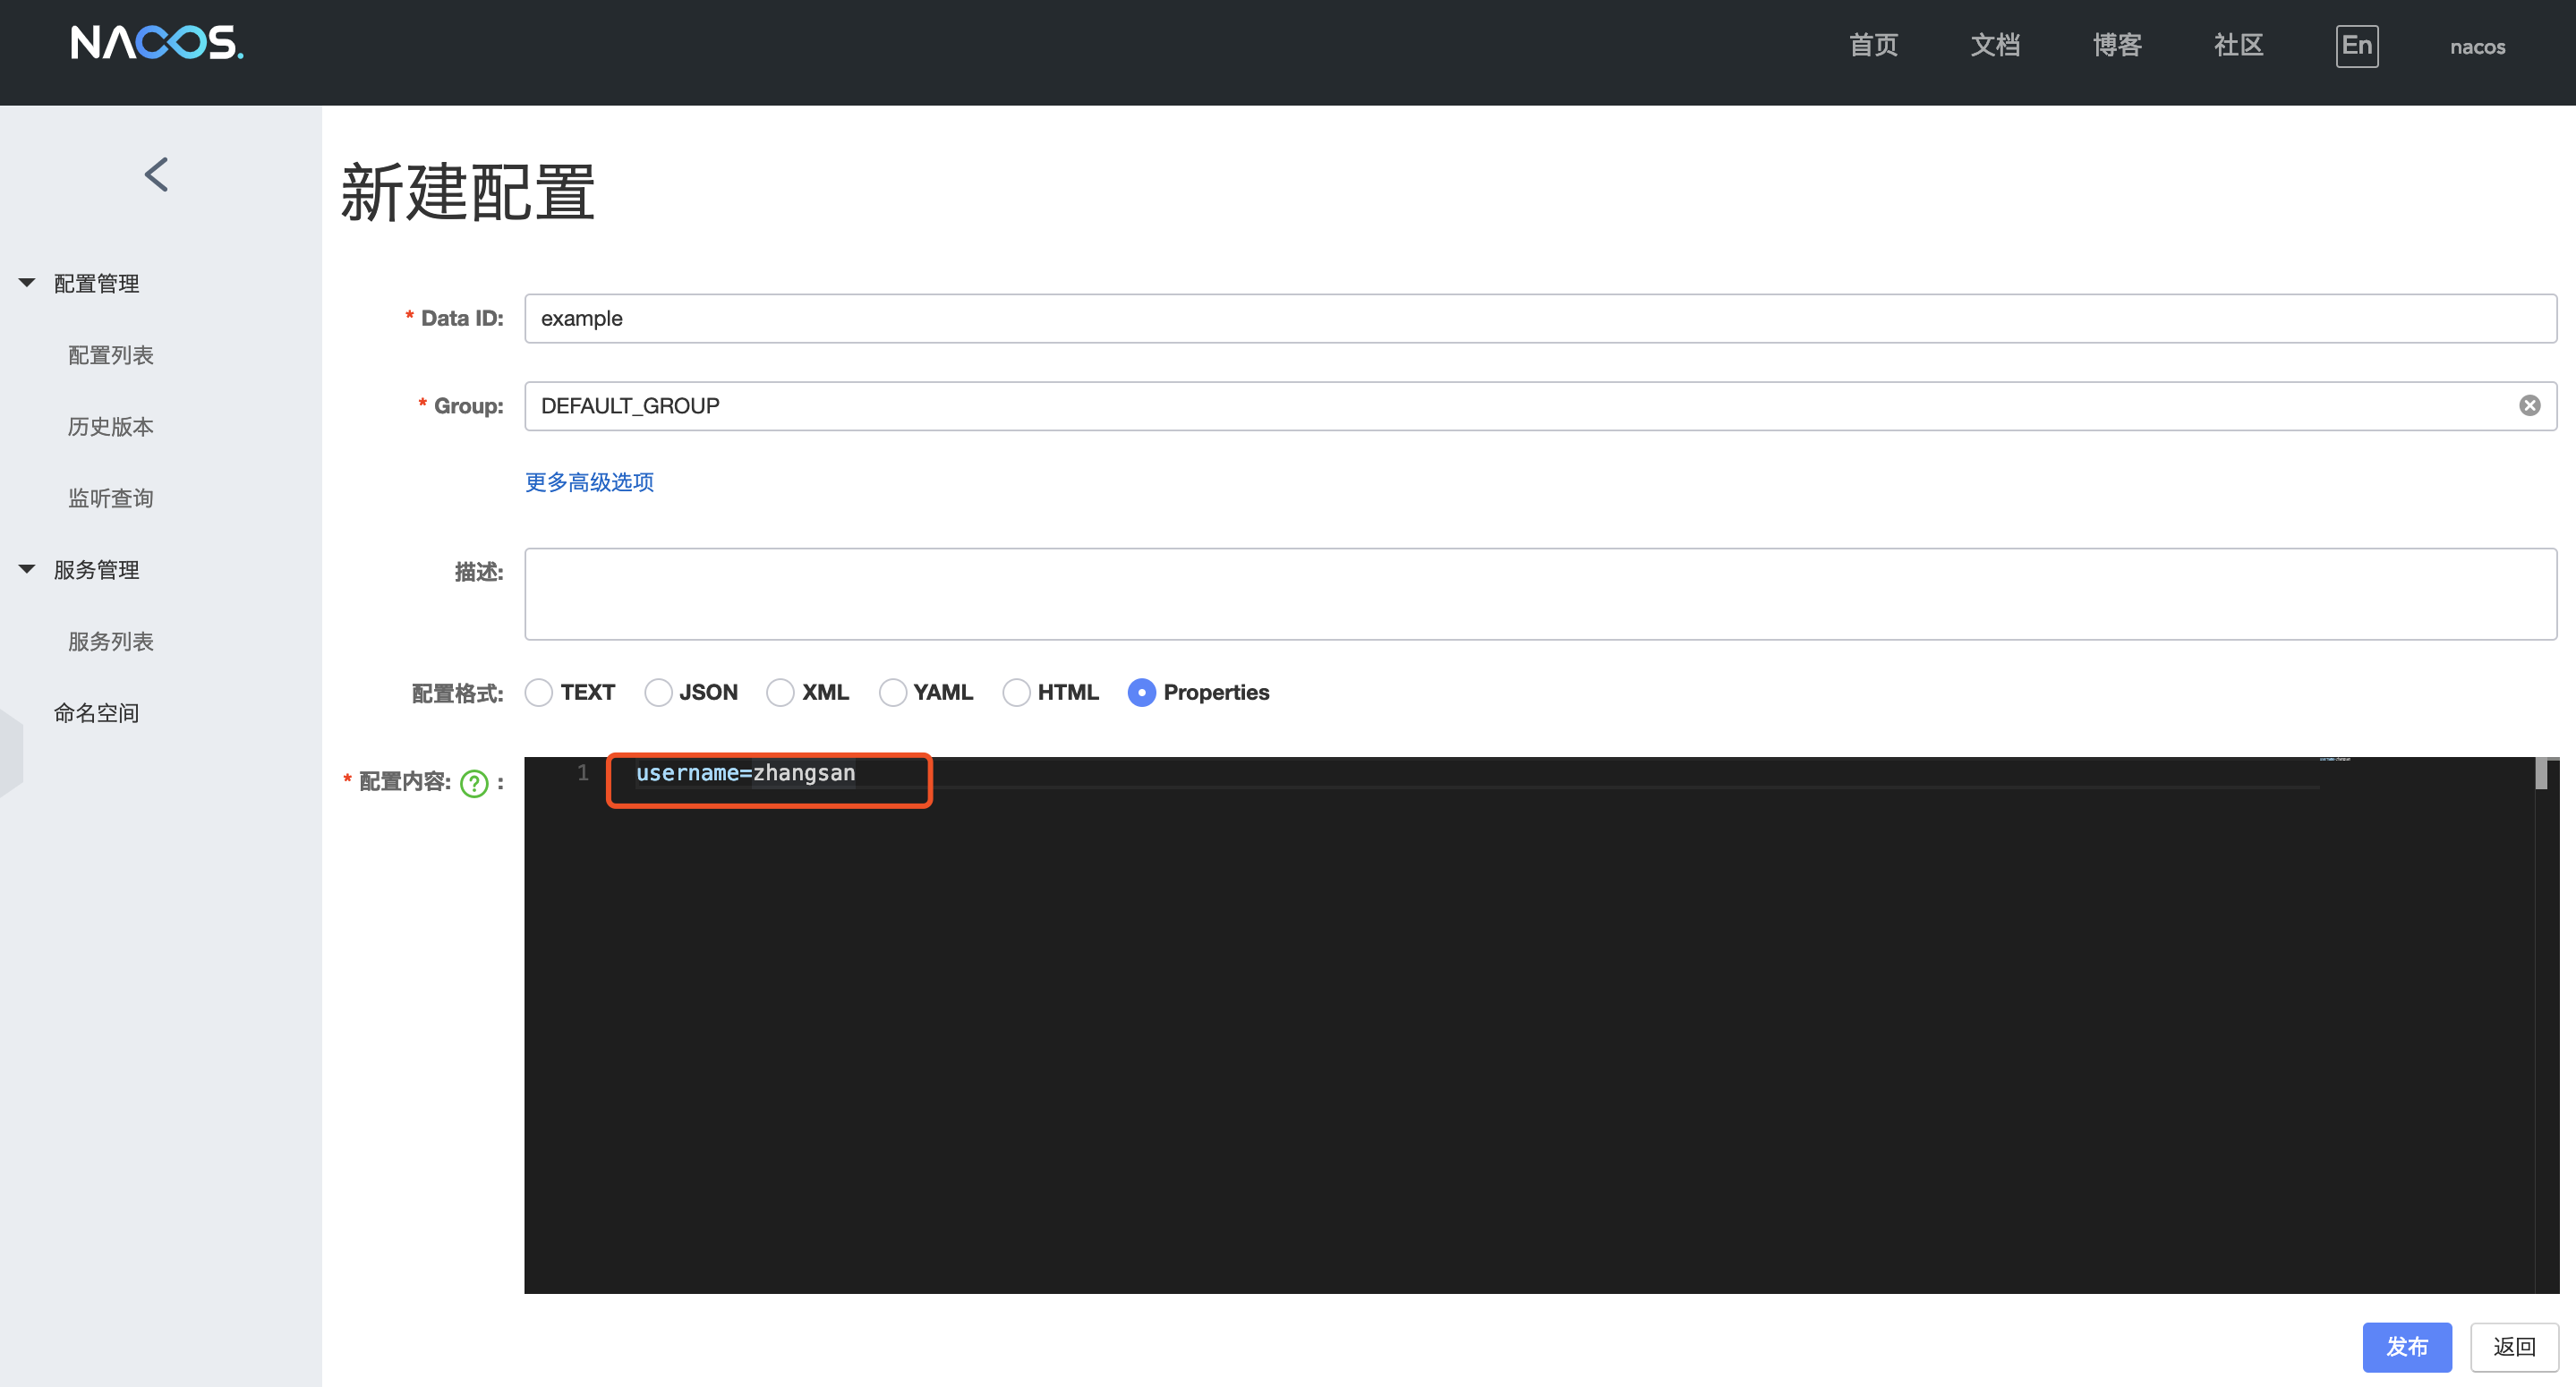
curl -X POST "http://127.0.0.1:8848/nacos/v1/cs/configs?dataId=example&group=DEFAULT_GROUP&content=username=zhangsan"
curl -X GET "http://127.0.0.1:8082/user/getUser"
zhangsan
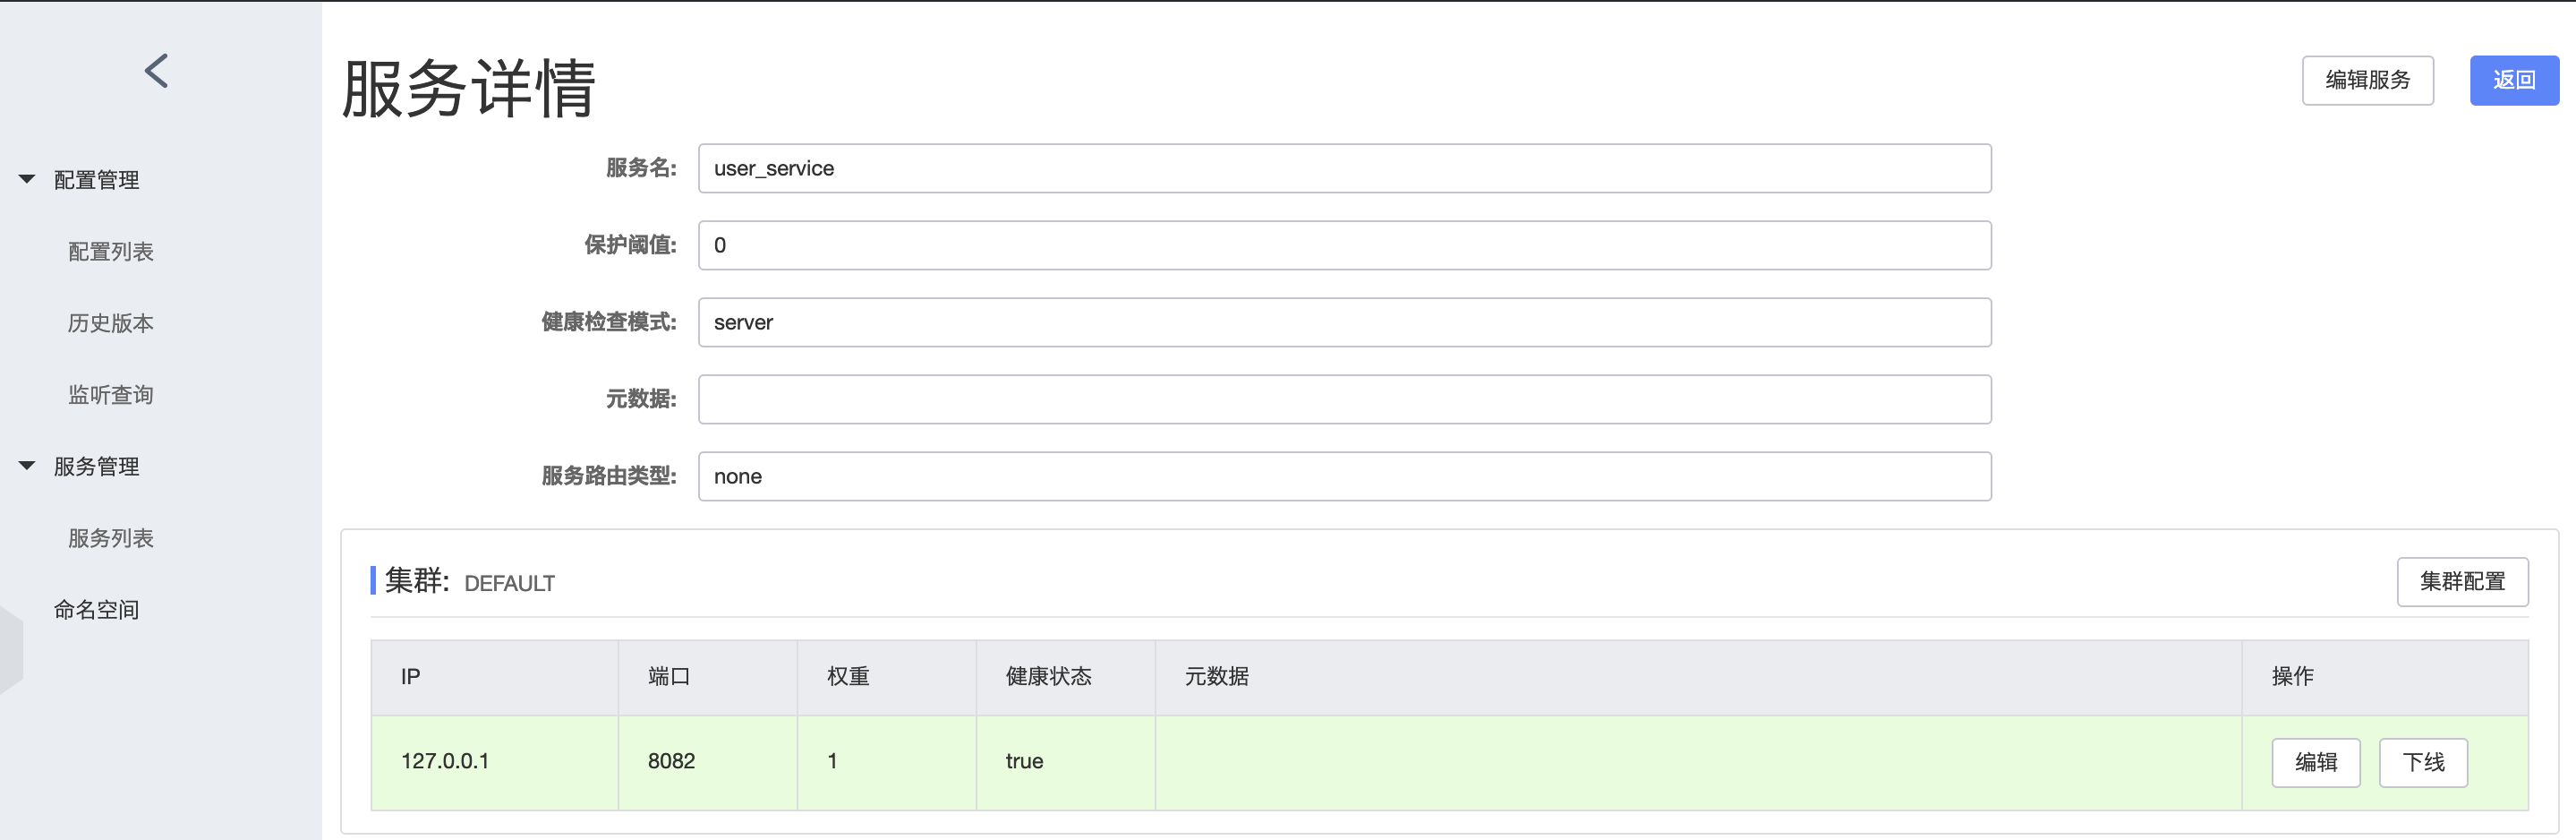
示例场景:将上述用户服务注册到nacos
server.port=8082
server.servlet.context-path=/user
spring.application.name=user_service
nacos.config.server-addr=127.0.0.1:8848
nacos.discovery.server-addr=127.0.0.1:8848
@Configuration
public class NacosRegisterConfiguration {

	@Value("${server.port}")
	private int serverPort;

	@Value("${spring.application.name}")
	private String applicationName;

	@NacosInjected
	private NamingService namingService;

	@PostConstruct
	public void registerInstance() throws NacosException {
		namingService.registerInstance(applicationName, "127.0.0.1", serverPort, "DEFAULT");
	}
}

示例场景:模拟订单服务在getOrder接口中通过nacos服务发现调用user_server的getUser接口获取username,返回结果
nacos.discovery.server-addr=127.0.0.1:8848
@Controller
public class OrderController {

	private static final Logger logger = LoggerFactory.getLogger(OrderController.class);

	@NacosInjected
	private NamingService namingService;

	private RestTemplate restTemplate = new RestTemplate();

	@RequestMapping(value = "/getOrder")
	@ResponseBody
	public Map<String, Object> getOrder() {
		Map<String, Object> order = new HashMap<>();
		order.put("username", queryUserName());
		order.put("money", 100.00);
		return order;
	}

	private String queryUserName() {
		try {
			if (namingService != null) {
				// 选择user_service服务的一个健康的实例(可配置负载均衡策略)
				Instance instance = namingService.selectOneHealthyInstance("user_service");
				// 拼接请求接口url并请求选取的实例
				String url = "http://" + instance.getIp() + ":" + instance.getPort() + "/user/getUser";
				ResponseEntity<String> entity = restTemplate.getForEntity(url, String.class);
				return entity.getBody();
			}
		} catch (Exception e) {
			logger.error("query user error", e);
		}
		return null;
	}
}
curl -X GET "http://127.0.0.1:8081/order/getOrder"
{"money":100.0,"username":"zhangsan"}
如果觉得我的文章对您有用,请随意打赏。你的支持将鼓励我继续创作!
