社区微信群开通啦,扫一扫抢先加入社区官方微信群

社区微信群
导入所需要的依赖
		<!-- SpringBoot Web容器 -->
		<dependency>
			<groupId>org.springframework.boot</groupId>
			<artifactId>spring-boot-starter-web</artifactId>
		</dependency>
			<!-- SpringBoot 核心包 -->
		<dependency>
			<groupId>org.springframework.boot</groupId>
			<artifactId>spring-boot-starter</artifactId>
		</dependency>
		<!-- websocket-->
		<dependency>
			<groupId>org.springframework.boot</groupId>
			<artifactId>spring-boot-starter-websocket</artifactId>
		</dependency>
在springboot 里面是有集成websocket 的所以对于webscoket 的配置是相对比较简单的。
// 这个注解就是websocket 的连接 和 @Controller + @Mapping
@ServerEndpoint("/deviceServer/{Id}")
@Component // 表示未spring的组件
public class WebSocketServer {
	@Autowired
    RedisCache cacheService
	   /**静态变量,用来记录当前在线连接数。应该把它设计成线程安全的。*/
    private volatile static int onlineCount = 0;
    /**concurrent包的线程安全Set,用来存放每个客户端对应的MyWebSocket对象。*/
    private static ConcurrentHashMap<String,WebSocketServer> webSocketMap = new ConcurrentHashMap<>();
    /**与某个客户端的连接会话,需要通过它来给客户端发送数据*/
    private Session session;
    /**接收userId*/
    private String userId="";

 /**
     * 连接建立成功调用的方法*/
    @OnOpen
    public void onOpen(Session session, @PathParam("Id") String userId) {
        this.session = session;
        this.userId=userId;
        if(webSocketMap.containsKey(userId)){
            webSocketMap.remove(userId);
            webSocketMap.put(userId,this);
            //加入set中
        }else{
            webSocketMap.put(userId,this);
            addOnlineCount();
             // 这个加入redis 是会报null
            cacheService.setCacheObject("socket:"+userId,userId,time, TimeUnit.MINUTES);
        }
       System.out.println("用户连接:"+userId+",当前在线人数为:" + getOnlineCount());
        try {
            sendMessage("连接成功");
        } catch (IOException e) {
            System.out.println("用户:"+userId+",网络异常!!!!!!");
        }
    }
    /**
     * 连接关闭调用的方法
     */
    @OnClose
    public void onClose() {
        if(webSocketMap.containsKey(userId)){
            webSocketMap.remove(userId);
            //从set中删除
            subOnlineCount();
        }
       System.out.println("用户退出:"+userId+",当前在线人数为:" + getOnlineCount());
    }

    /**
     * 收到客户端消息后调用的方法
     *
     * @param message 客户端发送过来的消息*/
    @OnMessage
    public void onMessage(String message, Session session) {
	        System.out.println("用户消息:"+userId+",报文:"+message);
        //可以群发消息
        //消息保存到数据库、redis
        if(StringUtils.isNotBlank(message)){
            try {
                //解析发送的报文
                JSONObject jsonObject = JSON.parseObject(message);
                //追加发送人(防止串改)
                jsonObject.put("fromUserId",this.userId);
                String toUserId=jsonObject.getString("toUserId");
                //传送给对应toUserId用户的websocket  这里从连接的地方找到对应的发送的值
                if(StringUtils.isNotBlank(toUserId)&&webSocketMap.containsKey(toUserId)){
                    webSocketMap.get(this.userId).sendMessage(jsonObject.toJSONString());
                }else{
                    System.out.println("请求的userId:"+toUserId+"不在该服务器上");
                    //否则不在这个服务器上,发送到mysql或者redis
                }
            }catch (Exception e){
                e.printStackTrace();
            }
        }
	}
 /**
     *
     * @param session
     * @param error
     */
    @OnError
    public void onError(Session session, Throwable error) {
        System.out.println("用户错误:"+this.userId+",原因:"+error.getMessage());
        error.printStackTrace();
    }
    /**
     * 实现服务器主动推送
     */
    public void sendMessage(String message) throws IOException {
        this.session.getBasicRemote().sendText(message);
    }
		// 在线人数的新增
    public static synchronized int getOnlineCount() {
        return onlineCount;
    }

    public static synchronized void addOnlineCount() {
        WebSocketServer.onlineCount++;
    }

    public static synchronized void subOnlineCount() {
        WebSocketServer.onlineCount--;
    }
}
上面这个类其实就已经整合了websocket 了,但是如果想要注入 spring 的对象组件的话还是存在null。
所以需要再配置下面这个
@Configuration
public class SokcetConfigure {

    @Bean
    public ServerEndpointExporter serverEndpointExporter() {
        return new ServerEndpointExporter();
    }


    /**
     * 因 SpringBoot WebSocket 对每个客户端连接都会创建一个 WebSocketServer(@ServerEndpoint 注解对应的) 对象,Bean 注入操作会被直接略过,因而手动注入一个全局变量
     *
     * @param cacheService
     */
    @Autowired
    public void setMessageService(RedisCache cacheService) {
        WebSocketServer.cacheService = cacheService;

    }

}
然后再上门的springboot websocket的 的类里面加上
@ServerEndpoint("/deviceServer/{Id}")
@Component // 表示未spring的组件
public class WebSocketServer {
	// 这样就可以试用 注入的redis了 ,当然前提是自己已经配置好了redis
   public static RedisCache cacheService;
   	   /**静态变量,用来记录当前在线连接数。应该把它设计成线程安全的。*/
    private volatile static int onlineCount = 0;
    /**concurrent包的线程安全Set,用来存放每个客户端对应的MyWebSocket对象。*/
    private static ConcurrentHashMap<String,WebSocketServer> webSocketMap = new ConcurrentHashMap<>();
    /**与某个客户端的连接会话,需要通过它来给客户端发送数据*/
    private Session session;
    /**接收userId*/
    private String userId="";

 /**
     * 连接建立成功调用的方法*/
    @OnOpen
    public void onOpen(Session session, @PathParam("Id") String userId) {
        this.session = session;
        this.userId=userId;
        if(webSocketMap.containsKey(userId)){
            webSocketMap.remove(userId);
            webSocketMap.put(userId,this);
            //加入set中
        }else{
            webSocketMap.put(userId,this);
            addOnlineCount();
             // 这个加入redis 是会报null
            cacheService.setCacheObject("socket:"+userId,userId,time, TimeUnit.MINUTES);
        }
       System.out.println("用户连接:"+userId+",当前在线人数为:" + getOnlineCount());
        try {
            sendMessage("连接成功");
        } catch (IOException e) {
            System.out.println("用户:"+userId+",网络异常!!!!!!");
        }
    }
    /**
     * 连接关闭调用的方法
     */
    @OnClose
    public void onClose() {
        if(webSocketMap.containsKey(userId)){
            webSocketMap.remove(userId);
            //从set中删除
            subOnlineCount();
        }
       System.out.println("用户退出:"+userId+",当前在线人数为:" + getOnlineCount());
    }

    /**
     * 收到客户端消息后调用的方法
     *
     * @param message 客户端发送过来的消息*/
    @OnMessage
    public void onMessage(String message, Session session) {
	        System.out.println("用户消息:"+userId+",报文:"+message);
        //可以群发消息
        //消息保存到数据库、redis
        if(StringUtils.isNotBlank(message)){
            try {
                //解析发送的报文
                JSONObject jsonObject = JSON.parseObject(message);
                //追加发送人(防止串改)
                jsonObject.put("fromUserId",this.userId);
                String toUserId=jsonObject.getString("toUserId");
                //传送给对应toUserId用户的websocket  这里从连接的地方找到对应的发送的值
                if(StringUtils.isNotBlank(toUserId)&&webSocketMap.containsKey(toUserId)){
                    webSocketMap.get(this.userId).sendMessage(jsonObject.toJSONString());
                }else{
                    System.out.println("请求的userId:"+toUserId+"不在该服务器上");
                    //否则不在这个服务器上,发送到mysql或者redis
                }
            }catch (Exception e){
                e.printStackTrace();
            }
        }
	}
 /**
     *
     * @param session
     * @param error
     */
    @OnError
    public void onError(Session session, Throwable error) {
        System.out.println("用户错误:"+this.userId+",原因:"+error.getMessage());
        error.printStackTrace();
    }
    /**
     * 实现服务器主动推送
     */
    public void sendMessage(String message) throws IOException {
        this.session.getBasicRemote().sendText(message);
    }
		// 在线人数的新增
    public static synchronized int getOnlineCount() {
        return onlineCount;
    }

    public static synchronized void addOnlineCount() {
        WebSocketServer.onlineCount++;
    }

    public static synchronized void subOnlineCount() {
        WebSocketServer.onlineCount--;
    }
}
}
这样ok了。
可以通过这个网站来进行测试
http://www.websocket-test.com/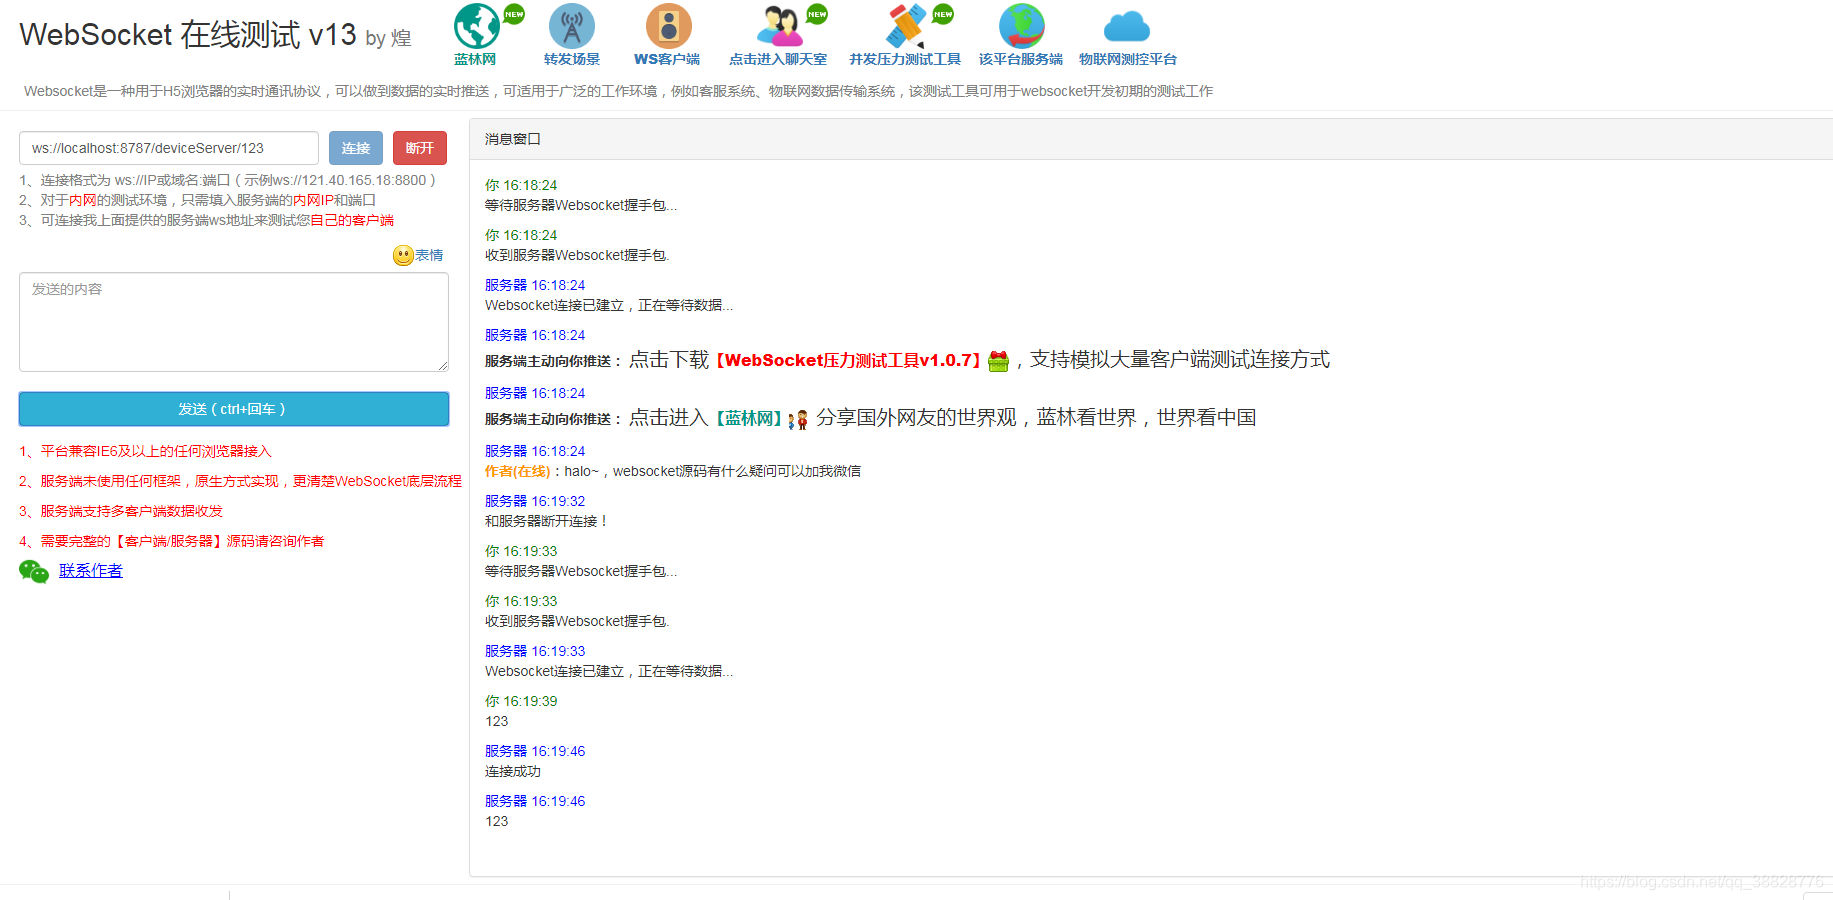
如果觉得我的文章对您有用,请随意打赏。你的支持将鼓励我继续创作!
