社区微信群开通啦,扫一扫抢先加入社区官方微信群

社区微信群
中文文档: https://www.webpackjs.com/concepts/
官网: https://webpack.github.io/
cd /d E:/hbk/webpack-test
npm init
npm install  webpack --save-dev
从 webpack v4.0.0 开始,可以不用引入一个配置文件
项目启动默认读取webpack.config.js
命令参数--config 指定配置文件--progress显示进度--display-modules 显示模块--colors 颜色块显示--dispaly-reasons 显示依赖原因--watch 监听变化
编写一个hello.js,随便搞点js代码,最直接的打包是直接在命令行敲如下命令
webpack hello.js --output-filename hello.bundle.js --output-path . --mode development

编写world.js
function world(){

}
在hello.js中进行引用
require("./world.js")
function hello(str) {
	alert(str);
}
可以看到打包之后的hello.bundle.js包含两个js的内容。
如果需要引入css文件,则需要引入css-loader,需要npm进行安装
npm install css-loader style-loader --save-dev
使用!加载loader
require("./world.js")
require("css-loader!./style.css")
function hello(str) {
	alert(str);
}
新建一个测试index.html
<!DOCTYPE html>
<html lang="en">
<head>
	<meta charset="UTF-8">
	<title>Document</title>
</head>
<body>
	<script type="text/javascript" src="hello.bundle.js"></script>
</body>
</html>
并且在hello.js中使用style-loader,并且调用hello函数。
require("./world.js")
require("style-loader!css-loader!./style.css")
function hello(str) {
	alert(str);
}

hello(1)
浏览页面,将弹出alert(1),并且背景色为红色。
使用配置文件webpack.config.js
module.exports = {
	entry:'./hello.js',
	output:{
		path:  __dirname+"/dist",
		filename:'bundle.js'
	},
	mode: 'development'
}
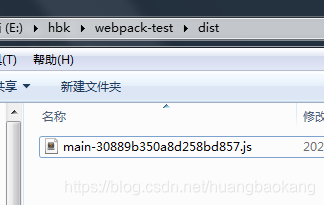
这样会在当前目录下的dist目录生成bundle.js
让文件名根据hash生成
module.exports = {
	entry:'./hello.js',
	output:{
		path:  __dirname+"/dist",
		filename:'[name]-[hash].js'
	},
	mode: 'development'
}
首先需要安装
npm intall html-webpack-plugin
配置
var htmlWebpackPlugin = require('html-webpack-plugin');
module.exports = {
	entry:'./hello.js',
	output:{
		path:  __dirname+"/dist",
		filename:'[name]-[hash].js'
	},
	mode: 'development',
	plugins:[
		new htmlWebpackPlugin({

		})
	]
}
这样配置生成的html会自动在body中插入动态的js,我们应该为我们的模板指定,这样才能联动。
还可以指定插入位置,生成的文件名
var htmlWebpackPlugin = require('html-webpack-plugin');
module.exports = {
	entry:'./hello.js',
	output:{
		path:  __dirname+"/dist",
		filename:'[name]-[hash].js'
	},
	mode: 'development',
	plugins:[
		new htmlWebpackPlugin({
			filename:'index-[hash].html',
			template:'index.html',
			inject:'head'
		})
	]
}
高级用法,传参,查考官方文档,<%=htmlWebpackPlugin.options%>和
<%=htmlWebpackPlugin.files%>
output的publicPath可以为我们项目上线指定域名
var htmlWebpackPlugin = require('html-webpack-plugin');
module.exports = {
	entry:'./hello.js',
	output:{
		path:  __dirname+"/dist",
		filename:'[name]-[hash].js',
		publicPath:'http://www.hbk.com'
	},
	mode: 'development',
	plugins:[
		new htmlWebpackPlugin({
			filename:'index-[hash].html',
			template:'index.html',
			inject:'head'
		})
	]
}
在打包生成的html,可以看到自动加上了publicPath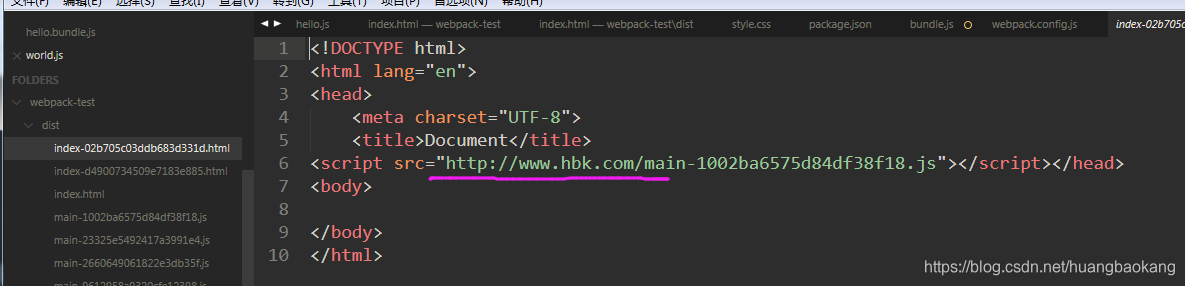
minify:{
	removeComments:true,
	collapseWhitespace:true
	}
这两个配置可以删除注释和空格,使代码压缩在一起,减小文件体积。
entry以对象的形式,还可以在htmlWebpackPlugin中配置chunks,以实现多html文件模板配置
plugins:[
		new htmlWebpackPlugin({
			filename:'index-[hash].html',
			template:'index.html',
			inject:'head',
			minify:{
				removeComments:true,
				collapseWhitespace:true
			},
			chunks:['main','a']
		})
	]
在webpack3.x中还保留之前版本的loaders,与rules并存都可以使用,在新版中完全移除了loaders,必须使用rules。
所以在配置文件中配置loaders需要看你安装的webpack版本,4版本的配置文件中增加loaders会报错。
示例配置:
var htmlWebpackPlugin = require('html-webpack-plugin');
module.exports = {
	entry:'./hello.js',
	output:{
		path:  __dirname+"/dist",
		filename:'[name]-[hash].js',
		publicPath:'http://www.hbk.com'
	},
	mode: 'development',
	 module: {
        rules: [
            { test: /.css$/, loader: "style-loader!css-loader" },
            { test:/.css$/,loader:'style-loader!css-loader'}
        ]
    }
}
其他参数
exclude 排除
include 包含 这两个参数主要是为了加快打包速度
loader 使用!进行分割
loaders 以数组的形式
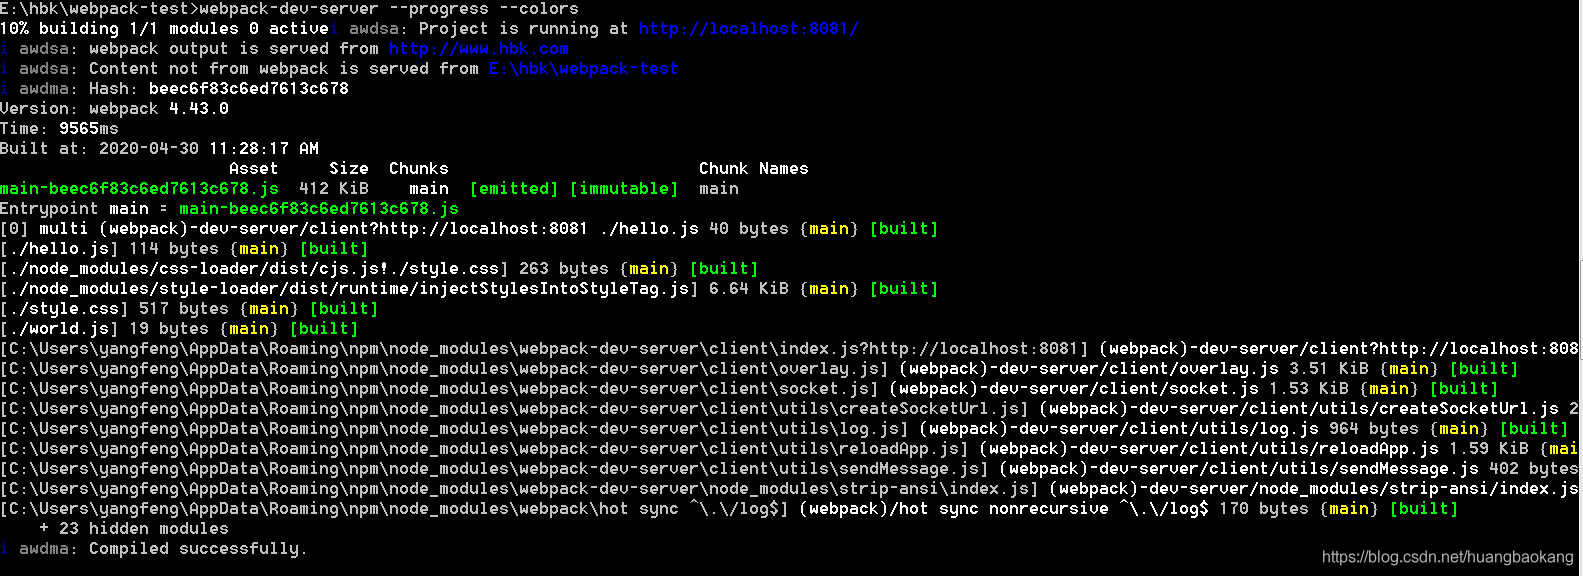
安装webpack-dev-server
npm install webpack-dev-server -g
运行
webpack-dev-server --progress --colors
postcss-loader针对css文件的后置处理器。
autoprefixer 给css样式文件针对不同浏览器增加前缀
处理less文件,有less-loader
使用npm进行安装
npm install less-loader --save-dev
先后顺序
test:/.less$/,
loader:'style!css!postcss!less'
同理,处理sass文件,使用sass-loader
npm install sass-loader --save-dev
针对模板,同样支持,更多信息参考官网相关信息。
如果觉得我的文章对您有用,请随意打赏。你的支持将鼓励我继续创作!
