社区微信群开通啦,扫一扫抢先加入社区官方微信群

社区微信群
SpringMVC是一个Web层的MVC框架,
MVC原理流程图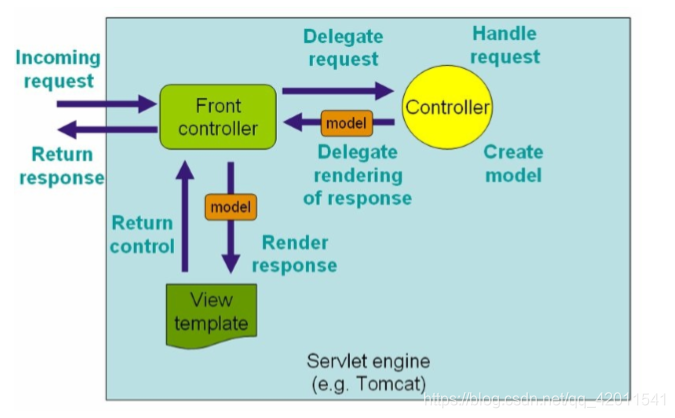
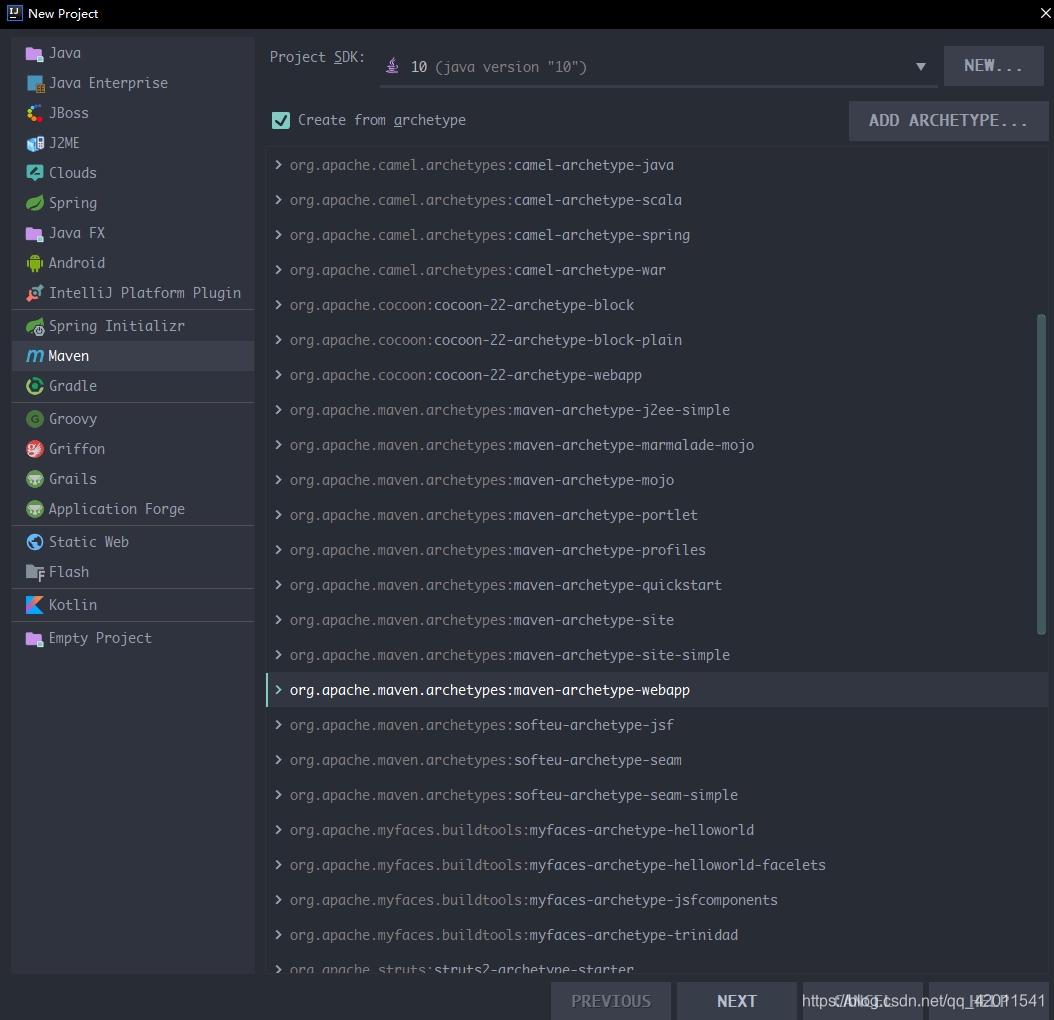
环境配置
<dependency>
  <groupId>org.springframework</groupId>
  <artifactId>spring-webmvc</artifactId>
  <version>5.1.5.RELEASE</version>
</dependency>
<dependency>
  <groupId>javax.servlet</groupId>
  <artifactId>javax.servlet-api</artifactId>
  <version>3.1.0</version>
  <scope>provided</scope>
</dependency>
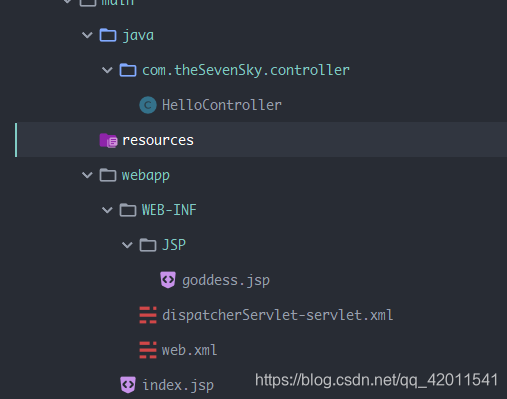
然后新建两个文件夹 java 和 resources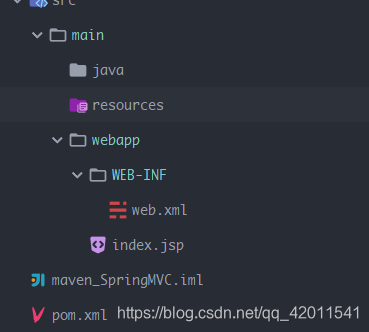
右键选择java目录 选择高亮 设置成源代码文件夹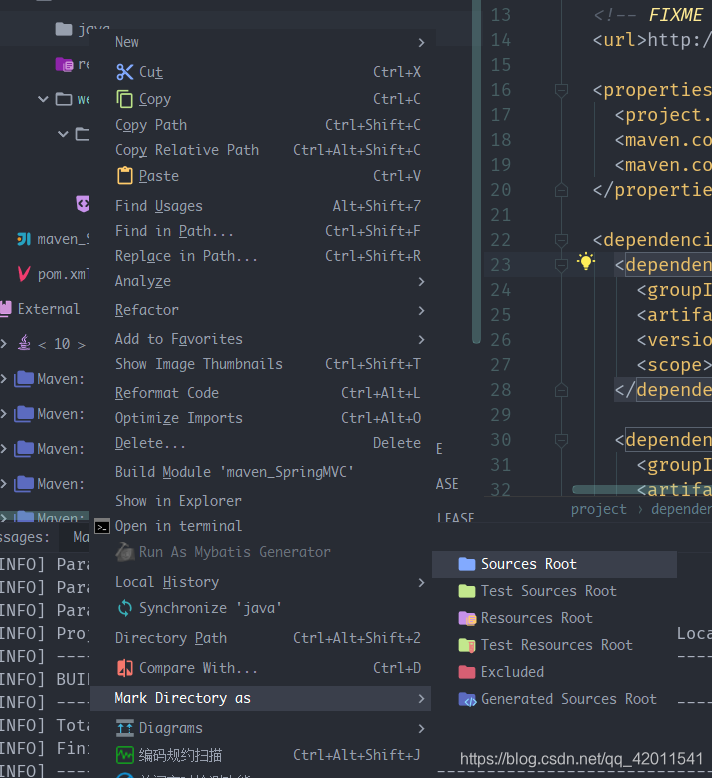
同理 resources 高亮 资源文件夹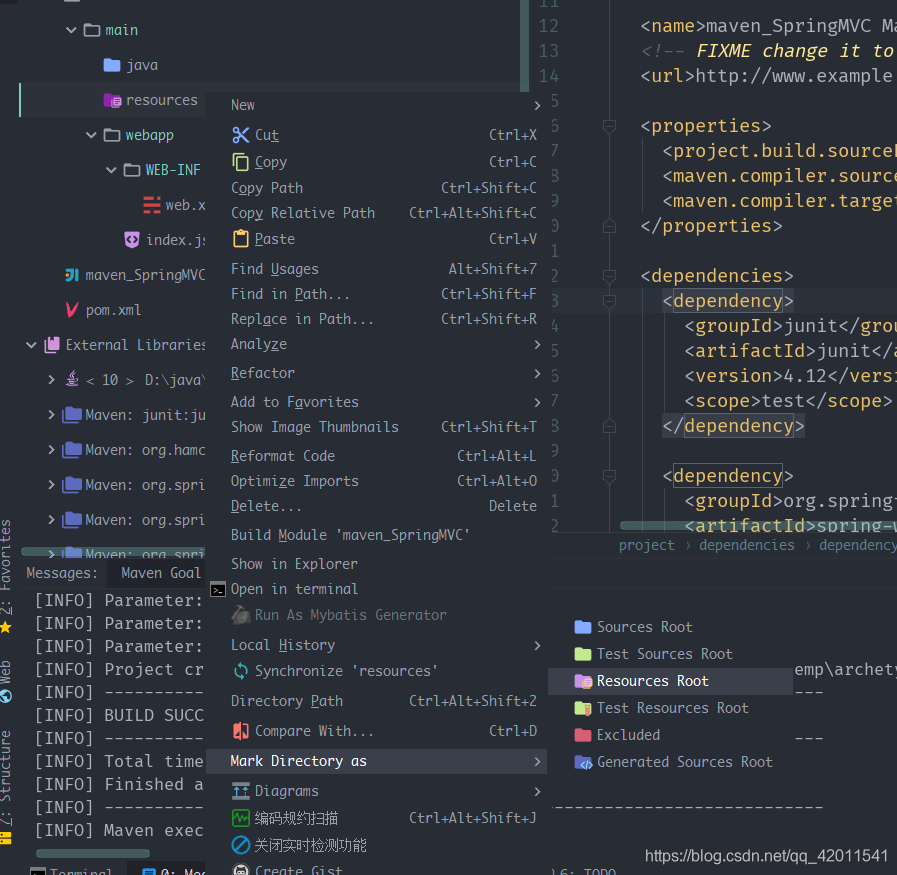
接下来配置web.xml(模版配置)
<?xml version="1.0" encoding="UTF-8"?>
<web-app xmlns="http://xmlns.jcp.org/xml/ns/javaee"
         xmlns:xsi="http://www.w3.org/2001/XMLSchema-instance"
         xsi:schemaLocation="http://xmlns.jcp.org/xml/ns/javaee http://xmlns.jcp.org/xml/ns/javaee/web-app_4_0.xsd"
         version="4.0">

</web-app>
配置了前端控制器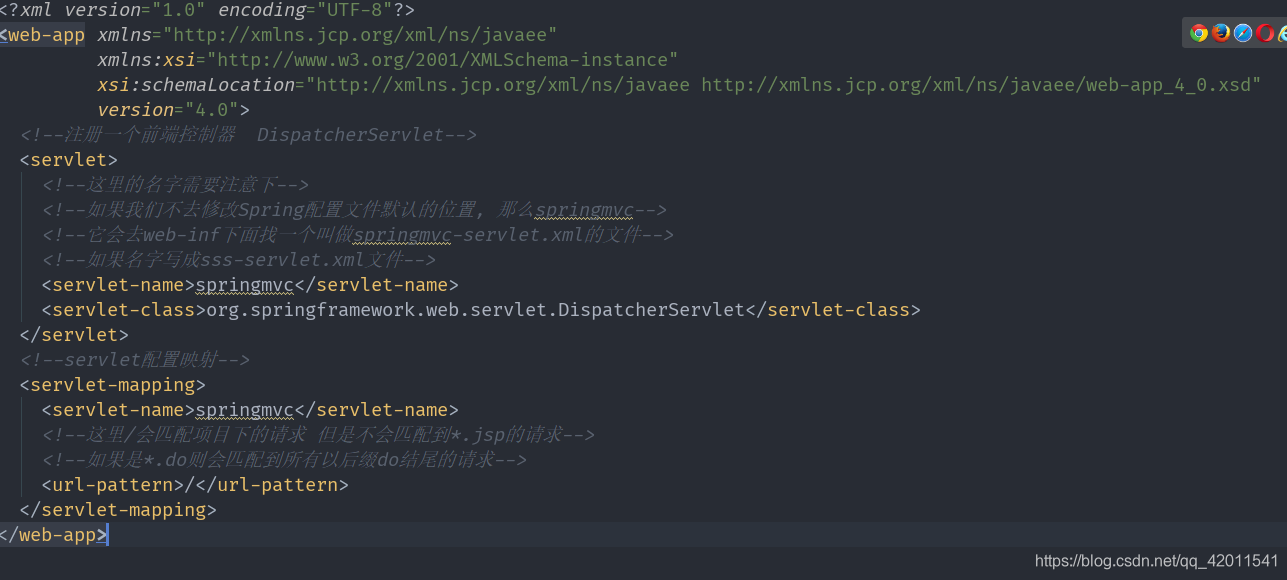
贴上代码
<?xml version="1.0" encoding="UTF-8"?>
<web-app xmlns="http://xmlns.jcp.org/xml/ns/javaee"
xmlns:xsi="http://www.w3.org/2001/XMLSchema-instance"
xsi:schemaLocation="http://xmlns.jcp.org/xml/ns/javaee http://xmlns.jcp.org/xml/ns/javaee/web-app_4_0.xsd"
version="4.0">
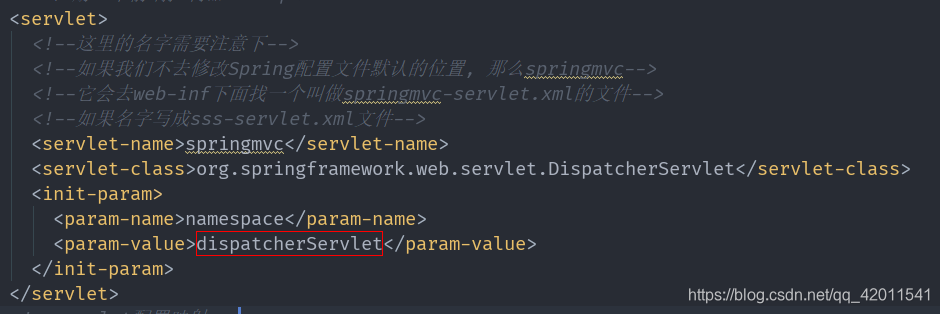
<!--注册一个前端控制器 DispatcherServlet-->
<servlet>
<!--这里的名字需要注意下-->
<!--如果我们不去修改Spring配置文件默认的位置, 那么springmvc-->
<!--它会去web-inf下面找一个叫做springmvc-servlet.xml的文件-->
<!--如果名字写成sss-servlet.xml文件-->
<servlet-name>springmvc</servlet-name>
<servlet-class>org.springframework.web.servlet.DispatcherServlet</servlet-class>
</servlet>
<!--servlet配置映射-->
<servlet-mapping>
<servlet-name>springmvc</servlet-name>
<!--这里/会匹配项目下的请求 但是不会匹配到*.jsp的请求-->
<!--如果是*.do则会匹配到所有以后缀do结尾的请求-->
<url-pattern>/</url-pattern>
</servlet-mapping>
</web-app>
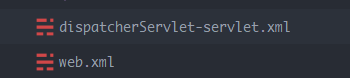
然后需要在WEB-INF下配置spring的配置文件
这里因为我的前端控制器的servlet-name的名字springmvc 所以名字需要写成这样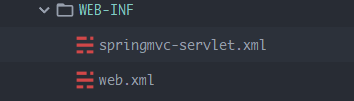
然后这里简单配置了一个控制器, 先看一下配置文件
先说一下 这种控制器的使用方式 你看一下就行了 比较落后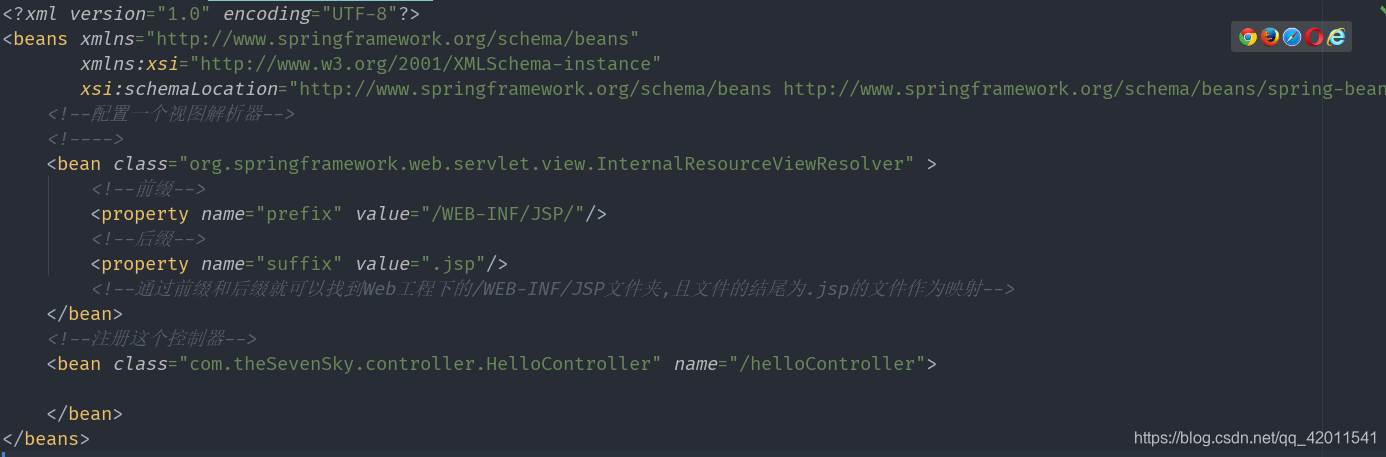
这其中比较重要是那前端控制器
贴一下代码
<?xml version="1.0" encoding="UTF-8"?>
<beans xmlns="http://www.springframework.org/schema/beans"
xmlns:xsi="http://www.w3.org/2001/XMLSchema-instance"
xsi:schemaLocation="http://www.springframework.org/schema/beans http://www.springframework.org/schema/beans/spring-beans.xsd">
<!--配置一个视图解析器-->
<!---->
<bean class="org.springframework.web.servlet.view.InternalResourceViewResolver" >
<!--前缀-->
<property name="prefix" value="/WEB-INF/JSP/"/>
<!--后缀-->
<property name="suffix" value=".jsp"/>
<!--通过前缀和后缀就可以找到Web工程下的/WEB-INF/JSP文件夹,且文件的结尾为.jsp的文件作为映射-->
</bean>
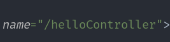
<!--注册这个控制器-->
<bean class="com.theSevenSky.controller.HelloController" name="/helloController">
</bean>
</beans>
然后一个简单的控制器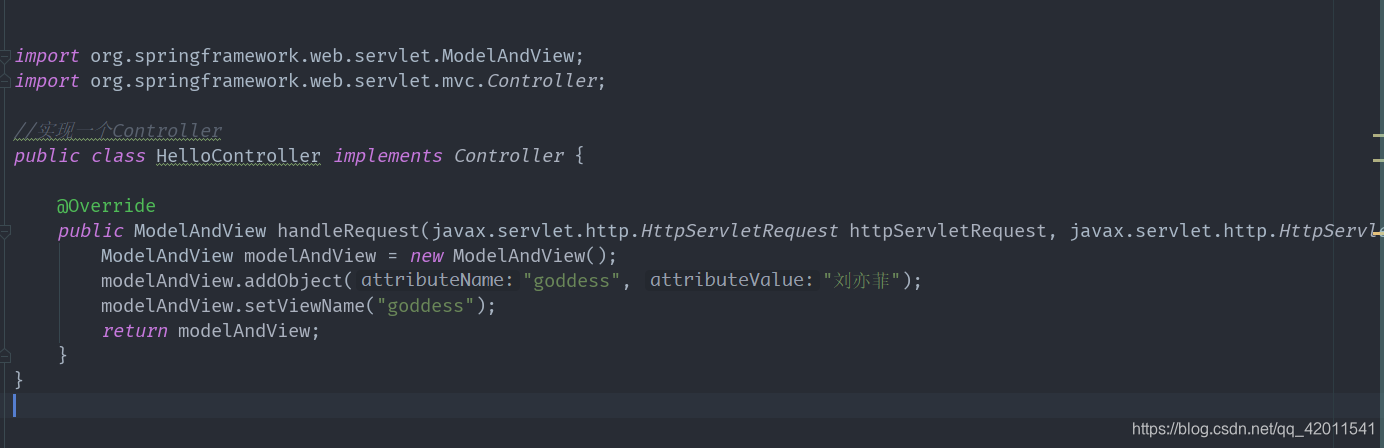
这里的需要注意的是addObject 和setViewName方法
看一下addObject的参数提示 attribute是不是有点熟悉
然后setViewName 设置你要转发的页面这里注意一下 转发的公式和你的视图渲染解析器有关系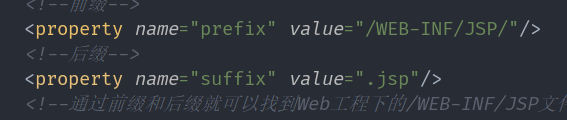
位置就是prefix+ViewName+suffix
我的这里就是/WEB-INF/JSP/goddess.jsp
所以创建响应的jsp
这里其实也就是转发(forward)
JSP代码
<%--
  Created by IntelliJ IDEA.
  User: 63237
  Date: 2019/3/11
  Time: 14:04
  To change this template use File | Settings | File Templates.
--%>
<%@ page contentType="text/html;charset=UTF-8" language="java" %>
<html>
<head>
    <title>Title</title>
</head>
<body>
    <h1>我的女神${goddess}</h1>
</body>
</html>
然后输入URL: http://localhost:8080/helloController
结果: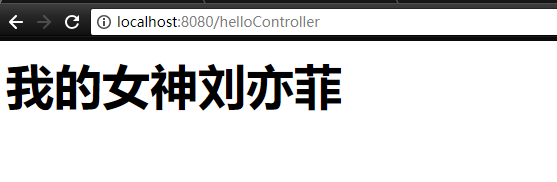
这只是一个简单小案例 后面会有详细的解读

 改成/helloController.do才可以 这可能是一些团队加个小尾巴区分
需要配置初始化参数 上下文配置的位置指定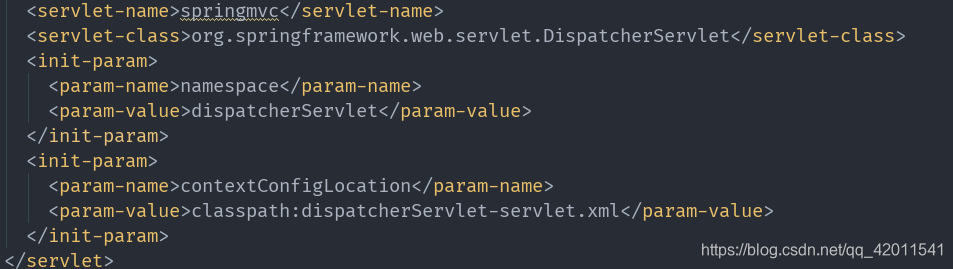
配置到类路径下的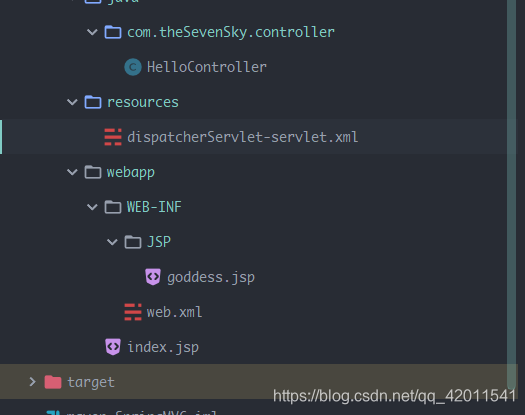
如果觉得我的文章对您有用,请随意打赏。你的支持将鼓励我继续创作!
