社区微信群开通啦,扫一扫抢先加入社区官方微信群

社区微信群
jquery file upload Demo 地址:https://blueimp.github.io/jQuery-File-Upload/
jquery file upload 下载 地址:https://github.com/blueimp/jQuery-File-Upload/tags
jquery file upload API 地址:https://github.com/blueimp/jQuery-File-Upload/wiki/API
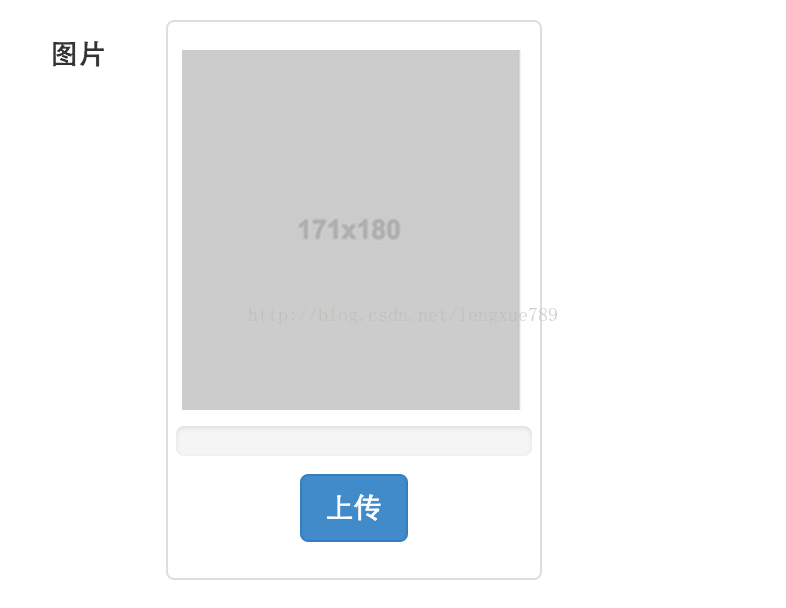
使用了bootstrap框架,样式可以参考Demo。
自定义的样式:
<div class="row fileupload-buttonbar" style="padding-left:15px;">
<div class="thumbnail col-sm-6">
<img id="weixin_show" style="height:180px;margin-top:10px;margin-bottom:8px;"  src="__PUBLIC__/images/game/game_1.png" data-holder-rendered="true">
<div class="progress progress-striped active" role="progressbar" aria-valuemin="10" aria-valuemax="100" aria-valuenow="0"><div id="weixin_progress" class="progress-bar progress-bar-success" style="width:0%;"></div></div>
<div class="caption" align="center">
<span id="weixin_upload" class="btn btn-primary fileinput-button">
<span>上传</span>
<input type="file" id="weixin_image" name="weixin_image" multiple>
</span>
<a id="weixin_cancle" href="javascript:void(0)" class="btn btn-warning" role="button" οnclick="cancleUpload('weixin')" style="display:none">删除</a>
</div>
</div>
</div> <link href="__PUBLIC__/css/bootstrap.min.css" rel="stylesheet">
<!-- CSS to style the file input field as button and adjust the Bootstrap progress bars -->
<link rel="stylesheet" href="__PUBLIC__/css/jquery.fileupload.css">
<link rel="stylesheet" href="__PUBLIC__/css/jquery.fileupload-ui.css">
<script src="__PUBLIC__/js/jquery.min.js"></script>
<script src="__PUBLIC__/js/vendor/jquery.ui.widget.js"></script>
<script src="__PUBLIC__/js/jquery.fileupload.js"></script>
<script src="__PUBLIC__/js/jquery.iframe-transport.js"></script>$(function() {
$("#weixin_image").fileupload({
url: '__CONTROLLER__/uploadImg',
sequentialUploads: true
}).bind('fileuploadprogress', function (e, data) {
var progress = parseInt(data.loaded / data.total * 100, 10);
$("#weixin_progress").css('width',progress + '%');
$("#weixin_progress").html(progress + '%');
}).bind('fileuploaddone', function (e, data) {
$("#weixin_show").attr("src","__PUBLIC__/"+data.result);
$("#weixin_upload").css({display:"none"});
$("#weixin_cancle").css({display:""});
});
});fileuploadprogress:主要是进度条的修改
fileuploaddone:上传结束后执行的操作
使用的thinkphp代码,上传代码很简单
public function uploadImg(){

        $upload = new ThinkUpload();// 实例化上传类
        $upload->maxSize   =     3145728 ;// 设置附件上传大小
        //$upload->exts      =     array('jpg', 'gif', 'png', 'jpeg');// 设置附件上传类型
        $upload->rootPath  =      './Public/Uploads/'; // 设置附件上传根目录
        $upload->savePath  =      ''; // 设置附件上传(子)目录

        // 上传文件
        $info   =   $upload->uploadOne($_FILES['weixin_image']);
        if(!$info) {// 上传错误提示错误信息
            //$this->error($upload->getError());
            echo 0;
        }else{// 上传成功 获取上传文件信息
            //$this->display('templateList');
            echo "Uploads/".$info['savepath'].$info['savename'];
        }
}如果觉得我的文章对您有用,请随意打赏。你的支持将鼓励我继续创作!