社区微信群开通啦,扫一扫抢先加入社区官方微信群

社区微信群
<!--此次l轮播效果开发,纯粹是为了分享热爱 -->
<html>
<head>
<meta charset="utf-8" />
<link rel="stylesheet" type="text/css" href="../css/p.css" />
<script src="https://code.jquery.com/jquery-3.3.1.min.js"></script>
</head>
<body>
<!--图片轮播的区域 -->
<div id="k">
<ul>
<li>
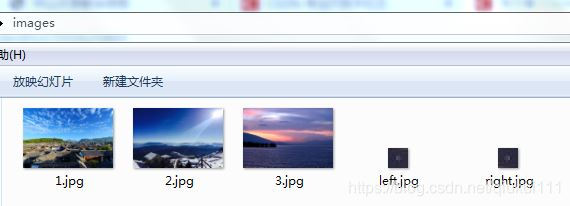
<img src="../images/1.jpg" />
<p>古寨村</p>
</li>
<li class="hide">
<img src="../images/2.jpg" />
<p>雪白山</p>
</li>
<li class="hide"><img src="../images/3.jpg" />
<p>夕阳美</p>
</li>
</ul>
<button id="btn1" onClick="last()">
<img src="../images/left.jpg" width="100%" height="100%" />
</button>
<button id="btn2" onClick="next()">
<img src="../images/right.jpg" width="100%" height="100%" />
</button>
</div>
<script>
var x = 0; //设置图片变量
$(document).ready(function(){
setInterval("next()",5000);
});
function next(){
$("li:eq("+x+")").fadeOut(1000);
if(x == 2)
{
x = 0;
}
else
{
x++;
}
$("li:eq("+x+")").fadeIn(1000);
}
function last(){
$("li:eq("+x+")").fadeOut(1000);
if(x==0)
{
x=2;
}
else
{
x--;
}
$("li:eq("+x+")").fadeIn(1000);
}
</script>
</body>
</html>
css代码部分:
@charset "utf-8";
/* CSS Document */
#k{
	width:1000px;
	height:320px;
	padding:0px;
	position:relative;
	margin:0 auto;
}

ul{
	list-style:none;
	position:relative
}

li{
	position: absolute;
	top: 0px;
	left: 0px;
	float: left;
    text-align: center;
}


li img{
	width:1000px;
	height:320px;
}

.hide{
	display:none;
}

p{
	position:absolute;
	top:75%;
	left:0%;
	width:100%;
	background-color: rgb(255,255,255,0.8);
	padding:10px;
	font-family:"楷体";
}


button{
	position:absolute;
	margin:10px;
	border:none;
	outline:none;
	background-color:transparent;
	width:50px;
	height:30px;
}

#btn1{
	top:55%;
	left:0%;
}

#btn2{
	top:55%;
	left:90%;
}
现在就可以去运行html文件了,开不开心呢,若是遇到有些不懂的函数,直接找百度哈,到此分享结束啦啦啦
如果觉得我的文章对您有用,请随意打赏。你的支持将鼓励我继续创作!
