社区微信群开通啦,扫一扫抢先加入社区官方微信群

社区微信群
# Default Homebrew MySQL server config
[mysqld]
# Only allow connections from localhost
bind-address = localhost
log_bin=on
log-bin=/usr/local/opt/mysql@5.5/logs/mysql-bin
expire-logs-days = 14
max-binlog-size = 500M
server-id=1
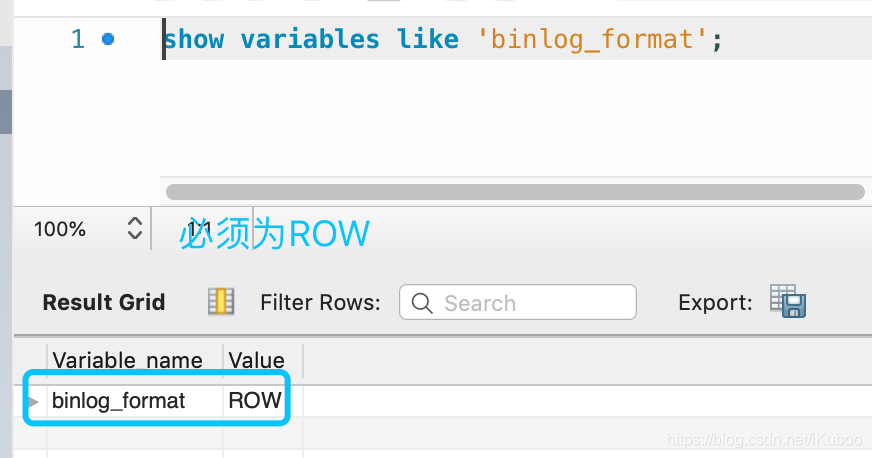
binlog_format=ROW
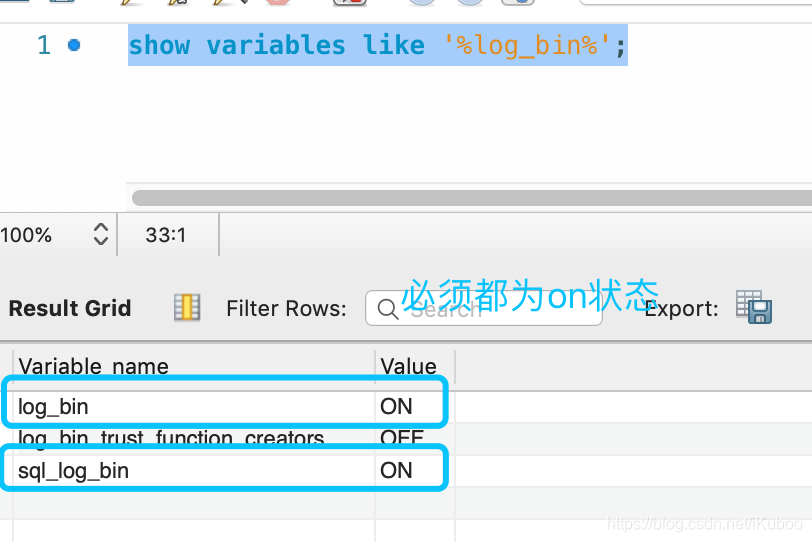
show variables like 'binlog_format';
需要修改databus2-example模块下的代码,共3处需要修改。
1.修改 databus2-example/databus2-example-relay-pkg/conf/sources-or-person.json 的url;用户名为root,密码为root,端口为3306,server-id为1,binlog的前缀为mysql-bin;server-id和binlog前缀在my.cnf中配置的。注意%2F为分隔符不能删。
{
    "name" : "person",
    "id"  : 1,
    "uri" : "mysql://root%2Froot@localhost:3306/1/mysql-bin",
    "slowSourceQueryThreshold" : 2000,
    "sources" :
    [
        {
        "id" : 40,
        "name" : "com.linkedin.events.example.or_test.Person",
        "uri": "or_test.person",
        "partitionFunction" : "constant:1"
         }
    ]
}
2.修改 com.linkedin.databus.client.example.PersonClientMain的PERSON_SOURCE="com.linkedin.events.example.or_test.Person"
public class PersonClientMain
{
  static final String PERSON_SOURCE = "com.linkedin.events.example.or_test.Person";

  public static void main(String[] args) throws Exception
  {
    DatabusHttpClientImpl.Config configBuilder = new DatabusHttpClientImpl.Config();

    //Try to connect to a relay on localhost
    configBuilder.getRuntime().getRelay("1").setHost("localhost");
    configBuilder.getRuntime().getRelay("1").setPort(11115);
    configBuilder.getRuntime().getRelay("1").setSources(PERSON_SOURCE);

    //Instantiate a client using command-line parameters if any
    DatabusHttpClientImpl client = DatabusHttpClientImpl.createFromCli(args, configBuilder);

    //register callbacks
    PersonConsumer personConsumer = new PersonConsumer();
    client.registerDatabusStreamListener(personConsumer, null, PERSON_SOURCE);
    client.registerDatabusBootstrapListener(personConsumer, null, PERSON_SOURCE);

    //fire off the Databus client
    client.startAndBlock();
  }

}
3.在com.linkedin.databus2.core.container.netty.ServerContainer的initializeContainerJmx方法中添加:LocateRegistry.createRegistry(_containerStaticConfig.getJmx().getRmiRegistryPort()); 不然client会报Cannot bind to URL rmi://localhost:1099 ServiceUnavailableException错误。亲测。
protected void initializeContainerJmx()
  {

    if (_containerStaticConfig.getJmx().isRmiEnabled())
    {
      try
      {
        JMXServiceURL jmxServiceUrl =
            new JMXServiceURL("service:jmx:rmi://" +
                              _containerStaticConfig.getJmx().getJmxServiceHost() + ":" +
                              _containerStaticConfig.getJmx().getJmxServicePort() +"/jndi/rmi://" +
                              _containerStaticConfig.getJmx().getRmiRegistryHost() + ":" +
                              _containerStaticConfig.getJmx().getRmiRegistryPort() + "/jmxrmi" +
                              _containerStaticConfig.getJmx().getJmxServicePort());

        _jmxConnServer = JMXConnectorServerFactory.newJMXConnectorServer(jmxServiceUrl, null,
                                                                         getMbeanServer());
        LocateRegistry.createRegistry(_containerStaticConfig.getJmx().getRmiRegistryPort());
      }
      catch (Exception e)
      {
        LOG.warn("Unable to instantiate JMX server", e);
      }
    }
  }
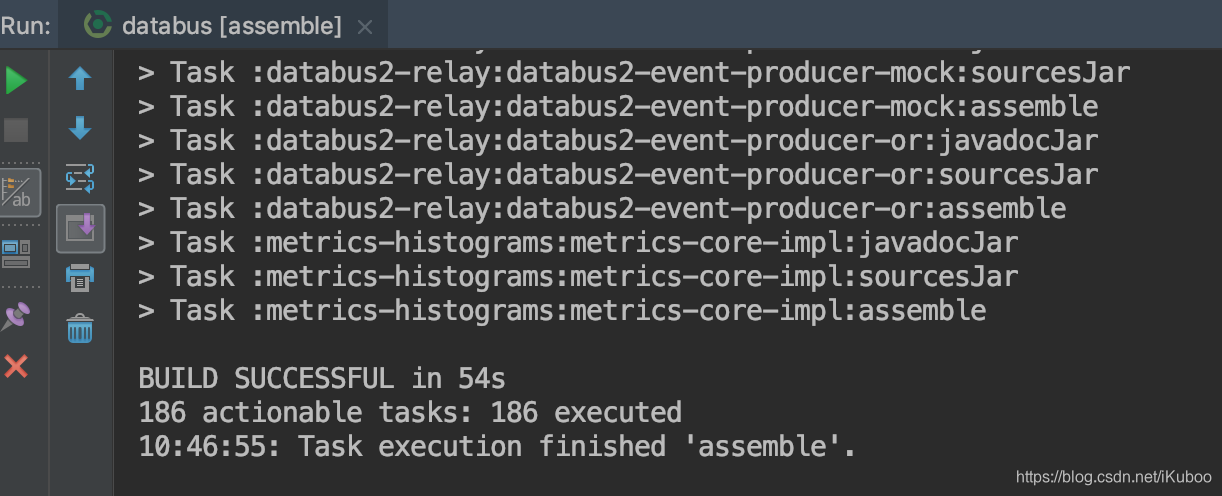
在databus目录下执行:gradle -Dopen_source=true assemble 打包项目。
打包好的relay位于:databus/build/databus2-example-relay-pkg/distributions/
打包好的client位于:databus/build/databus2-example-client-pkg/distributions/
cd到目录 databus/build/databus2-example-relay-pkg/distributions/
解压jia包:tar -zxvf databus2-example-relay-pkg-2.0.0.tar.gz
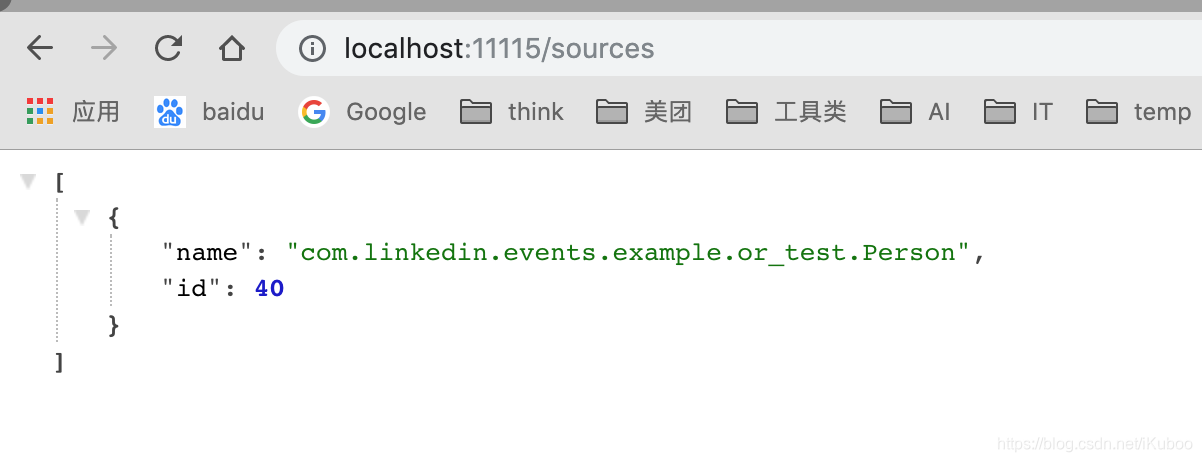
执行启动relay脚本:./bin/start-example-relay.sh or_person -Y ./conf/sources-or-person.json
启动后访问:http://localhost:11115/sources ,如果返回一下内容说明启动relay成功。
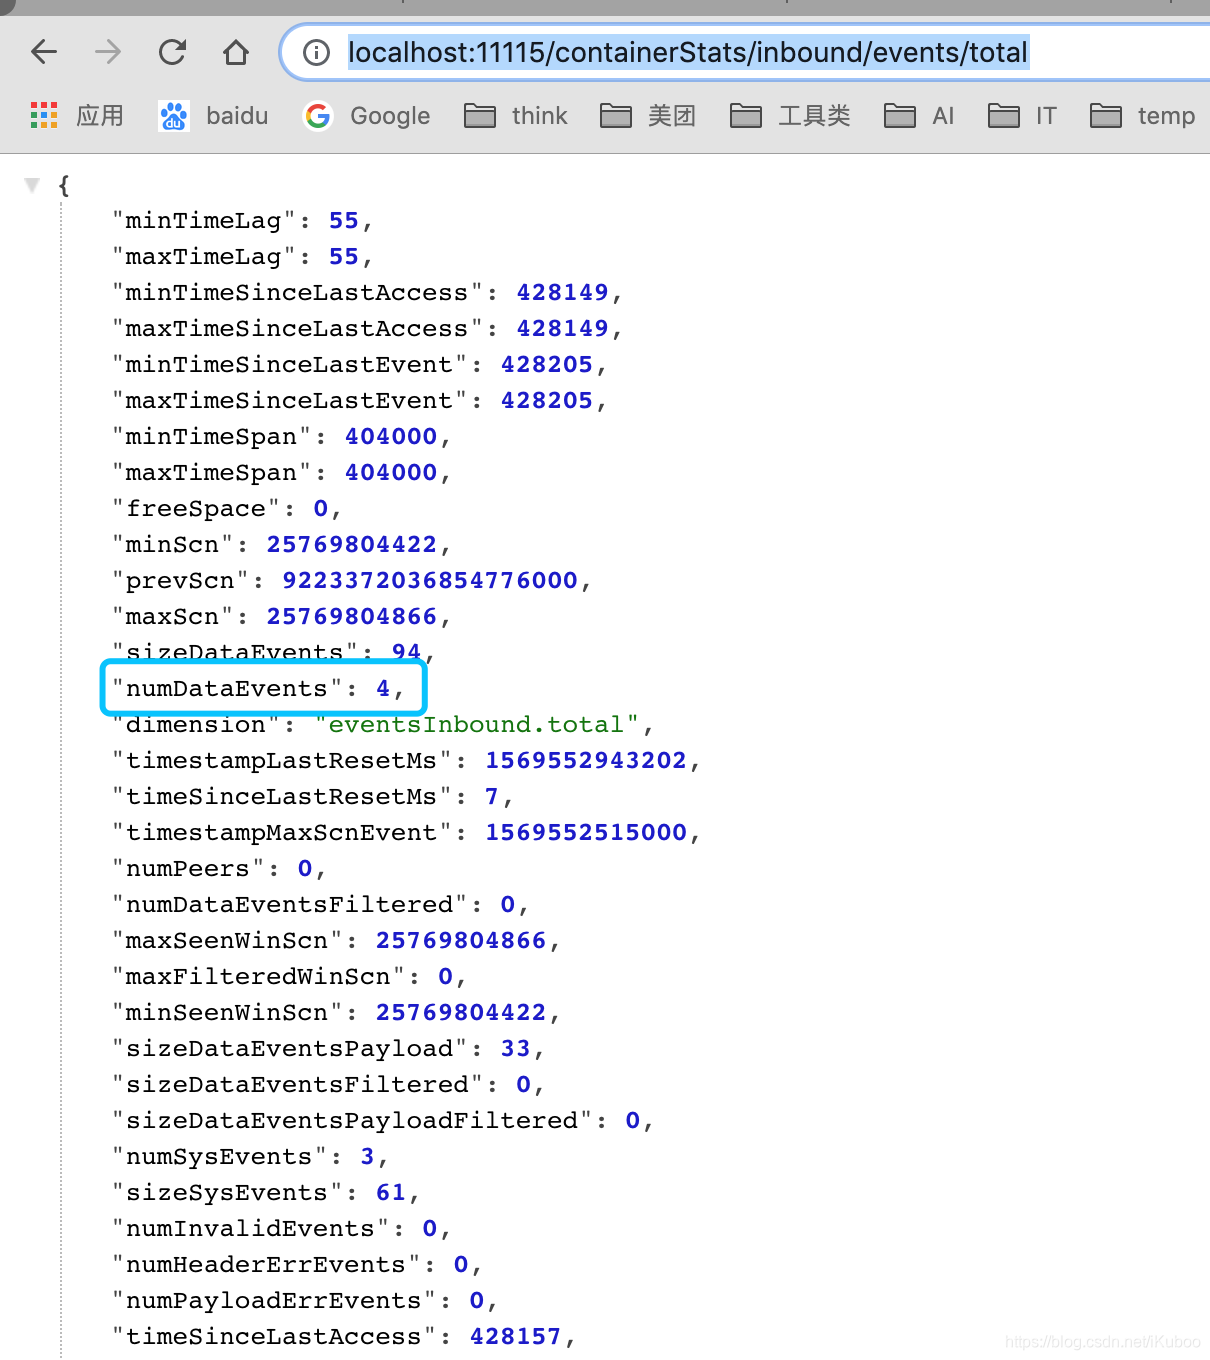
访问:http://localhost:11115/containerStats/inbound/events/total,往person表insert4条数据。insert脚本位于:databus2-example/databus2-example-relay-pkg/sql/insert_person_test_data_1.sql。如果numDataEvents 从0变为4说明已经relay已经能获取了binlog变更。
如果启动失败可以通过logs目录下的 databus2-relay-or_person.out 和 relay.log 日志排查原因
cd 到目录:databus/build/databus2-example-client-pkg/distributions/
解压databus2-example-client-pkg-2.0.0.tar.gz : tar -zxvf databus2-example-client-pkg-2.0.0.tar.gz
执行client启动脚本:./bin/start-example-client.sh person
查看日志:tail -f logs/client.log
这时候往person表insert数据,可以在日志打印了出来,说明client已经能收到数据。

处理数据的代码可以写到com.linkedin.databus.client.example.PersonConsumer#processEvent方法中,可以看到example程序只是通过日志打印出来。

参考:
如果觉得我的文章对您有用,请随意打赏。你的支持将鼓励我继续创作!
