社区微信群开通啦,扫一扫抢先加入社区官方微信群

社区微信群
Jpa简单说就是一个ORM持久层框架,可以让开发人员一行sql不写,实现基本的增删改查操作。
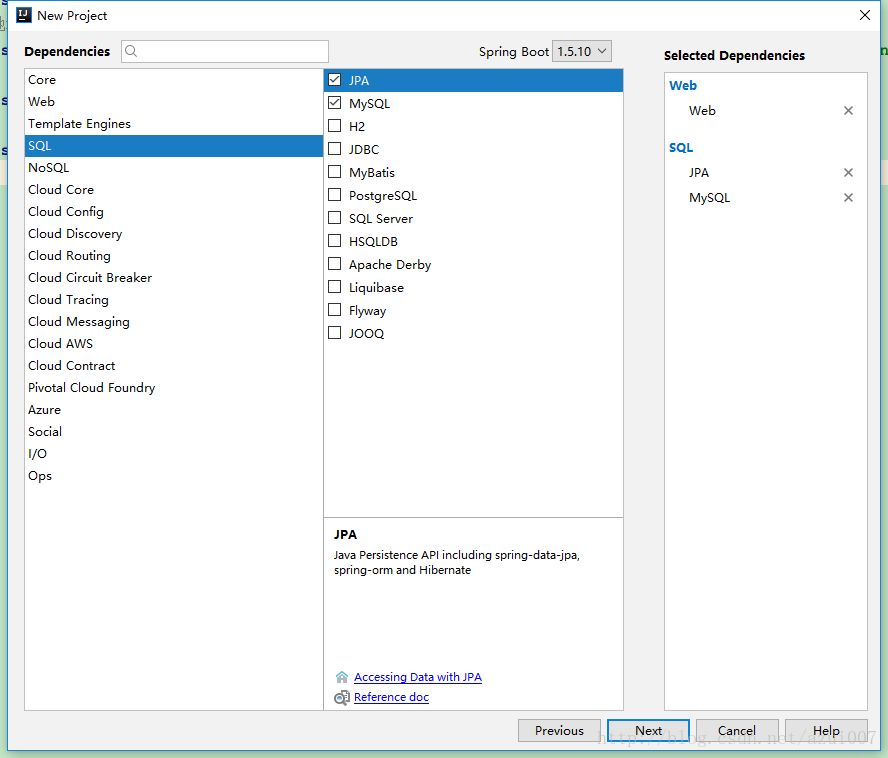
在新建项目时,勾选Web,JPA和Mysql(因为我使用的Mysql测试,所以也要用到Mysql的依赖)
        <dependency>
            <groupId>org.springframework.boot</groupId>
            <artifactId>spring-boot-starter-data-jpa</artifactId>
        </dependency>
        <dependency>
            <groupId>org.springframework.boot</groupId>
            <artifactId>spring-boot-starter-web</artifactId>
        </dependency>

        <dependency>
            <groupId>mysql</groupId>
            <artifactId>mysql-connector-java</artifactId>
            <scope>runtime</scope>
</dependency>#数据库类型
spring.datasource.driverClassName = com.mysql.jdbc.Driver
#数据库链接地址
spring.datasource.url = jdbc:mysql://localhost:3306/test?useUnicode=true&characterEncoding=utf-8&serverTimezone=UTC&allowMultiQueries=true&&useSSL=false
#用户名
spring.datasource.username = root
#密码
spring.datasource.password = root
CREATE TABLE `tb_user` (
  `id` int(11) NOT NULL,
  `username` varchar(255) CHARACTER SET utf8mb4 DEFAULT NULL,
  PRIMARY KEY (`id`)
) ENGINE=MyISAM DEFAULT CHARSET=latin1;
准备工作已经做完了,下面开始jpa相关的东西。
既然jpa是一个ORM框架,那么一定会有一个实体类和表对应。
新建UserEntity类
@Entity
@Table(name = "tb_user")
public class UserEntity {
    @Id
    @Column(name = "id")
    private Integer id;

    @Column(name = "username")
    private String username;

    public Integer getId() {
        return id;
    }

    public void setId(Integer id) {
        this.id = id;
    }

    public String getUsername() {
        return username;
    }

    public void setUsername(String username) {
        this.username = username;
    }
}
创建一个名为UserJpa的接口,让它继承JpaRepository(SpringDataJPA简单数据操作接口)
public interface UserJpa extends JpaRepository<UserEntity,Long>,Serializable{
}
做完了这个操作,就可以通过UserJpa来操作数据库了。
先创建一个Controller作为入口来使用Jpa
@RequestMapping(value = "/user")
@RestController
public class UserController {
    @Autowired
    private UserJpa jpa;
    @RequestMapping(value = "/all")
    public List<UserEntity> getAllUser(){
        return jpa.findAll();
    }

    @RequestMapping(value = "/save")
    public UserEntity saveUser(UserEntity userEntity){
        return jpa.save(userEntity);
    }


    @RequestMapping(value = "/delete")
    public void deleteAll(UserEntity userEntity){
         jpa.delete(userEntity);
    }


}
我们在使用Jpa的时候,不需要我们自己初始化,在声明jpa的地方加上@Autowired注解,这时候我们就可以使用他自带的方法了
如下
T save(T entity);//保存单个实体
Iterable<T> save(Iterable<? extends T> entities);//保存集合
T findOne(ID id);//根据id查找实体
boolean exists(ID id);//根据id判断实体是否存在
Iterable<T> findAll();//查询所有实体
long count();//查询实体数量
void delete(ID id);//根据Id删除实体
void delete(T entity);//删除一个实体
void delete(Iterable<? extends T> entities);//删除一个实体的集合
void deleteAll();//删除所有实体
这里先使用简单的增|、删、改、查。
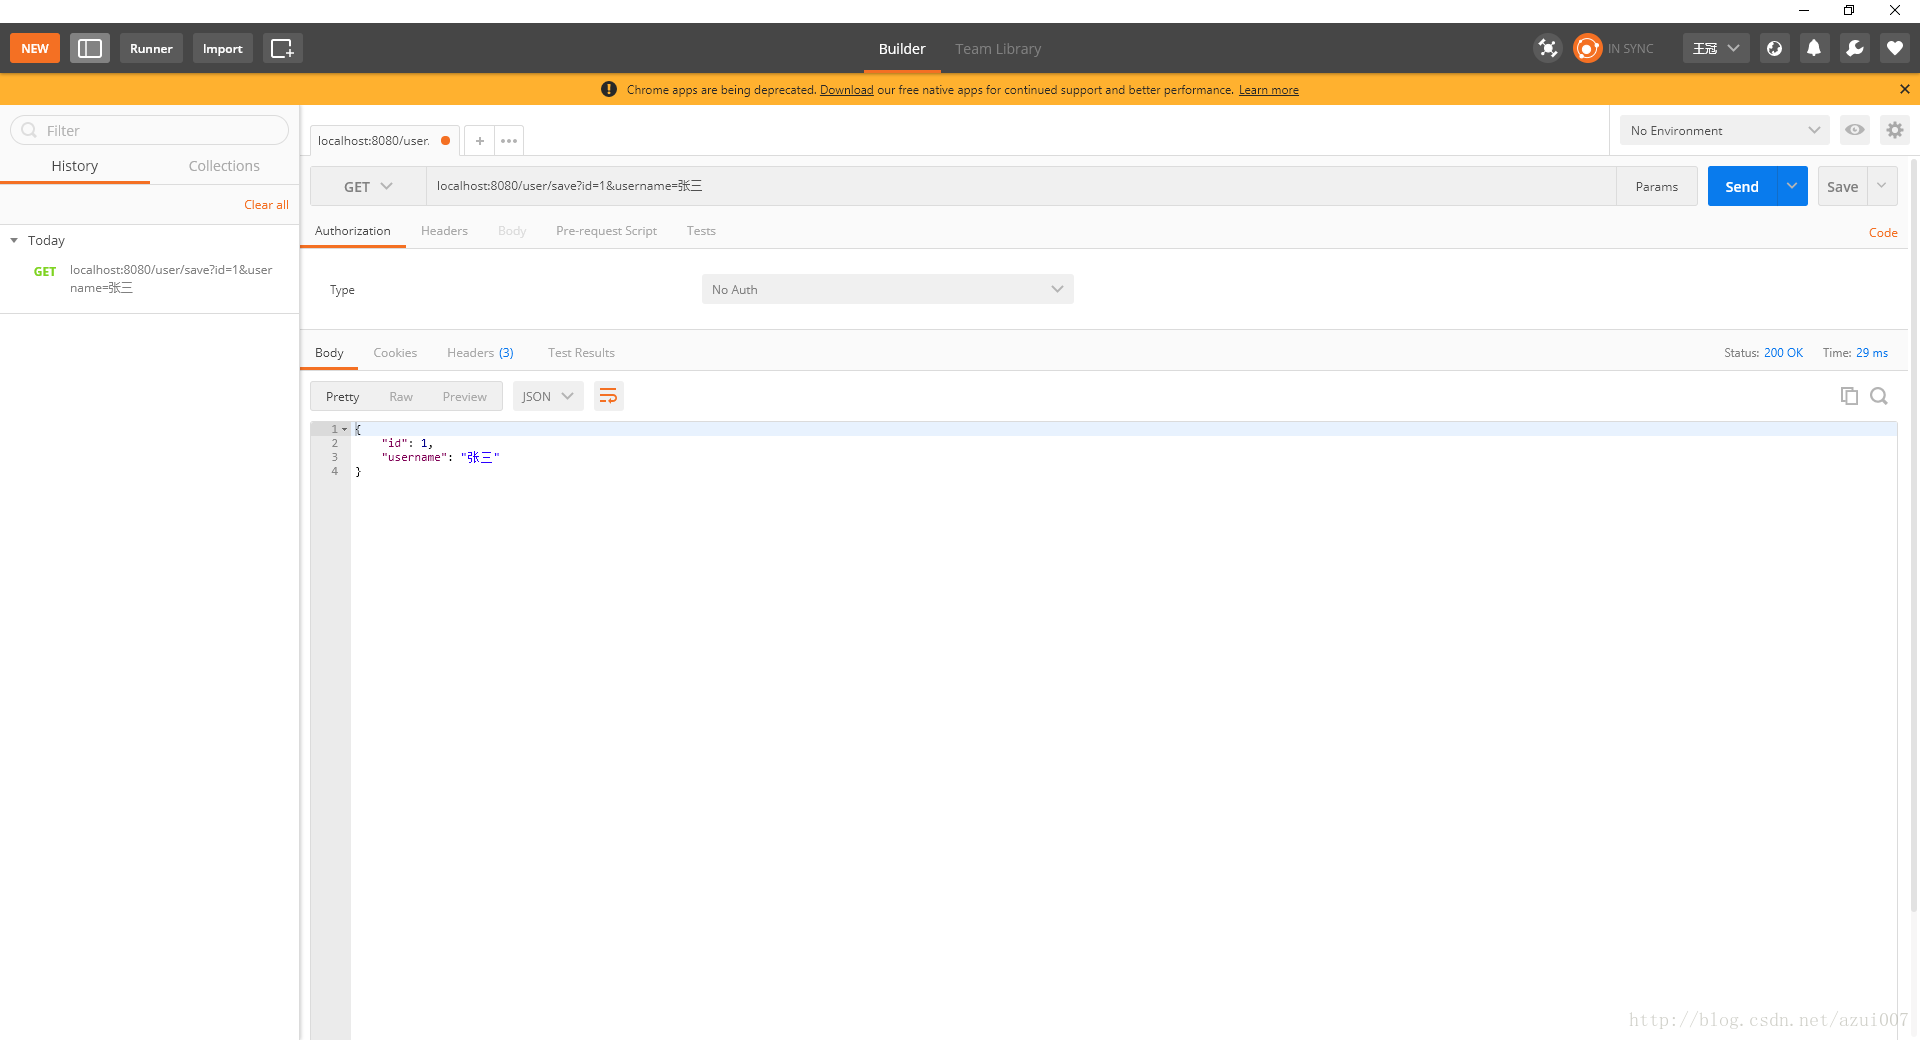
    @RequestMapping(value = "/save")
    public UserEntity saveUser(UserEntity userEntity){
        return jpa.save(userEntity);
    }
jpa.save会将我们传进来的实体对象保存在数据库中,并将操作的结果返回给我们。
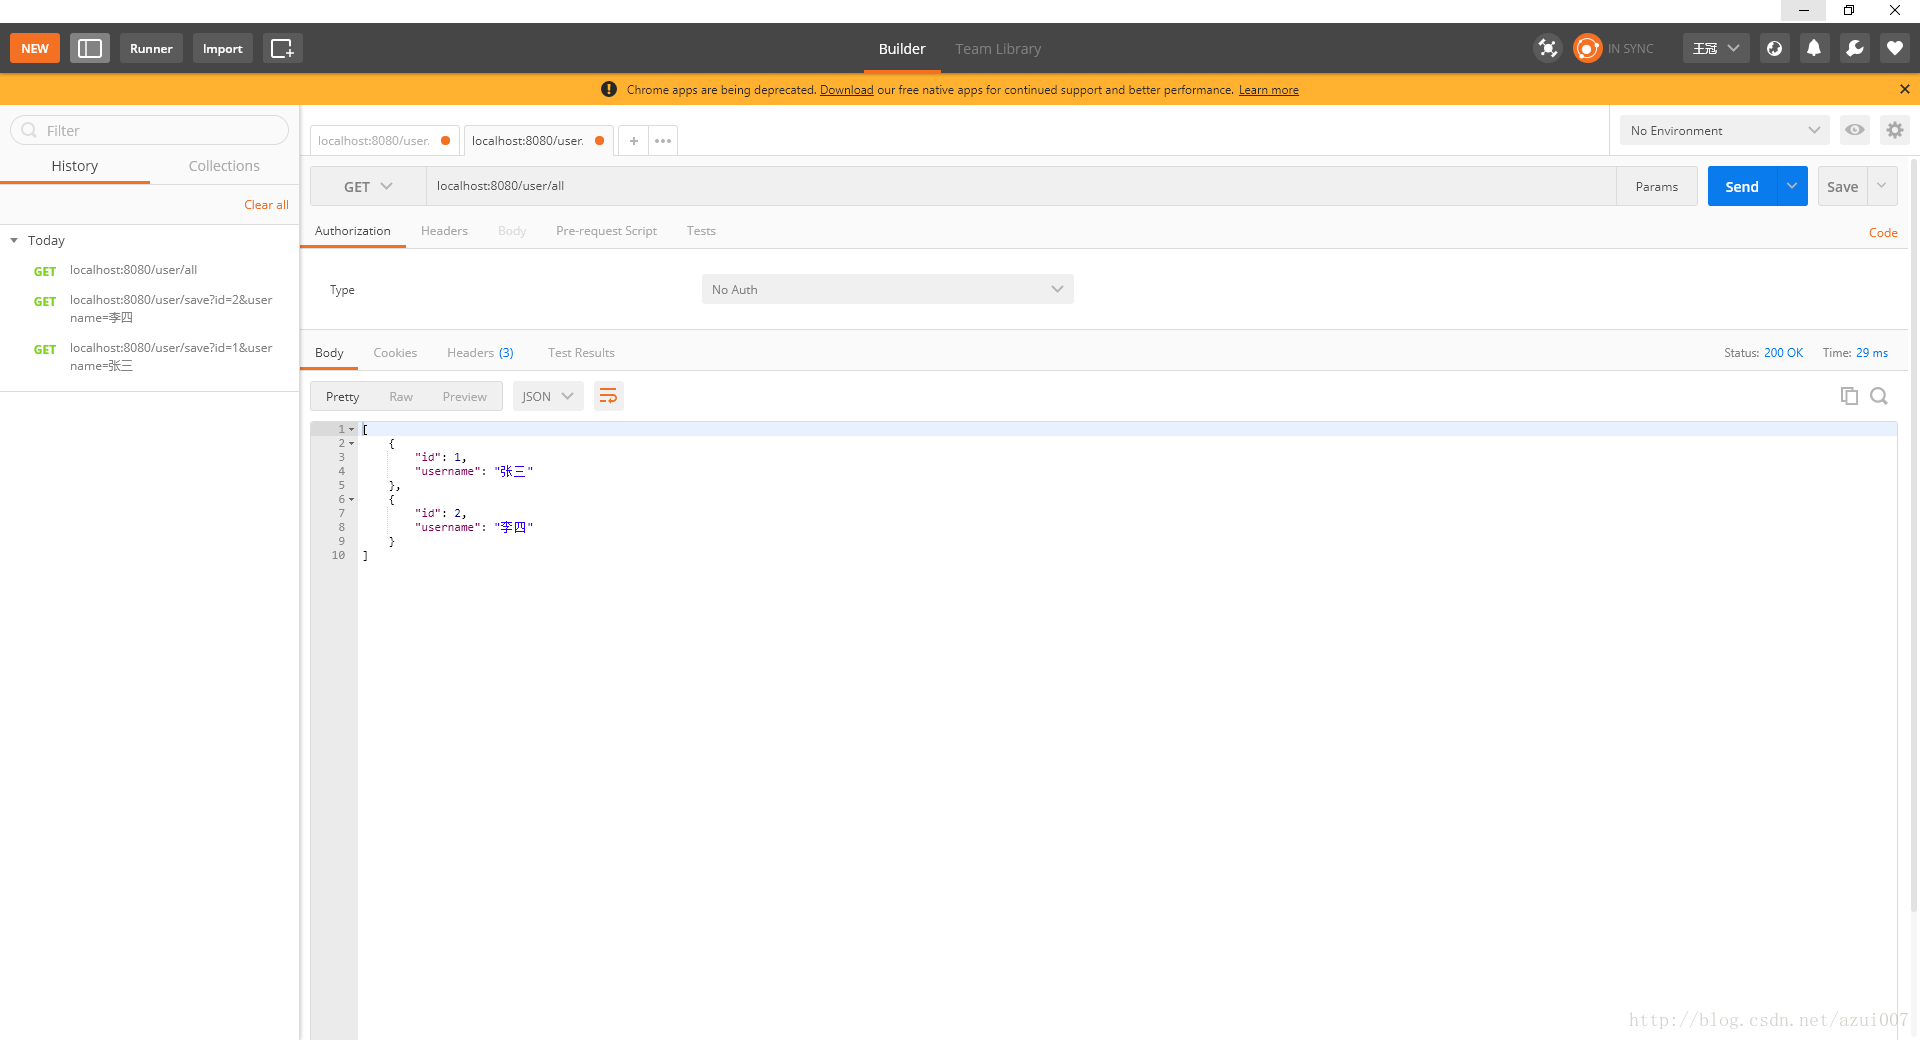
    @RequestMapping(value = "/all")
    public List<UserEntity> getAllUser(){
        return jpa.findAll();
    }
使用findAll会得到一个list对象,通过Controller的RequestMapping注解访问这个方法会直接得到一个json对象。
更新数据和添加数据一样,都是使用jpa.save
如果该主键的数据不存在,会自动向数据库添加该数据,如果该主键已经存在,会根据该主键更新该数据其他字段。
    @RequestMapping(value = "/delete")
    public void deleteAll(UserEntity userEntity){
         jpa.delete(userEntity);
    }
通过jap.delete会自动根据userEntity的主键删掉对应数据。
如果觉得我的文章对您有用,请随意打赏。你的支持将鼓励我继续创作!