社区微信群开通啦,扫一扫抢先加入社区官方微信群

社区微信群
目录
为了大家少走弯路,我直接给大家个链接下载就好了 我是链接
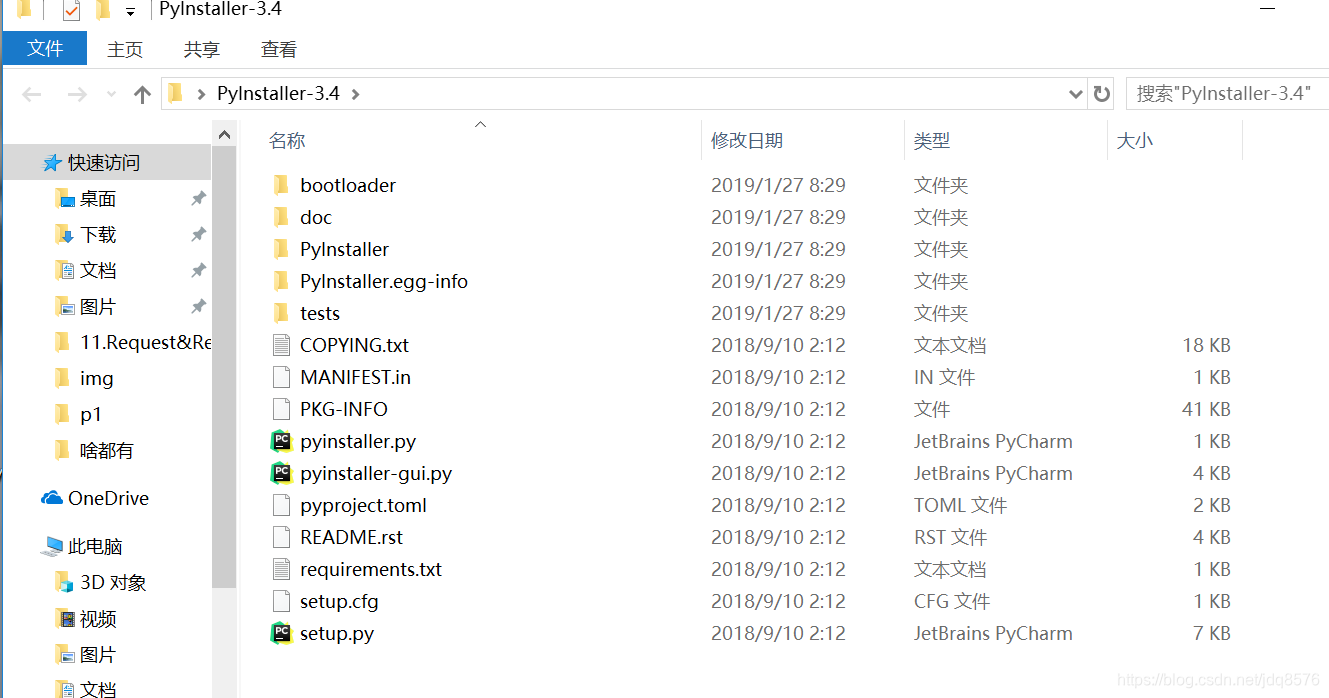
把这个下载之后解压放在任意的地方,我的放在桌面上了.
我在这里准备了我实训的时候根据json接口写的爬取天气信息的一个py文件
import requests, json


class Weather(object):
    def __init__(self):
        self.ip_api = 'https://api.map.baidu.com/location/ip?ak=KHkVjtmfrM6NuzqxEALj0p8i1cUQot6Z'
        self.weather_api = 'http://api.map.baidu.com/telematics/v3/weather?location={}&output=json&ak=TueGDhCvwI6fOrQnLM0qmXxY9N0OkOiQ&callback=?'

    def get_current_city(self):
        resopnse = requests.get(self.ip_api)
        city_dict = json.loads(resopnse.text)
        city = city_dict['content']['address_detail']['city']
        return city

    def get_weather(self,city):
        api = self.weather_api.format(city)
        response = requests.get(api)
        air_text = response.text
        tmp = json.loads(air_text)
        tmp = tmp['results']
        res_data = tmp[0]
        city = res_data['currentCity']
        pm = res_data['pm25']
        suggestions = [res_data['index'][0]['des'], res_data['index'][2]['des'], res_data['index'][2]['des'], res_data['index'][3]['des']]
        today = res_data['weather_data'][0]
        tommorrow = res_data['weather_data'][1]
        tdat = res_data['weather_data'][2]
        tdatdat = res_data['weather_data'][3]
        print('tttt天气预报')
        print('ttttttttBy jdq')
        print('t当前城市:{}'.format(city))
        print('t日期:', today['date'], '天气:', today['weather'], '风:', today['wind'], '温度:', today['temperature'])
        print('t四条小建议:')
        print('t1.', suggestions[0])
        print('t2.', suggestions[1])
        print('t3.', suggestions[2])
        print('t4.', suggestions[3])
        print('t未来三天的天气')
        print('t日期:', tommorrow['date'], '天气:', tommorrow['weather'], '风:', tommorrow['wind'], '温度:', tommorrow['temperature'])
        print('t日期:', tdat['date'], '天气:', tdat['weather'], '风:', tdat['wind'], '温度:', tdat['temperature'])
        print('t日期:', tdatdat['date'], '天气:', tdatdat['weather'], '风:', tdatdat['wind'], '温度:', tdatdat['temperature'])


if __name__ == '__main__':
    obj = Weather()
    obj.get_weather(obj.get_current_city())
    while True:
        city = input('输入城市名查天气(输入bye退出):')
        if city == 'bye':
            print('Are you sure? y or n')
            res = input()
            if res == 'y':
                break
            else:
                city = input('输入城市名查天气:')
        obj.get_weather(city)
把这个文件放在我们刚才解压pyinstaller文件夹下面
window+r打开命令行
先cd把当前路径转移到我们的解压pyintsaller的路径下
cd C:Usersjdq8576DesktopPyInstaller-3.4

使用命令生成exe
执行下面的命令会生成一个与py文件同名的文件夹,exe在其子文件夹dist放着
python pyinstaller.py -F spider.py

如果我们要改图标可以用下面的这个命令,可能不会立即生效,应该是window缓冲问题,exe改个名字就刷新出来了.
注意这个图片必须是ico类型的,可以提供个 链接 把我们普通的图片生成ico类型的
python pyinstaller.py -F -i 1.ico spider.py

如果觉得我的文章对您有用,请随意打赏。你的支持将鼓励我继续创作!
