社区微信群开通啦,扫一扫抢先加入社区官方微信群

社区微信群
Glide是一个快速高效的多媒体管理和图像加载的框架,封装了Android平台的多媒体的解码,内存和硬盘缓存等
Glide支持解码,显示视频,图像和GIFS,Glide是基于HttpUrlConnection
添加依赖:
compile 'com.github.bumptech.glide:glide:3.7.0'Glide库是使用流接口。对一个完整的功能请求,Glide建造者要求最少有三个参数:
 - with(Context context)
 - load(String imageUrl) 这里可以指定哪个图片应该被加载,同时它会是一个字符串的形式表示一个网络图片的URL
 - into(ImageView targetImageView)所需要的图片会显示到对应的ImageView中
 imageView = (ImageView)findViewById(R.id.image);
        String url = "http://img5.imgtn.bdimg.com/it/u=462416505,3678022430&fm=26&gp=0.jpg";
        Glide.with(this)
                .load(url)
                .into(imageView);
不要忘记添加网络权限
首先从Android资源中加载,使用一个资源id(int)
 imageView = (ImageView)findViewById(R.id.image);

        Glide.with(this)
                .load(R.mipmap.ic_launcher)
.into(imageView); File file = new File (Environment.getExternalStorageDirectory()+"/pictures/screenshots","test.png");
Glide.with(this)
.load(file)
.into(imageView);//这可能是任何 Uri。为了演示的目的我们只是用一个 launcher icon 去创建了一个 Uri
Uri uri = resourceIdToUri(context, R.mipmap.future_studio_launcher);
Glide
.with(context)
.load(uri)
.into(imageViewUri);一个小助手功能:简单的从资源 id 转换成 Uri。
public static final String ANDROID_RESOURCE = "android.resource://";
public static final String FOREWARD_SLASH = "/";

private static Uri resourceIdToUri(Context context, int resourceId) {
    return Uri.parse(ANDROID_RESOURCE + context.getPackageName() + FOREWARD_SLASH + resourceId);
}
这里的Uri可以是任何的Uri
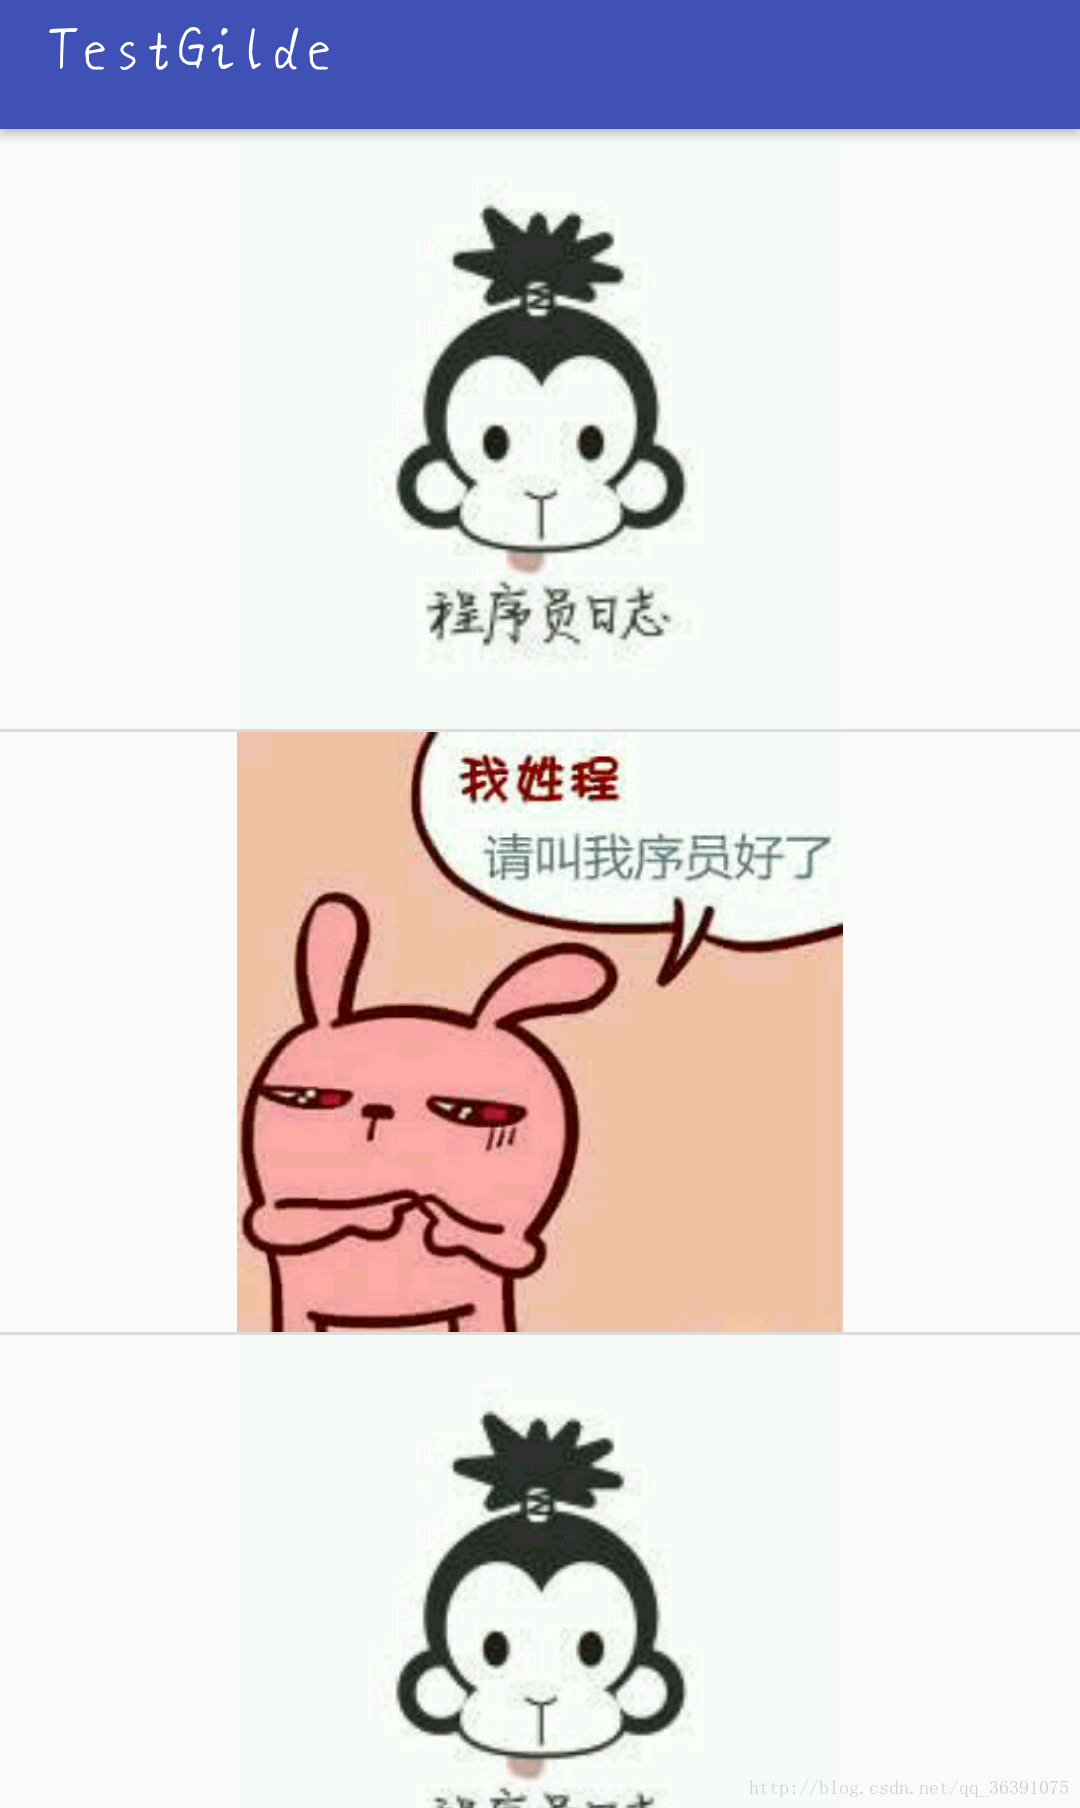
首先,准备一些图片
 public static String[] eatFoodyImages = {
            "http://img3.imgtn.bdimg.com/it/u=1130998693,2672446652&fm=26&gp=0.jpg",
            "http://img5.imgtn.bdimg.com/it/u=2929741107,3781080846&fm=26&gp=0.jpg",

            "http://img3.imgtn.bdimg.com/it/u=1130998693,2672446652&fm=26&gp=0.jpg",
            "http://img5.imgtn.bdimg.com/it/u=2929741107,3781080846&fm=26&gp=0.jpg",
            "http://img3.imgtn.bdimg.com/it/u=1130998693,2672446652&fm=26&gp=0.jpg",

            "http://img3.imgtn.bdimg.com/it/u=1130998693,2672446652&fm=26&gp=0.jpg",

            "http://img5.imgtn.bdimg.com/it/u=3246667522,2585452571&fm=26&gp=0.jpg",
            "http://img3.imgtn.bdimg.com/it/u=1130998693,2672446652&fm=26&gp=0.jpg",
            "http://img5.imgtn.bdimg.com/it/u=3246667522,2585452571&fm=26&gp=0.jpg",
            "http://img3.imgtn.bdimg.com/it/u=1130998693,2672446652&fm=26&gp=0.jpg",

    };
在Adapter中
public class Adapter extends ArrayAdapter<String>{
    Context context;
    int res;
    String[] imags;

    public Adapter(Context context, int resource, String[] objects) {
        super(context, resource,  objects);
        this.context = context;
        res = resource;
        imags = objects;

    }


    @NonNull
    @Override
    public View getView(int position, View convertView, ViewGroup parent) {
        View view ;
        ViewHolder holder;

        if(convertView == null){
            view= LayoutInflater.from(context).inflate(res,parent,false);
            holder = new ViewHolder();
            holder.imageView = (ImageView)view.findViewById(R.id.image);
            view.setTag(holder);
        }else {
            view = convertView;
            holder = (ViewHolder) view.getTag();
        }

        holder.imageView = (ImageView)view.findViewById(R.id.image);

        Glide.with(context)
                .load(imags[position])
                .into(holder.imageView);

        Log.d("aaaa",String.valueOf(position));

        return view;
    }

    class ViewHolder{
        ImageView imageView;
    }
}
效果:
Glide的一个优势:缓存
当我们上下滚动很多次,我们会看到图片显示的比之前快的多。在比较新的手机上,这甚至都不需要时间去等。Glide的缓存实现是基于Picasso,缓存大小时依赖设备的磁盘大小
当加载图片时,glide使用3个来源:内存,磁盘和网络(从最快到最慢)。这里我们不需要做任何事情,glide帮我们隐藏了所有复杂的情况,同时为我们创建了一个只能的缓存大小
空 ImageView 在任何 UI 上都是不好看的。如果你用 Glide,你很可能是通过网络连接加载图像。根据你用户的环境,这可能需要花费很多的时间。一个预期的行为是一个APP去显示一个占位符直到这张图片加载处理完成
Glide的流式接口让这个变得非常容易的去做到,只需要调用.placeHolder()用一个drawable(resource)引用,Glide将会显示它作为一个占位符,直到我们的实际图片准备好
Glide
    .with(context)
    .load(UsageExampleListViewAdapter.eatFoodyImages[0])
    .placeholder(R.mipmap.ic_launcher) // can also be a drawable
    .into(imageViewPlaceholder);
错误占位符:error()
假设我们的APP尝试从一个网站去加载一张图片,glide给我们一个选项去获取一个错误的回调并采取合适的行动。
其实在大多数情况下使用占位符,来指明图片不能被加载已经足够了。
Glide
    .with(context)
    .load("http://futurestud.io/non_existing_image.png")
    .placeholder(R.mipmap.ic_launcher) // can also be a drawable
    .error(R.mipmap.future_studio_launcher) // will be displayed if the image cannot be loaded
    .into(imageViewError);
这样,如果我们定义的load()值的图片不能被加载出来,glide会显示R.mipmap.future_studio_launcher作为替换。error()接受的参数只能是已经初始化的 drawable 对象或者指明它的资源(R.drawable.<drawable-keyword>)。
无论我们是在加载图片之前是否显示一个占位符,改变imageview的图片在我们的UI中有非常显著的变化。一个简单的选项是让它改变是更加平滑的,就是使用一个淡入淡出动画。glide使用标准的淡入淡出动画,这是默认激活的
Glide
    .with(context)
    .load(UsageExampleListViewAdapter.eatFoodyImages[0])
    .placeholder(R.mipmap.ic_launcher) // can also be a drawable
    .error(R.mipmap.future_studio_launcher) // will be displayed if the image cannot be loaded
    .crossFade()
.into(imageViewFade);crossFade()方法还有另外重载方法.crossFade(int duration),如果我们想要减慢(或者加快)动画,随时可以传入一个毫秒的时间。动画默认的持续时间是300毫秒
如果我们想直接显示图片而没有任何淡入淡出效果,在glide的构建中调用.dontAnimate()
Glide
    .with(context)
    .load(UsageExampleListViewAdapter.eatFoodyImages[0])
    .placeholder(R.mipmap.ic_launcher) // can also be a drawable
    .error(R.mipmap.future_studio_launcher) // will be displayed if the image cannot be loaded
    .dontAnimate()
.into(imageViewFade);glide自动限制了图片的尺寸在缓存和内存中,并给到ImageView需要的尺寸。
调用override(horizontalSize, verticalSize),这将在图片显示到imageview之前重新改变图片大小
Glide
    .with(context)
    .load(UsageExampleListViewAdapter.eatFoodyImages[0])
    .override(600, 200) // resizes the image to these dimensions (in pixel). does not respect aspect ratio
.into(imageViewResize);现在,对于任何图像操作,调整大小真的能让长宽比失真并且丑化图像显示。glide提供了一般化去处理图像显示,提供了两个标准选项:centerCrop和fitCenter
centerCrop
centerCrop()是一个裁剪计数,即缩放图像让它填充到ImageView界限内并且裁剪额外的部分
ImageView可能会完全填充,但图像可能不会完整显示
Glide
    .with(context)
    .load(UsageExampleListViewAdapter.eatFoodyImages[0])
    .override(600, 200) // resizes the image to these dimensions (in pixel)
    .centerCrop() // this cropping technique scales the image so that it fills the requested bounds and then crops the extra.
    .into(imageViewResizeCenterCrop);
fitCenter
fitCenter()是裁剪技术,即缩放图像让图像都测量出来等于或小于ImageView的边界范围。该图像将会完全显示,但可能不会填满整个ImageView
Glide
    .with(context)
    .load(UsageExampleListViewAdapter.eatFoodyImages[0])
    .override(600, 200)
    .fitCenter()
.into(imageViewResizeFitCenter);想显示gif,其实很简单,跟过去的一样:
String gifUrl = "http://i.kinja-img.com/gawker-media/image/upload/s--B7tUiM5l--/gf2r69yorbdesguga10i.gif";
Glide
    .with( context )
    .load( gifUrl )
    .placeholder( R.drawable.cupcake )
    .error( R.drawable.full_cake )
    .into( imageViewGif );
我们任然可以处理这个gif
gif检查
上面的代码有一个潜在的问题是,如果提供的来源不是一个gif,可能只是一个常规图片,这就没有办法显示这个问题。如果你期望这个URL是一个GIF,Glide不会自动检查是否是Gif,因此引入了一个额外的放大强制Glide变成一个Gif
Glide
    .with( context )
    .load( gifUrl )
    .asGif()
    .error( R.drawable.full_cake )
    .into( imageViewGif );
这样,如果gifUrl不是一个Gif,Glide将会把这个load当成失败处理,这样error()被回调并且错误占位符被显示,即使gifUrl是一个完美的图片
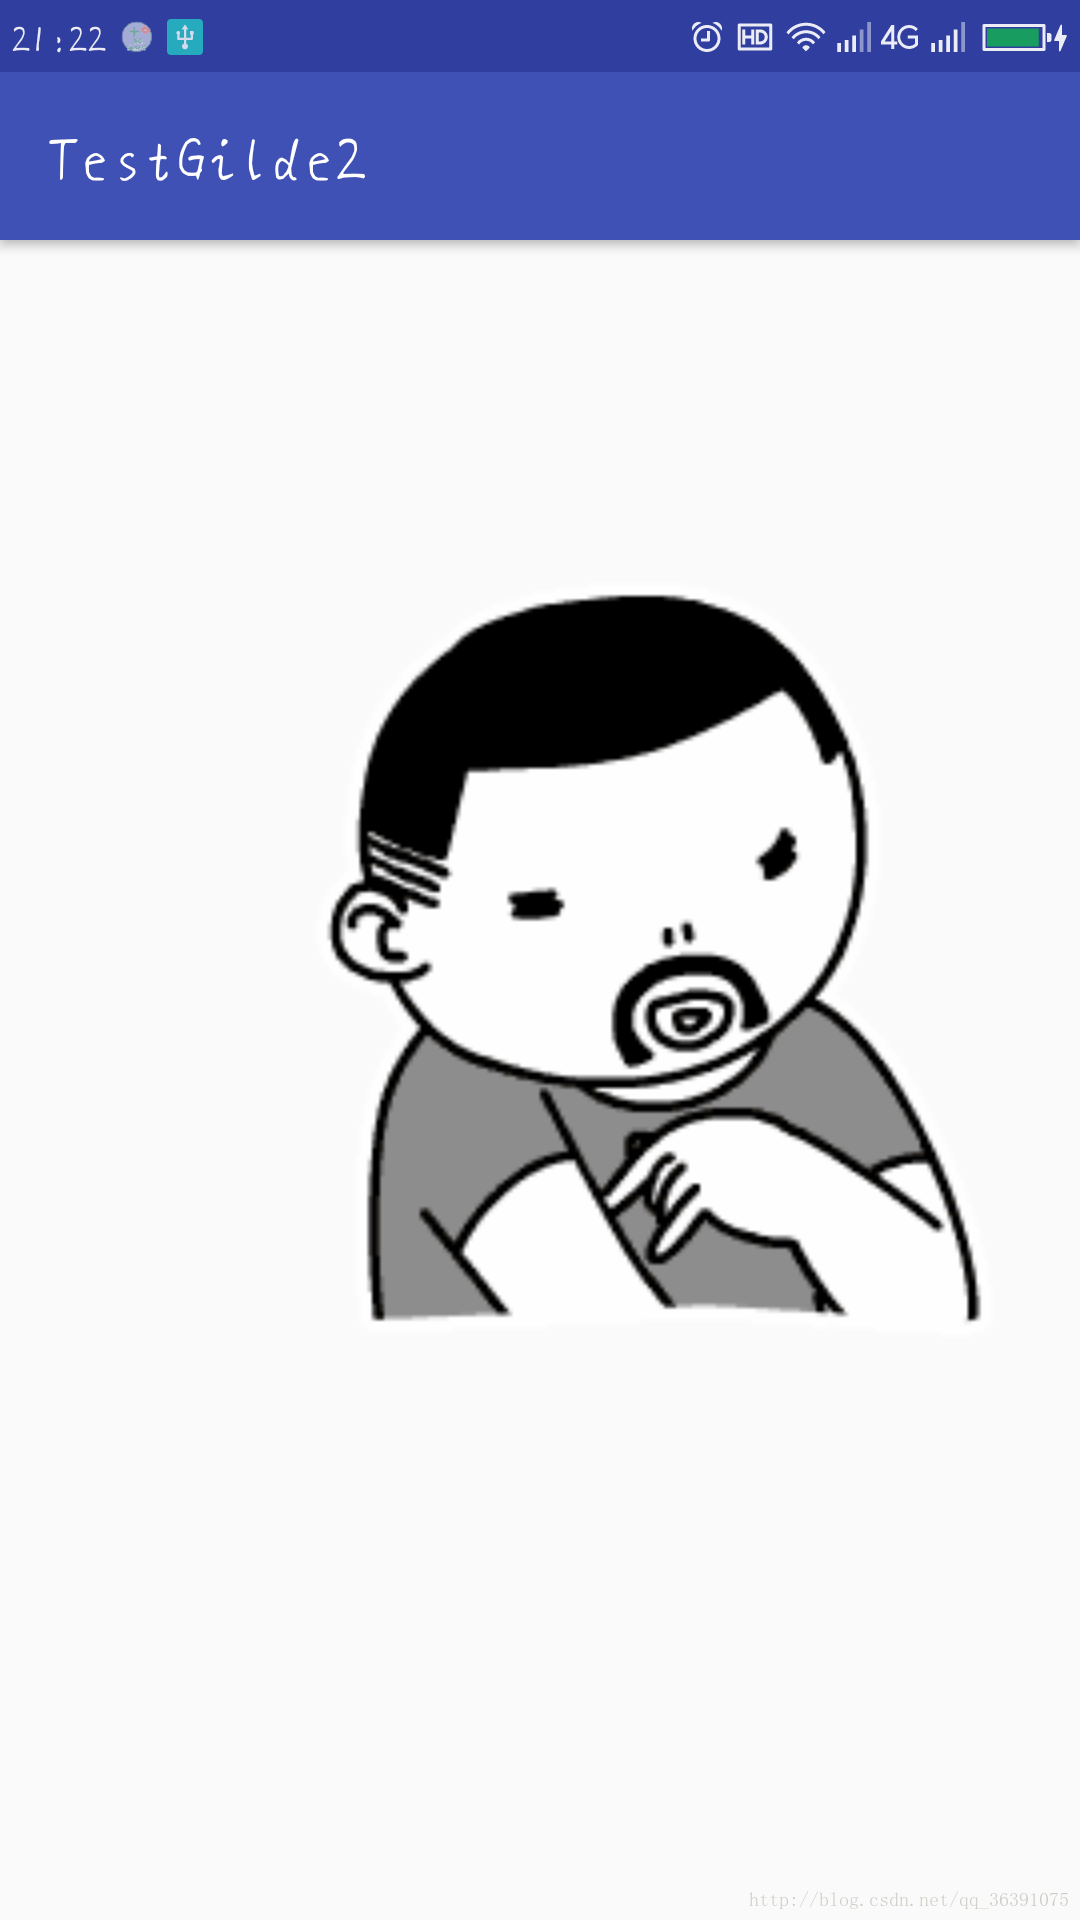
Gif装成Bitmap
如果你的 App 显示一个位置的网络 URL 列表,它可能遇到常规的图片或者 Gif。在某些情况下,你可能对不想系那是整个 Gif。如果你仅仅想要显示 Gif 的第一帧,你可以调用 asBitmap() 去保证其作为一个常规的图片显示,即使这个 URL 是一个 Gif。
Glide
    .with( context )
    .load( gifUrl )
    .asBitmap()
    .into( imageViewGifAsBitmap );
原来的gif: 
效果:
注意:当我测试asGif()和asBitmap()的时候,我用的android studio 的版本是2.2.2,就不能调用asGif和asBitamp
而且这两个的调用需要在紧接着load()之后
现在来谈谈视频。Glide 还能显示视频!只要他们是存储在手机上的。让我们假设你通过让用户选择一个视频后得到了一个文件路径:
String filePath = "/storage/emulated/0/Pictures/example_video.mp4";
Glide
    .with( context )
    .load( Uri.fromFile( new File( filePath ) ) )
    .into( imageViewGifAsBitmap );
这里需要注意的是,这仅仅对于本地视频起作用。如果没有存储在该设备上的视频(如一个网络 URL 的视频),它是不工作的!如果你想显示视频从网络 URL,去看看 VideoView。
Glide通过使用默认的内存和磁盘缓存去避免不必要的网络请求。
Glide提供了方法去适配内存和磁盘缓存行为
Glide
    .with( context )
    .load( eatFoodyImages[0] )
    .skipMemoryCache( true )
.into( imageViewInternet );我们调用.skipMemoryCache( true )去明确告诉Glide跳过内存缓存,这意味着Glide将不会把这张图片放到内存缓存中去,但是,这只会影响内存缓存,Glide将会仍然利用磁盘缓存来避免重复的网络请求。
Glide将会默认将所有的图片资源放到内存缓存中去
注意:对于相同的URL,如果初始请求没有调用 .skipMemoryCache(true)方法,后面又调用了,这个资源将会在内存中获取缓存。当我们想条缓存行为的时候,确保对同一个资源调用的一致性。
我们可以用.diskCacheStrategy()方法为Glide改变磁盘缓存的行为。它需要的一个枚举。如果想要为一个请求禁用磁盘缓存,使用枚举:DiskCacheStrategy.NONE
Glide
    .with( context )
    .load( eatFoodyImages[0] )
    .diskCacheStrategy( DiskCacheStrategy.NONE )
.into( imageViewInternet );Glide有多个选项去配置磁盘缓存行为,Dlide的磁盘缓存是相当复杂的。当我们请求一个图片的时候,Glide会缓存原始图像,全分辨率图像和另外小版本的图像。比如,如果我们请求的一个图像是1000X1000像素,但是ImageView是500X500像素的,Glide将会把这两个尺寸都进行缓存
对于 .diskCacheStrategy() 方法来说不同的枚举参数的意义:
缩略图不同于之前提前的占位符。占位符必须附带应用程序捆绑的资源才行。缩略图是动态占位符。它可以从网络中加载。缩略图将会在实际请求加载完或者处理完之后才显示。如果缩略图对于任何原因,在原始图像到达之后,它不会取代原始图像,它只会被抹除
Glide为缩略图提供2个不同的方式。第一个是简单的选择,在原始图像被用过之后,,这只需要一个较小的分辨率。这个方法在ListView的组合和详细视图中是非常有用的。这么说吧,在250x250 像素的中,图像将在详细视图中需要一个更大的分辨率图像。然而,从用户的角度来看,他已经看到较小版本的图像,为什么在详情页中出现一个占位符显示了几秒,然后相同图像又再次一次显示(高分辨率的)?
在这种情况下,它有更好的意义去继续显示这张250X250像素版本的图像在详细视图上,并且后台去加载全分辨率的图像。Glide的.thumbnail()方法让着一切成为可能。在这样的情况下,这个参数是一个float作为其大小的倍数
Glide
    .with( context )
    .load( UsageExampleGifAndVideos.gifUrl )
    .thumbnail( 0.1f )
    .into( imageView2 );
例如,我们传了0.1f作为参数,Glide将会显示原始图像的10%的大小。我们还需要确保它的ScaleType的设置是正确的
第二个选择是传一个完全新的Glide请求作为参数
private void loadImageThumbnailRequest() {
    // setup Glide request without the into() method
    DrawableRequestBuilder<String> thumbnailRequest = Glide
        .with( context )
        .load( eatFoodyImages[2] );

    // pass the request as a a parameter to the thumbnail request
    Glide
        .with( context )
        .load( UsageExampleGifAndVideos.gifUrl )
        .thumbnail( thumbnailRequest )
        .into( imageView3 );
}当我们只要Bitmap,Glide提供了一个用Targets的简单的方法去接受图片资源的Bitmap。Target是没有任何别的回调,它在Glide做完所有加载和处理之后返回结果
simpleTarget
 SimpleTarget<Bitmap> target = new SimpleTarget<Bitmap>() {
            @Override
            public void onResourceReady(Bitmap resource, GlideAnimation<? super Bitmap> glideAnimation) {
                imageView.setImageBitmap(resource);
            }
        };

private void loadImageSimpleTarget() {
    Glide
        .with( context ) // could be an issue!
        .load( eatFoodyImages[0] )
        .asBitmap()
        .into( target );
}
这段代码的第一部分创建了一个字段对象,声明了一个方法,即一旦Glide已加载并处理完图像,它将被调用。
我们需要在activity生命周期之外去load一个图片:
private void loadImageSimpleTargetApplicationContext() {

      Glide

          .with( context.getApplicationContext() ) // safer!

          .load( eatFoodyImages[1]

          .asBitmap()

          .into( target2 );

  }
target指定尺寸
另一个潜在的问题,target没有指明大小。我们可以在声明中去指定大小:
private SimpleTarget target2 = new SimpleTarget<Bitmap>( 250, 250 ) {
    @Override
    public void onResourceReady(Bitmap bitmap, GlideAnimation glideAnimation) {
        imageView2.setImageBitmap( bitmap );
    }
};
ViewTarget
Glide并不支持加载图片到自定义view中。我们可以用viewTarget实现:
首先简单定义一个view:
public class FutureStudioView extends FrameLayout {
    ImageView iv;
    TextView tv;

    public void initialize(Context context) {
        inflate( context, R.layout.custom_view_futurestudio, this );

        iv = (ImageView) findViewById( R.id.custom_view_image );
        tv = (TextView) findViewById( R.id.custom_view_text );
    }

    public FutureStudioView(Context context, AttributeSet attrs) {
        super( context, attrs );
        initialize( context );
    }

    public FutureStudioView(Context context, AttributeSet attrs, int defStyleAttr) {
        super( context, attrs, defStyleAttr );
        initialize( context );
    }

    public void setImage(Drawable drawable) {
        iv = (ImageView) findViewById( R.id.custom_view_image );

        iv.setImageDrawable( drawable );
    }
}
创建ViewTarget
private void loadImageViewTarget() {
    FutureStudioView customView = (FutureStudioView) findViewById( R.id.custom_view );

    viewTarget = new ViewTarget<FutureStudioView, GlideDrawable>( customView ) {
        @Override
        public void onResourceReady(GlideDrawable resource, GlideAnimation<? super GlideDrawable> glideAnimation) {
            this.view.setImage( resource.getCurrent() );
        }
    };

    Glide
        .with( context.getApplicationContext() ) // safer!
        .load( eatFoodyImages[2] )
        .into( viewTarget );
}
确保必须在ViewTarget的构造函数中传递我们自定义view作为参数
NotificationTarget
让图片加载到Notification
关于自定义通知栏可见博客:
http://blog.csdn.net/qq_36391075/article/details/75450613
当我们自定义好通知栏后,我们需要notification,RemoteViews和NOTIFICTION_ID去创建一个通知target
private NotificationTarget notificationTarget;

...

notificationTarget = new NotificationTarget(
    context,
    rv,//RemoteView
    R.id.remoteview_notification_icon,
    notification,
    NOTIFICATION_ID);
最后,我们调用Gilde:
Glide
    .with( context.getApplicationContext() ) // safer!
    .load( eatFoodyImages[3] )
    .asBitmap()
    .into( notificationTarget );
App Widgets
应用小部件一直以来是android的一部分。如果我们需要给APP提供小部件并且包含图像,我们可以用APPWidgetTarget实现:
public class FSAppWidgetProvider extends AppWidgetProvider {

    private AppWidgetTarget appWidgetTarget;

    @Override
    public void onUpdate(Context context, AppWidgetManager appWidgetManager,
                         int[] appWidgetIds) {

        RemoteViews rv = new RemoteViews(context.getPackageName(), R.layout.custom_view_futurestudio);

        appWidgetTarget = new AppWidgetTarget( context, rv, R.id.custom_view_image, appWidgetIds );

        Glide
                .with( context.getApplicationContext() ) // safer!
                .load( GlideExampleActivity.eatFoodyImages[3] )
                .asBitmap()
                .into( appWidgetTarget );

        pushWidgetUpdate(context, rv);
    }

    public static void pushWidgetUpdate(Context context, RemoteViews rv) {
        ComponentName myWidget = new ComponentName(context, FSAppWidgetProvider.class);
        AppWidgetManager manager = AppWidgetManager.getInstance(context);
        manager.updateAppWidget(myWidget, rv);
    }
}在图片被显示之前,transformation(转换)可以被用于图像的操作处理。比如,如果我们的应用需要显示一个灰色的头像,但是我们只能访问到原始色彩的版本,我们可以用transformation去操作bitmap,从而将一个明亮色彩版本的图片传唤成灰暗的版本。
transformation可以图片的任意属性:尺寸,范围,颜色,像素位置等等
Glide已经包含了2个transformation,我们之前看到过的图像重设大小:
fitCenter,centerCrop
实现自己的Transformation
我们需要实现Transformation接口
如果只是想对图片做常规的bitmap转换,推荐使用BitmapTransformation,它简化很多
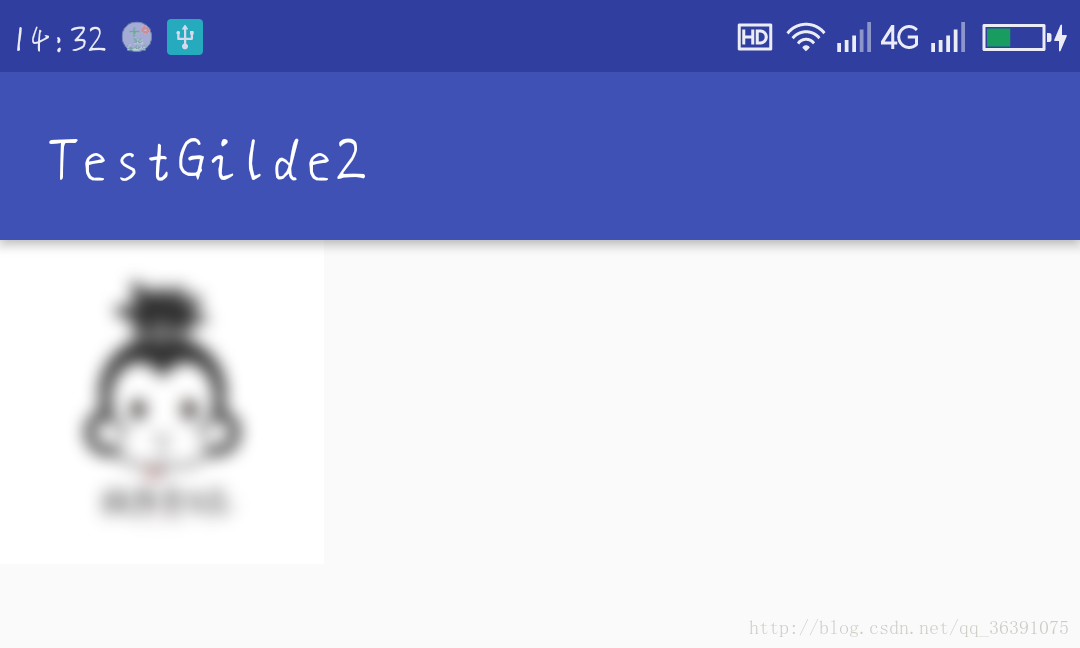
模糊图像的例子:
public class BlurTransformation extends BitmapTransformation {

    private RenderScript rs;

    public BlurTransformation(Context context) {
        super( context );

        rs = RenderScript.create( context );
    }

    @Override
    protected Bitmap transform(BitmapPool pool, Bitmap toTransform, int outWidth, int outHeight) {
        Bitmap blurredBitmap = toTransform.copy( Bitmap.Config.ARGB_8888, true );

        // Allocate memory for Renderscript to work with
        Allocation input = Allocation.createFromBitmap(
            rs,
            blurredBitmap,
            Allocation.MipmapControl.MIPMAP_FULL,
            Allocation.USAGE_SHARED
        );
        Allocation output = Allocation.createTyped(rs, input.getType());

        // Load up an instance of the specific script that we want to use.
        ScriptIntrinsicBlur script = ScriptIntrinsicBlur.create(rs, Element.U8_4(rs));
        script.setInput(input);

        // Set the blur radius
        script.setRadius(10);

        // Start the ScriptIntrinisicBlur
        script.forEach(output);

        // Copy the output to the blurred bitmap
        output.copyTo(blurredBitmap);

        toTransform.recycle();

        return blurredBitmap;
    }

    @Override
    public String getId() {
        return "blur";
    }
}详细原理可以看:https://futurestud.io/tutorials/how-to-blur-images-efficiently-with-androids-renderscript
Glide 有两种方式去使用转换。首先是传一个的你的类的实例作为参数给 .transform()。你这里你可以使用任何转换,无论它是否是用于图像还是 Gif。其他选择是使用 .bitmapTransform(),它只能用于 bitmap 的转换。因为我们上面的实现是为 bitmap 设计的,这两者我们都可以用:
Glide
    .with( context )
    .load( eatFoodyImages[0] )
    .transform( new BlurTransformation( context ) )
    //.bitmapTransform( new BlurTransformation( context ) ) // this would work too!
    .into( imageView1 );
效果:
通常,Glide 的流式接口允许方法以链式的形式。然而对于转换却并不在这种场景下。确保你只调用了一次 .transform() 或 .bitmapTransform(),否则,之前的配置就会被覆盖掉的!然而,你还是可以运用多种转换的,通过传递多个转换对象作为参数传给 .transform() 或 .bitmapTransform()。
Glide
    .with( context )
    .load( eatFoodyImages[1] )
    .transform( new GreyscaleTransformation( context ), new BlurTransformation( context ) )
    .into( imageView2 );
这个代码片段中,我们把一个图像设置了灰度,然后做了模糊。Glide 为你自动执行了这两个转换。
Glide转换库:https://github.com/wasabeef/glide-transformations
它为Glide转换提供了多种多样的实现
Glide中有一个标准动画去柔软的在我们的UI中改变
除了.crossFade(),Glide提供了两个选项去设置一个动画,两个版本都在animate()中,但传的参数不同
动画仅仅用于不从缓存中加载的情况
从资源中加载动画
传入一个Android的资源id,android.R.anim.slide_in_left,
下面是这个动画的XML描述:
<set xmlns:android="http://schemas.android.com/apk/res/android">
    <translate android:fromXDelta="-50%p" android:toXDelta="0"
            android:duration="@android:integer/config_mediumAnimTime"/>
    <alpha android:fromAlpha="0.0" android:toAlpha="1.0"
            android:duration="@android:integer/config_mediumAnimTime" />
</set>
我们也可以创建自己的XML动画,比如一个小的缩放动画:
<?xml version="1.0" encoding="utf-8"?>
<set xmlns:android="http://schemas.android.com/apk/res/android"
     android:fillAfter="true">

    <scale
        android:duration="@android:integer/config_longAnimTime"
        android:fromXScale="0.1"
        android:fromYScale="0.1"
        android:pivotX="50%"
        android:pivotY="50%"
        android:toXScale="1"
        android:toYScale="1"/>
</set>
然后使用:
Glide
    .with( context )
    .load( eatFoodyImages[0] )
    .animate( android.R.anim.slide_in_left ) // or R.anim.zoom_in
    .into( imageView1 );
通过自定义类实现动画
如果我们的target是一些自定义的,我们可以用ViewPropertyAnimation.Animator接口
我们只需要实现void animate(View view)方法,这个视图对象使整个traget视图,如果它是一个自定义的视图,我们要找到我们视图的子元素,并且做些必要的动画
ViewPropertyAnimation.Animator animationObject = new ViewPropertyAnimation.Animator() {
    @Override
    public void animate(View view) {
        // if it's a custom view class, cast it here
        // then find subviews and do the animations
        // here, we just use the entire view for the fade animation
        view.setAlpha( 0f );

        ObjectAnimator fadeAnim = ObjectAnimator.ofFloat( view, "alpha", 0f, 1f );
        fadeAnim.setDuration( 2500 );
        fadeAnim.start();
    }
};
这是一个渐变动画
Glide
    .with( context )
    .load( eatFoodyImages[1] )
    .animate( animationObject )
    .into( imageView2 );
集成网络栈
通过HTTP/HTTPS从网络上下载图像并显示是非常重要的一块。虽然标准的android网络包也能做这些工作,但是Android中开发了很多提升网络的模块。每个库有它自己的优势和劣势
Glide不强制设置网络库给我们,所以Glide可以说和HTTP/S无关。理论上,它可以与任何的网络库实现,只要覆盖了基本的网络能力就行。
用Glide集成一个网络不是完全无缝的,它需要一个Glide的ModeLoader的接口。
Glide为2个网络库提供了实现:OkHttp和Volley
如果我们要集成Okhttp作为我们给Glide的网络库。集成可以通过声明一个GlideModule手动实现。如果不想手动实现,我们只需要添加依赖:
dependencies {
    // your other dependencies
    // ...

    // Glide
    compile 'com.github.bumptech.glide:glide:3.6.1'

    // Glide's OkHttp Integration
    compile 'com.github.bumptech.glide:okhttp-integration:1.3.1@aar'
    compile 'com.squareup.okhttp:okhttp:2.5.0'
}
Gradle会自动合并必要的GlideModule到我们的Manifrest。Glide会认可在manifest中的存在,然后使用Okhttp做到所有的网络连接
如果我们偏爱使用Volley,可以这样添加依赖:
dependencies {
    // your other dependencies
    // ...

    // Glide
    compile 'com.github.bumptech.glide:glide:3.6.1'

    // Glide's Volley Integration
    compile 'com.github.bumptech.glide:volley-integration:1.3.1@aar'
    compile 'com.mcxiaoke.volley:library:1.0.8'
}
这将添加Volley并集成到该库到我们的项目中。集成库添加GlideModule到我们的Manifest。Glide会自动认出它,然后使用Volley作为网络库。并不要求其他配置
文章来源:https://mrfu.me/2016/02/28/Glide_Customize_Glide_with_Modules/
如果觉得我的文章对您有用,请随意打赏。你的支持将鼓励我继续创作!