社区微信群开通啦,扫一扫抢先加入社区官方微信群

社区微信群
大神们好,最近跟着某位大佬学习,初次接触区块链项目,所以写下一些部署的步骤,欢迎大家来指正一些错误,希望我的能力可以有所提升。
下载最新版本的cURL工具(如果尚未安装)
选择合适的cURL版本
1.选择操作系统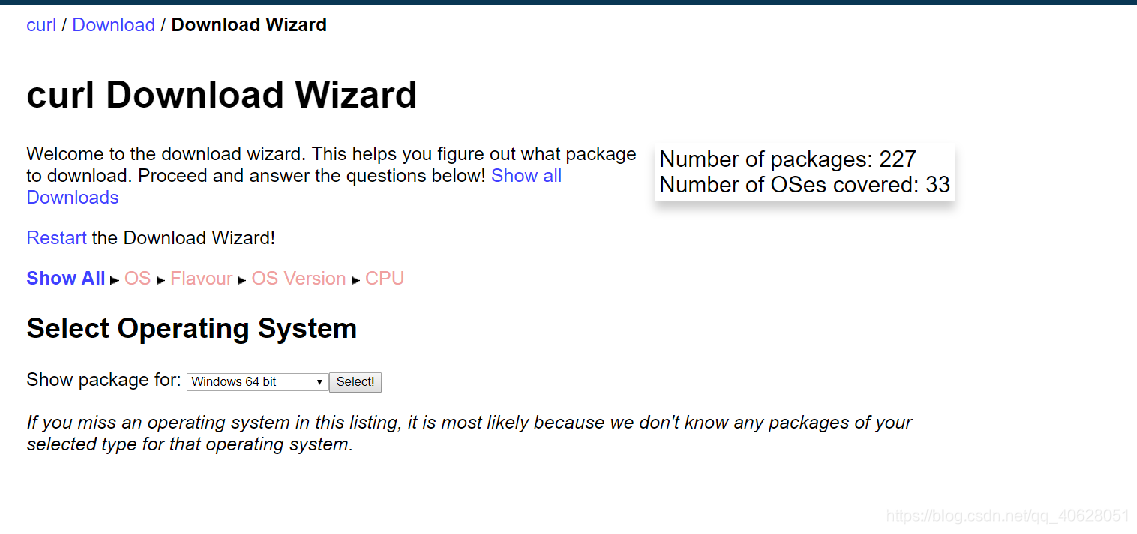
2.选择风格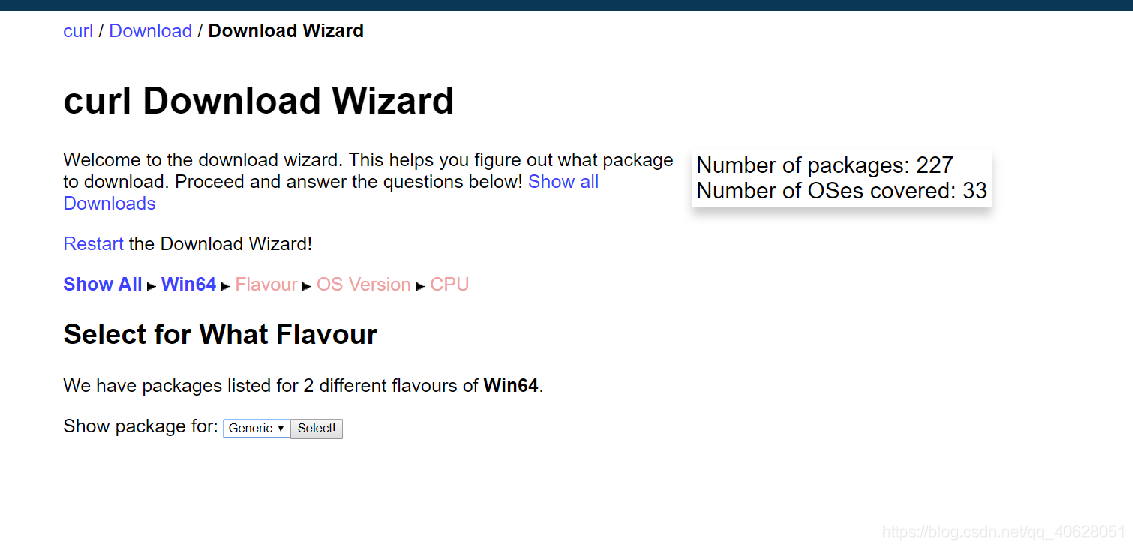
3.选择版本下载、解压
需要创建docker账号登陆下载并解压
win10pro以上版本:
Docker下载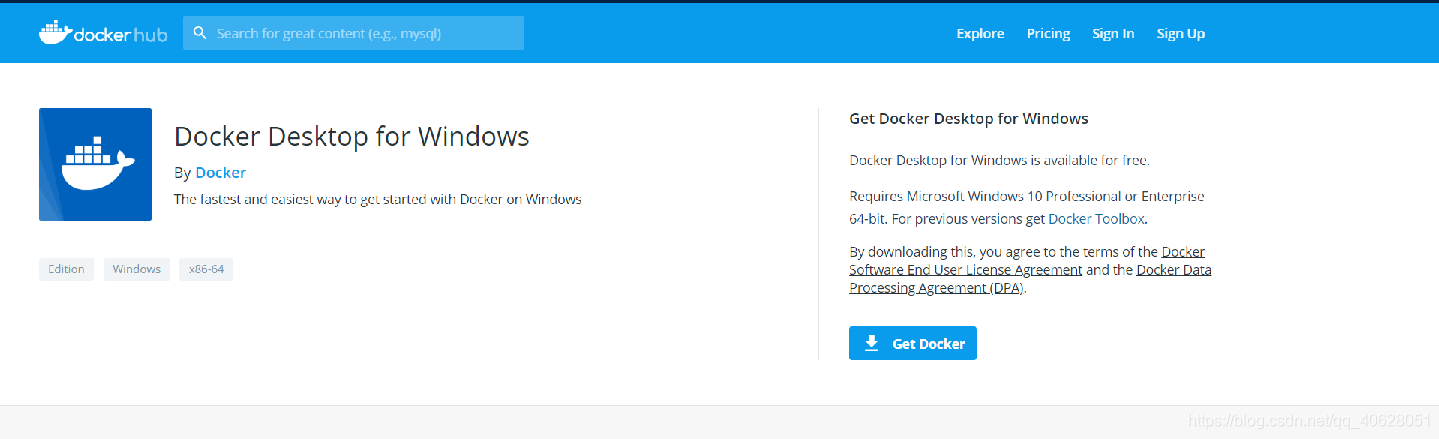
较旧版本的Windows:
Docker Toolbox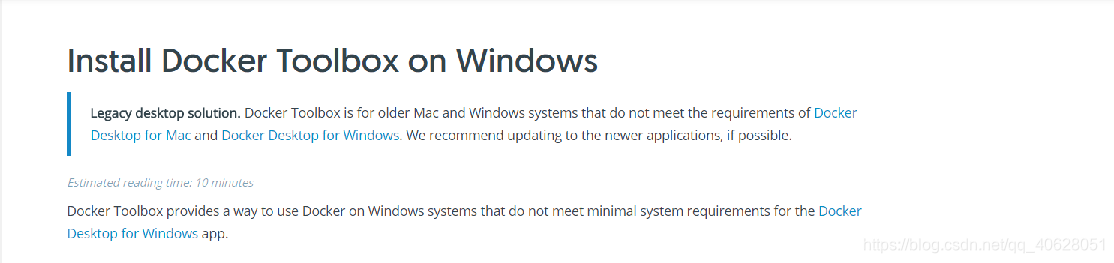

1.在桌面上,找到Docker QuickStart终端图标

2.单击Docker QuickStart图标以启动预配置的Docker Toolbox终端
**可能存在的问题: **
问题1: 点击Docker出现windows 正在查找bash.exe
解决方法:
右键点击Docker QuickStart,打开属性设置,在目标路径下填写:
"(填写git所在目录)" --login -i ”(填写Docker QuickStart的目录)“
问题2:
看不清楚的话:
$ docker version
Client:
 Version:           18.09.3
 API version:       1.39
 Go version:        go1.12
 Git commit:        774a1f4eee
 Built:             Mon Mar  4 10:36:44 2019
 OS/Arch:           windows/amd64
 Experimental:      false
error during connect: Get http://%2F%2F.%2Fpipe%2Fdocker_engine/v1.39/version: open //./pipe/docker_engine: The system cannot find the file specified. In the default daemon configuration on Windows, the docker client must be run elevated to connect. This error may also indicate that the docker daemon is not running.
解决方法:
在cmd中输入:
docker-machine env default

看不清楚:
C:UsersChenLiJian>docker version
Client:
 Version:           18.09.3
 API version:       1.39
 Go version:        go1.12
 Git commit:        774a1f4eee
 Built:             Mon Mar  4 10:36:44 2019
 OS/Arch:           windows/amd64
 Experimental:      false
error during connect: Get http://%2F%2F.%2Fpipe%2Fdocker_engine/v1.39/version: open //./pipe/docker_engine: The system cannot find the file specified. In the default daemon configuration on Windows, the docker client must be run elevated to connect. This error may also indicate that the docker daemon is not running.
按照提示输入命令: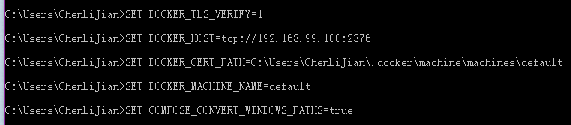

看不清楚:
C:UsersChenLiJian>SET DOCKER_TLS_VERIFY=1

C:UsersChenLiJian>SET DOCKER_HOST=tcp://192.168.99.100:2376

C:UsersChenLiJian>SET DOCKER_CERT_PATH=C:UsersChenLiJian.dockermachinemachinesdefault

C:UsersChenLiJian>SET DOCKER_MACHINE_NAME=default

C:UsersChenLiJian>SET COMPOSE_CONVERT_WINDOWS_PATHS=true

C:UsersChenLiJian>REM Run this command to configure your shell:

C:UsersChenLiJian>REM     @FOR /f "tokens=*" %i IN ('docker-machine env default') DO @%i
成功了:

Client:
 Version:           18.09.3
 API version:       1.39
 Go version:        go1.12
 Git commit:        774a1f4eee
 Built:             Mon Mar  4 10:36:44 2019
 OS/Arch:           windows/amd64
 Experimental:      false

Server: Docker Engine - Community
 Engine:
  Version:          18.09.5
  API version:      1.39 (minimum version 1.12)
  Go version:       go1.10.8
  Git commit:       e8ff056dbc
  Built:            Thu Apr 11 04:50:00 2019
  OS/Arch:          linux/amd64
  Experimental:     false
如果系统显示User Account Control提示,以允许VirtualBox对您的计算机进行更改。选择yes。
终端为您设置Docker Toolbox做了几件事。完成后,终端显示$提示。
输入docker run hello-world
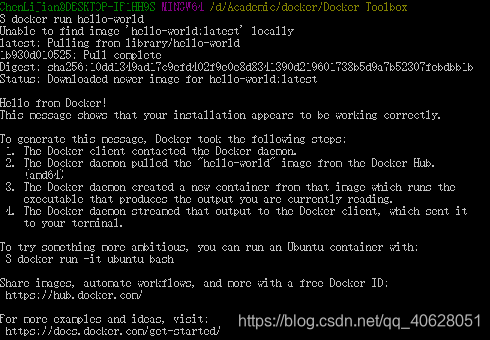
看不清楚:
$ docker run hello-world
Unable to find image 'hello-world:latest' locally
latest: Pulling from library/hello-world
1b930d010525: Pull complete
Digest: sha256:10dd1349ad17c9efd402f9e0e8d8341390d219601738b5d9a7b52307febdbb1b
Status: Downloaded newer image for hello-world:latest

Hello from Docker!
This message shows that your installation appears to be working correctly.

To generate this message, Docker took the following steps:
 1. The Docker client contacted the Docker daemon.
 2. The Docker daemon pulled the "hello-world" image from the Docker Hub.
    (amd64)
 3. The Docker daemon created a new container from that image which runs the
    executable that produces the output you are currently reading.
 4. The Docker daemon streamed that output to the Docker client, which sent it
    to your terminal.

To try something more ambitious, you can run an Ubuntu container with:
 $ docker run -it ubuntu bash

Share images, automate workflows, and more with a free Docker ID:
 https://hub.docker.com/

For more examples and ideas, visit:
 https://docs.docker.com/get-started/
直接输入1次#,并按下space后,将生成1级标题。
输入2次#,并按下space后,将生成2级标题。
以此类推,我们支持6级标题。有助于使用TOC语法后生成一个完美的目录。

看不清楚:
C:UsersChenLiJian>docker-compose --version
docker-compose version 1.23.2, build 1110ad01
终端输入
git config --global core.autocrlf false
git config --global core.longpaths true
检查:
git config --get core.autocrlf
git config --get core.longpaths
结果分别为false跟true:

看不清楚:
C:UsersChenLiJian>git config --global core.autocrlf false

C:UsersChenLiJian>git config --global core.longpaths true

C:UsersChenLiJian>git config --get core.autocrlf
false

C:UsersChenLiJian>git config --get core.longpaths
true
接下来要用管理员身份打开Windows PowerShell
输入:
npm install --global windows-build-tools
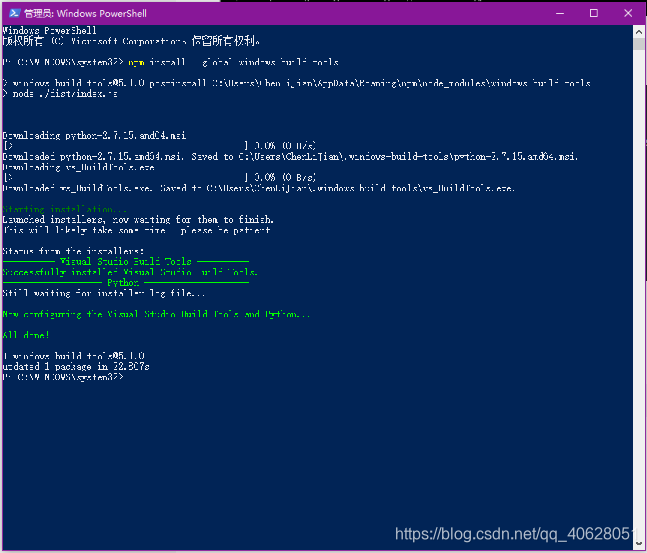
最后输入:
npm install --global grpc

看不清楚:
PS C:WINDOWSsystem32> npm install --global grpc

> grpc@1.19.0 install C:UsersChenLiJianAppDataRoamingnpmnode_modulesgrpc
> node-pre-gyp install --fallback-to-build --library=static_library

node-pre-gyp WARN Using needle for node-pre-gyp https download
[grpc] Success: "C:UsersChenLiJianAppDataRoamingnpmnode_modulesgrpcsrcnodeextension_binarynode-v57-win32-x64-unknowngrpc_node.node" is installed via remote
+ grpc@1.19.0
added 86 packages in 16.788s
3.安装Go语言
验证是否安装成功:
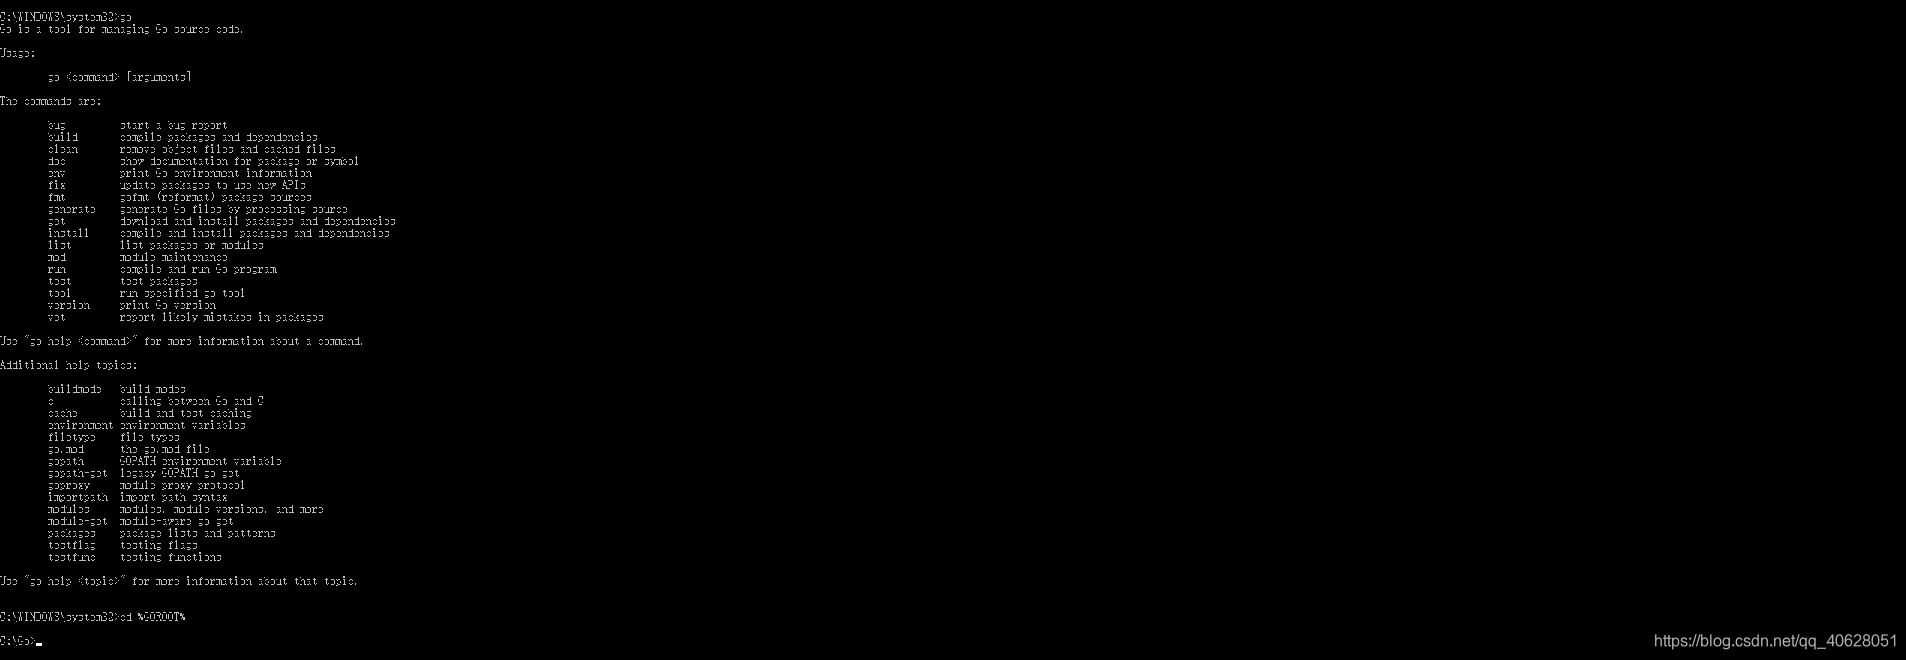
C:WINDOWSsystem32>go
Go is a tool for managing Go source code.

Usage:

        go <command> [arguments]

The commands are:

        bug         start a bug report
        build       compile packages and dependencies
        clean       remove object files and cached files
        doc         show documentation for package or symbol
        env         print Go environment information
        fix         update packages to use new APIs
        fmt         gofmt (reformat) package sources
        generate    generate Go files by processing source
        get         download and install packages and dependencies
        install     compile and install packages and dependencies
        list        list packages or modules
        mod         module maintenance
        run         compile and run Go program
        test        test packages
        tool        run specified go tool
        version     print Go version
        vet         report likely mistakes in packages

Use "go help <command>" for more information about a command.

Additional help topics:

        buildmode   build modes
        c           calling between Go and C
        cache       build and test caching
        environment environment variables
        filetype    file types
        go.mod      the go.mod file
        gopath      GOPATH environment variable
        gopath-get  legacy GOPATH go get
        goproxy     module proxy protocol
        importpath  import path syntax
        modules     modules, module versions, and more
        module-get  module-aware go get
        packages    package lists and patterns
        testflag    testing flags
        testfunc    testing functions

Use "go help <topic>" for more information about that topic.


C:WINDOWSsystem32>cd %GOROOT%

C:Go>
https://github.com/hyperledger/fabric
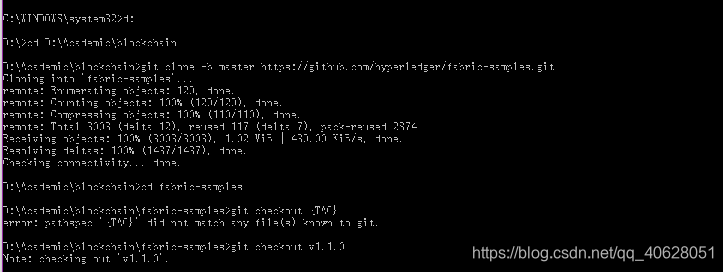
看不清楚:
C:WINDOWSsystem32>d:

D:>cd D:Academicblockchain

D:Academicblockchain>git clone -b master https://github.com/hyperledger/fabric-samples.git
Cloning into 'fabric-samples'...
remote: Enumerating objects: 129, done.
remote: Counting objects: 100% (129/129), done.
remote: Compressing objects: 100% (110/110), done.
remote: Total 3003 (delta 12), reused 117 (delta 7), pack-reused 2874
Receiving objects: 100% (3003/3003), 1.02 MiB | 439.00 KiB/s, done.
Resolving deltas: 100% (1437/1437), done.
Checking connectivity... done.

D:Academicblockchain>cd fabric-samples

D:Academicblockchainfabric-samples>git checkout {TAG}
error: pathspec '{TAG}' did not match any file(s) known to git.

D:Academicblockchainfabric-samples>git checkout v1.1.0
Note: checking out 'v1.1.0'.
进入目录fabric-samples/first-network/,如果之前启动过fabric,先执行“./byfn.sh down”,清理之前的部署:
看不清楚:
D:Academicblockchainfabric-samplesfirst-network>byfn.sh down
启动前,先执行“./byfn.sh generate”生成配置文件、证书等:

D:Academicblockchainfabric-samplesfirst-network>byfn.sh generate
如果觉得我的文章对您有用,请随意打赏。你的支持将鼓励我继续创作!
