社区微信群开通啦,扫一扫抢先加入社区官方微信群

社区微信群
今天项目需要部署到Docker上去,那么就亲自来部署一把Docker咯。
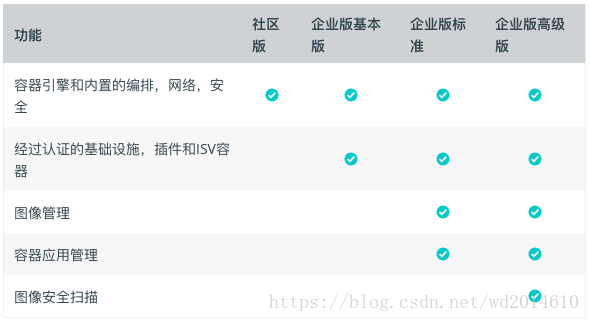
Docker有两个版本:
Docker企业版(EE)专为企业开发和IT团队而设计,他们可以在生产规模上构建,发布和运行关键业务应用程序。
我们今天就只用社区版的咯
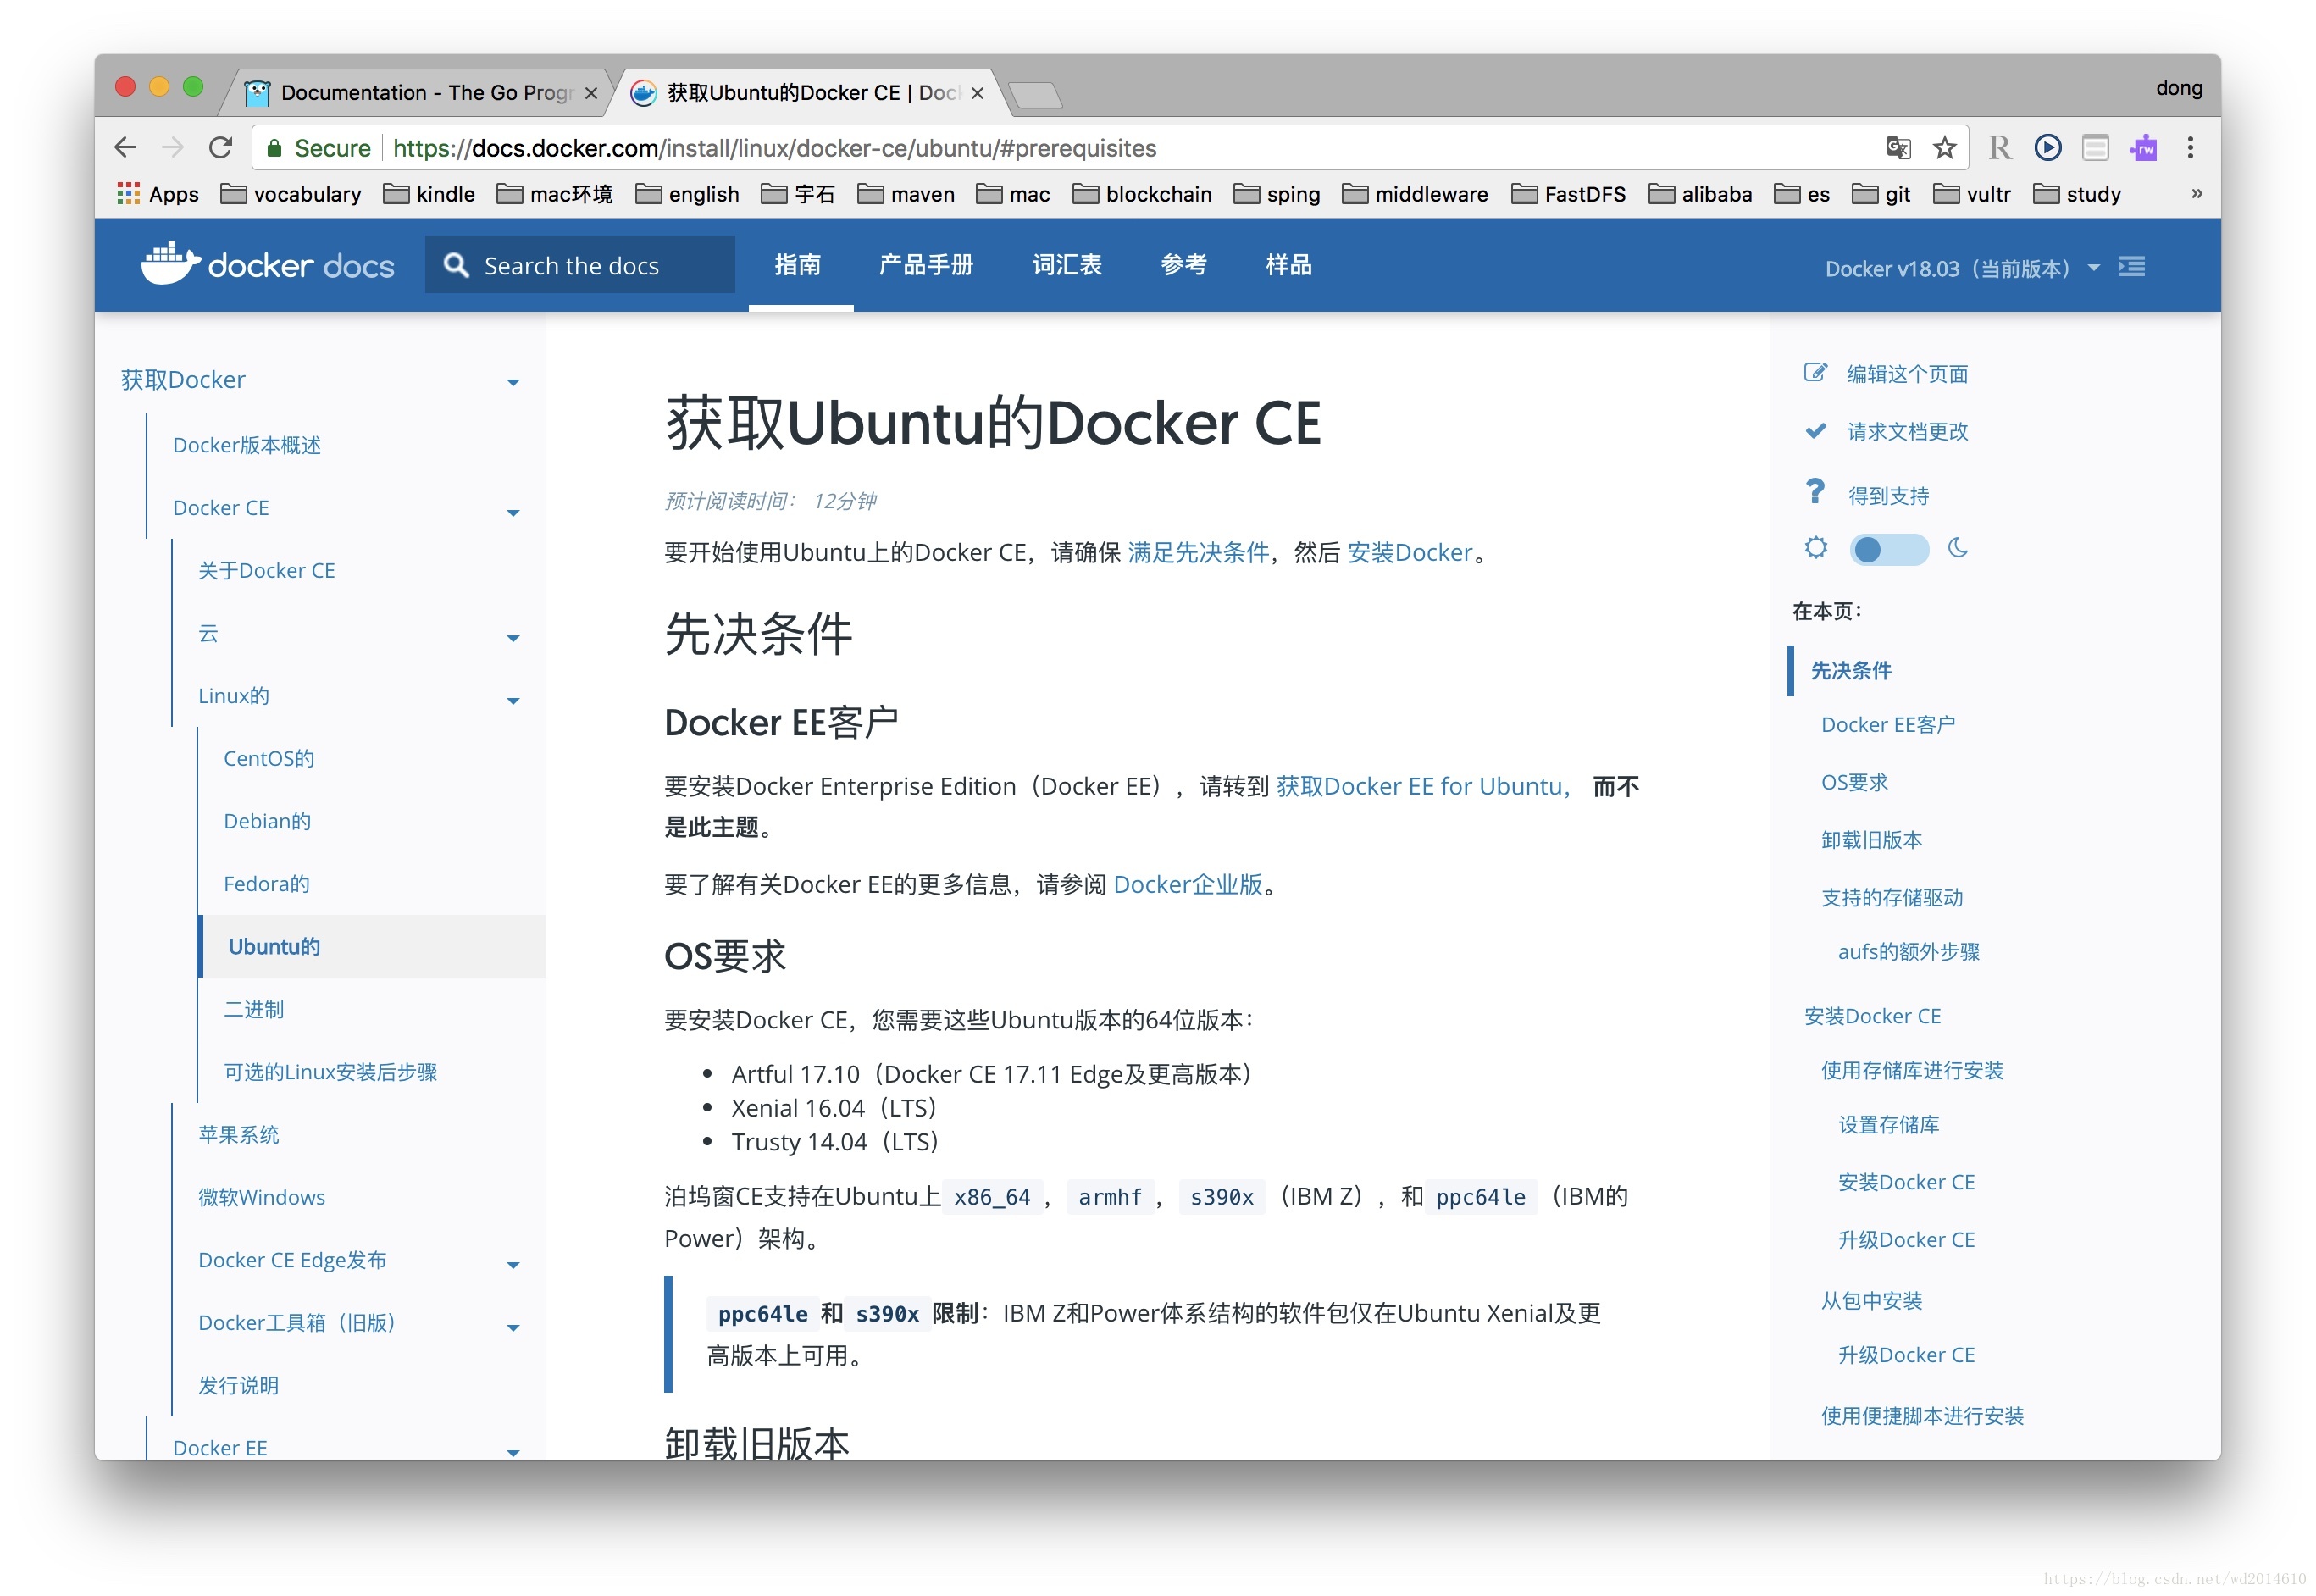
请先访问Docker的官网获取相关的安装信息
docker官网
为了安装Docker,你需要以下的系统配置。
root@iZbp162mb58mqtz72o389nZ:~# lsb_release -a
LSB Version:    core-9.20160110ubuntu0.2-amd64:core-9.20160110ubuntu0.2-noarch:security-9.20160110ubuntu0.2-amd64:security-9.20160110ubuntu0.2-noarch
Distributor ID: Ubuntu
Description:    Ubuntu 16.04.3 LTS
Release:    16.04
Codename:   xenial
root@iZbp162mb58mqtz72o389nZ:~# root@iZbp162mb58mqtz72o389nZ:~# apt-get remove docker docker-engine docker.io
Reading package lists... Done
Building dependency tree
Reading state information... Done
E: Unable to locate package docker
E: Unable to locate package docker-engine
E: Unable to locate package docker.io
E: Couldn't find any package by glob 'docker.io'
E: Couldn't find any package by regex 'docker.io'
root@iZbp162mb58mqtz72o389nZ:~# root@iZbp162mb58mqtz72o389nZ:~# apt-get update
Get:1 http://mirrors.cloud.aliyuncs.com/ubuntu xenial InRelease [247 kB]
Get:2 http://mirrors.cloud.aliyuncs.com/ubuntu xenial-updates InRelease [109 kB]
Get:3 http://mirrors.cloud.aliyuncs.com/ubuntu xenial-security InRelease [1sudo apt-get install
apt-transport-https
ca-certificates
curl
software-properties-common$ curl -fsSL https://download.docker.com/linux/ubuntu/gpg | sudo apt-key add -root@iZbp162mb58mqtz72o389nZ:~# curl -fsSL https://download.docker.com/linux/ubuntu/gpg | sudo apt-key add -
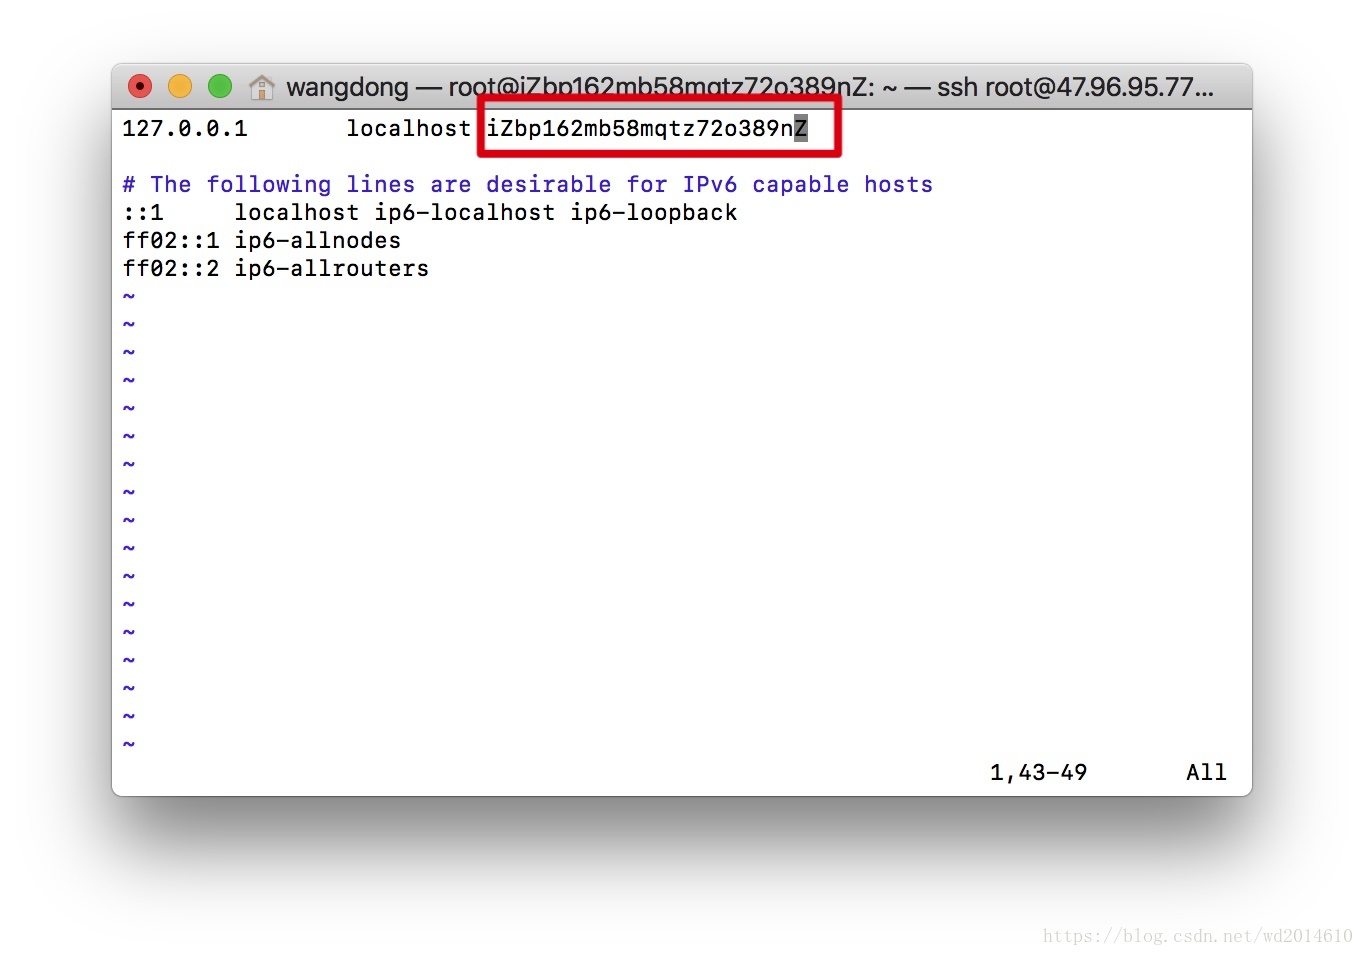
sudo: unable to resolve host iZbp162mb58mqtz72o389nZ
OKvi /etc/hostsroot@iZbp162mb58mqtz72o389nZ:~# curl -fsSL https://download.docker.com/linux/ubuntu/gpg | sudo apt-key add -
OK
root@iZbp162mb58mqtz72o389nZ:~# root@iZbp162mb58mqtz72o389nZ:~# sudo apt-key fingerprint 0EBFCD88
pub 4096R/0EBFCD88 2017-02-22
Key fingerprint = 9DC8 5822 9FC7 DD38 854A E2D8 8D81 803C 0EBF CD88
uid Docker Release (CE deb) <docker@docker.com>
sub 4096R/F273FCD8 2017-02-22
root@iZbp162mb58mqtz72o389nZ:~# 注意:以下lsb_release -cs子命令返回您的Ubuntu发行版的名称,例如xenial
root@iZbp162mb58mqtz72o389nZ:~# lsb_release -cs
xenial
root@iZbp162mb58mqtz72o389nZ:~# root@iZbp162mb58mqtz72o389nZ:~# dpkg --print-architecture
amd64
root@iZbp162mb58mqtz72o389nZ:~#
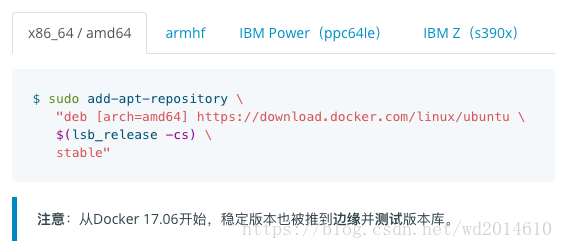
- amd64
sudo add-apt-repository
   "deb [arch=amd64] https://download.docker.com/linux/ubuntu
   $(lsb_release -cs)
stable"sudo add-apt-repository
"deb [arch=armhf] https://download.docker.com/linux/ubuntu
$(lsb_release -cs)
stable"sudo add-apt-repository
"deb [arch=xenial] https://download.docker.com/linux/ubuntu
$(lsb_release -cs)
stable"有时,在像Linux Mint这样的发行版中,您可能需要更改 $(lsb_release -cs)为您的父级Ubuntu发行版。例如:如果您正在使用Linux Mint Rafaela,可以使用 trusty。
sudo apt-get updatesudo apt-get install docker-ceapt-cache madison docker-ce
docker-ce | 18.03.0~ce-0~ubuntu | https://download.docker.com/linux/ubuntu xenial/stable amd64 Packagessudo apt-get install docker-ce=<VERSION>sudo docker run hello-world正在运行的Docker如下图
root@iZbp162mb58mqtz72o389nZ:~# sudo docker run hello-world

Hello from Docker!
This message shows that your installation appears to be working correctly.

To generate this message, Docker took the following steps:
 1. The Docker client contacted the Docker daemon.
 2. The Docker daemon pulled the "hello-world" image from the Docker Hub.
    (amd64)
 3. The Docker daemon created a new container from that image which runs the
    executable that produces the output you are currently reading.
 4. The Docker daemon streamed that output to the Docker client, which sent it
    to your terminal.

To try something more ambitious, you can run an Ubuntu container with:
 $ docker run -it ubuntu bash

Share images, automate workflows, and more with a free Docker ID:
 https://hub.docker.com/

For more examples and ideas, visit:
 https://docs.docker.com/engine/userguide/

root@iZbp162mb58mqtz72o389nZ:~#
好啦,结束啦,现在Docker已经安装完成了。
下一步就可以部署项目了。
如果觉得我的文章对您有用,请随意打赏。你的支持将鼓励我继续创作!