社区微信群开通啦,扫一扫抢先加入社区官方微信群

社区微信群
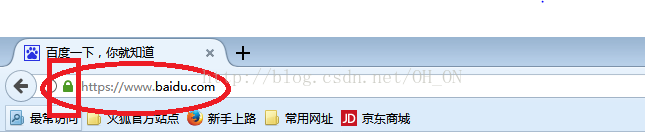
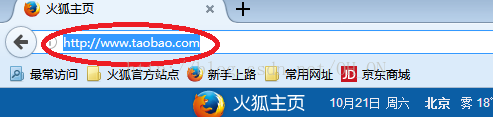
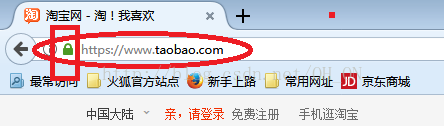
不知道我们平时上网有没有留意过,我们输网址时有时候直接输名字(比如:www.baidu.com),有时候输入http(比如:http://www.taobao.com),等等,但在浏览器上会自动给我们调到https:。。。。上面(有些浏览器显示有些不显示),如下图所示,用火狐浏览器打开俩个网页,回车后,会出现带锁的https的网址,
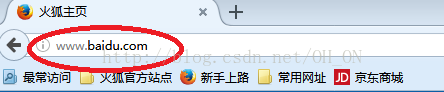
所以,现在好多网页不管你直接输入名字,还是输入http的网址,都会自动跳转到加密的较安全的https的网址上,所以,接下来我们就简单的模拟一下如何从http跳到https上;
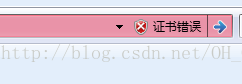
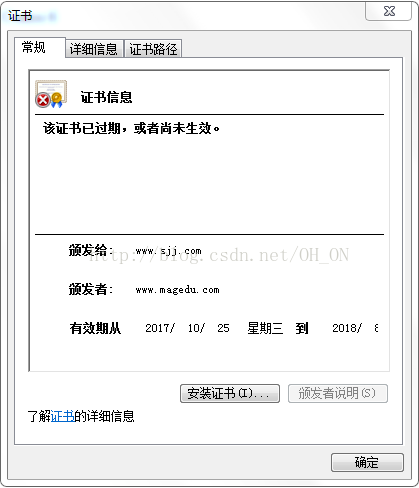
在实验的最后出现我的证书过期错误,没能解决,希望哪位大神看到后,能帮忙解决一下,感谢!!!
1、https工作机制:1)、客户端(A)向服务器端(B)发送请求;2)、B向A发送带有CA签名并用CA的私钥加密后的B公钥的证书;3)、客户端(A)一般是信任CA的,所以有CA的公钥,通过CA的公钥将其解开,验证其证书是否合法,验证合法后,客户端得到B的公钥;4)、客户端(A)生成临时的会话秘钥(session key),用服务器(B)的公钥加密后发给服务器;5)、服务器(B)通过会话秘钥加密用户请求的资源再响应给客户端,完成加密的数据传送;
2、注意会话秘钥是对称的;
3、准备三台机器:A:客户端192.168.242.202(;B:服务器192.168.242.206(172.17.0.108);C:CA192.168.242.248(我这里三台机器的名字分别设成client、server、ca)
4、https其实是http协议和ssl/tls协议的组合;即用ssl/tls对http协议的文本数据进行加密处理后,成为二进制形式传输;
1、创建所需要的文件;
[root@ca ~]# cd /etc/pki/CA/                 #先进入到CA的目录下(创建秘钥都要在此文件下或其子文件下)
[root@ca /etc/pki/CA]# tree                  #先查看一下目前是否机器是否干净(即是否有别的其他不需要的文件的干扰)
.
├── certs
├── crl
├── newcerts
└── private

4 directories, 0 files
[root@ca /etc/pki/CA]# touch index.txt      #生成证书索引数据库文件
[root@ca /etc/pki/CA]# echo 01 > serial     #指定第一个颁发证书的序列号
#注意,这两个文件若是不事先创建好,在颁发证书时会报错,到时候再创建也行(你可以都试一下,我这里是先创建的)
2、生成私钥;
[root@ca /etc/pki/CA]# umask 066;openssl genrsa -out private/cakey.pem -des3 2048    #umask设定权限;名字必须叫cakey.pem,-des3加密类型和2048位数位置不能反。(若是懒得输密码,就不用加密即不加-des3选项)
Generating RSA private key, 2048 bit long modulus
...+++
.............................+++
e is 65537 (0x10001)
Enter pass phrase for private/cakey.pem:                                             #设置口令密码
Verifying - Enter pass phrase for private/cakey.pem:                                 #再次输入密码
[root@ca /etc/pki/CA]# tree
.
├── certs
├── crl
├── index.txt           #创建的数据库文件
├── newcerts
├── private
│   └── cakey.pem    #创建的私钥
└── serial             #存放证书序列号的文件
3、自签名证书(自己颁发给自己的证书);
[root@ca /etc/pki/CA]# openssl req -new -x509 -key private/cakey.pem -out cacert.pem -days 7500      #其中:-new: 生成新证书签署请求、-x509: 专用于CA生成自签证书、-key: 生成请求时用到的私钥文件、-days n:证书的有效期限、-out /PATH/TO/SOMECERTFILE: 证书的保存路径
Enter pass phrase for private/cakey.pem:                                                             #因为我们创建私钥时有加密,所以这里要输入密码
You are about to be asked to enter information that will be incorporated
into your certificate request.
What you are about to enter is what is called a Distinguished Name or a DN.
There are quite a few fields but you can leave some blank
For some fields there will be a default value,
If you enter '.', the field will be left blank.
-----
Country Name (2 letter code) [XX]:CN                                                               #国家;在申请证书时,申请发和被申请方按照配置文件要求,国家、省、公司三项必须相同(当然也可以改配置文件使其不要相同)
State or Province Name (full name) []:henan                                                        #省;
Locality Name (eg, city) [Default City]:zhengzhou                                                  #市;
Organization Name (eg, company) [Default Company Ltd]:magedu.com                                   #公司;
Organizational Unit Name (eg, section) []:opt                                                      #部门;
Common Name (eg, your name or your server's hostname) []:www.magedu.com                            #申请方的明字
Email Address []:                                                                                  #邮箱(可写可不写)
[root@ca /etc/pki/CA]#1、先装一个包mod_ssl;
[root@server ~]# yum install mod_ssl此包的配置文件/etc/httpd/conf.d/ssl.conf;
2、建立自己的私钥;
[root@server ~]# mkdir /etc/httpd/conf.d/ssl/                                            #因为要做的是跟http有关,所以可以放在它的配置文件下
[root@server ~]# umask 066;openssl genrsa -out /etc/httpd/conf.d/ssl/httpd.key 2048      #生成自己的私钥文件
Generating RSA private key, 2048 bit long modulus
................................................+++
.........+++
e is 65537 (0x10001)
[root@server ~]#3、生成证书申请文件;
[root@server ~]# openssl req -new -key /etc/httpd/conf.d/ssl/httpd.key -out /etc/httpd/conf.d/ssl/httpd.csr     #申请文件必须以.csr结尾
You are about to be asked to enter information that will be incorporated
into your certificate request.
What you are about to enter is what is called a Distinguished Name or a DN.
There are quite a few fields but you can leave some blank
For some fields there will be a default value,
If you enter '.', the field will be left blank.
-----
Country Name (2 letter code) [XX]:CN                                                                           #国家;
State or Province Name (full name) []:henan                                                                    #省;
Locality Name (eg, city) [Default City]:luoyang
Organization Name (eg, company) [Default Company Ltd]:magedu.com                                               #公司;这三项必须一致外,其余不要求
Organizational Unit Name (eg, section) []:opt
Common Name (eg, your name or your server's hostname) []:www.sjj.com
Email Address []:admin@qq.com

Please enter the following 'extra' attributes
to be sent with your certificate request
A challenge password []:                                                                                     #这里让你设密码;可以设也可以不设;设过后,每次执行和秘钥有关的都要输入密码;这里我没有设;
An optional company name []:
[root@server ~]# [root@server ~]# scp /etc/httpd/conf.d/ssl/httpd.csr 192.168.242.248:/etc/pki/CA/ #传到CA所在机器上,并放在/etc/pki/CA 下
The authenticity of host '192.168.242.248 (192.168.242.248)' can't be established.
RSA key fingerprint is d9:7b:df:54:60:ae:b0:f9:d2:b2:64:5c:39:8e:69:e4.
Are you sure you want to continue connecting (yes/no)? yes #因为之前没有连过才出现这个询问
Warning: Permanently added '192.168.242.248' (RSA) to the list of known hosts.
root@192.168.242.248's password: #输入CA主机的密码
httpd.csr 100% 1045 1.0KB/s 00:00
[root@server ~]# 1、在CA机器上生成证书;
[root@ca /etc/pki/CA]# openssl ca -in httpd.csr -out certs/httpd.crt -days 300                    #颁发证书并设置有效期300天
Using configuration from /etc/pki/tls/openssl.cnf
Enter pass phrase for /etc/pki/CA/private/cakey.pem:                                              #每次都要输入口令密码,所以在做测试时可以考虑不加密;
Check that the request matches the signature
Signature ok
Certificate Details:
        Serial Number: 1 (0x1)
        Validity
            Not Before: Oct 22 03:08:16 2017 GMT
            Not After : Aug 18 03:08:16 2018 GMT
        Subject:                                                                                 #申请方信息
            countryName               = CN
            stateOrProvinceName       = henan
            organizationName          = magedu.com
            organizationalUnitName    = opt
            commonName                = www.sjj.com
            emailAddress              = admin@qq.com
        X509v3 extensions:
            X509v3 Basic Constraints:
                CA:FALSE
            Netscape Comment:
                OpenSSL Generated Certificate
            X509v3 Subject Key Identifier:
                2B:83:77:0F:57:7F:B9:49:EA:00:00:A7:B2:C3:70:11:1D:5B:8F:A7
            X509v3 Authority Key Identifier:
                keyid:2F:6B:1D:F4:78:8C:DF:1A:17:2E:66:C9:EB:BF:EB:9C:D7:2A:B1:9D

Certificate is to be certified until Aug 18 03:08:16 2018 GMT (300 days)
Sign the certificate? [y/n]:y


1 out of 1 certificate requests certified, commit? [y/n]y
Write out database with 1 new entries
Data Base Updated#注意:若是没有事先创建index.txt和serial两个文件,在颁发证书时是会报错的,所以就根据其错误提示,去创建文件就可以了
[root@ca /etc/pki/CA]# tree
.
├── cacert.pem
├── certs
│   └── httpd.crt #生成证书文件
├── crl
├── httpd.csr #B机器发来的申请证书文件
├── index.txt #颁发证书后生成的新的数据库文件
├── index.txt.attr
├── index.txt.old
├── newcerts
│   └── 01.pem
├── private
│   └── cakey.pem #根CA自己的私钥文件
├── serial
└── serial.old
[root@ca /etc/pki/CA]# cat index.txt       # 颁发证书后生成的新的数据库文件,里面有申请方信息;而之前的数据库文件里面仍为空,并重命名为index.txt.old

V       180818030816Z           01      unknown /C=CN/ST=henan/O=magedu.com/OU=opt/CN=www.sjj.com/emailAddress=admin@qq.com
[root@ca /etc/pki/CA]#2、将生成的证书传回申请方B机器;
[root@ca /etc/pki/CA]# scp certs/httpd.crt 192.168.242.206:/etc/httpd/conf.d/ssl/        #都统一放在一个目录下
The authenticity of host '192.168.242.206 (192.168.242.206)' can't be established.
RSA key fingerprint is 30:49:c8:65:14:10:12:ba:93:8c:da:97:23:03:b1:88.
Are you sure you want to continue connecting (yes/no)? yes
Warning: Permanently added '192.168.242.206' (RSA) to the list of known hosts.
root@192.168.242.206's password:
httpd.crt                      100% 4533     4.4KB/s   00:00
[root@ca /etc/pki/CA]# [root@ca /etc/pki/CA]# scp cacert.pem 192.168.242.206:/etc/httpd/conf.d/ssl/
root@192.168.242.206's password:
cacert.pem 100% 1334 1.3KB/s 00:00
[root@ca /etc/pki/CA]#
SSLCertificateFile /etc/pki/tls/certs/localhost.crt #证书路径
SSLCertificateKeyFile /etc/pki/tls/private/localhost.key #key路径
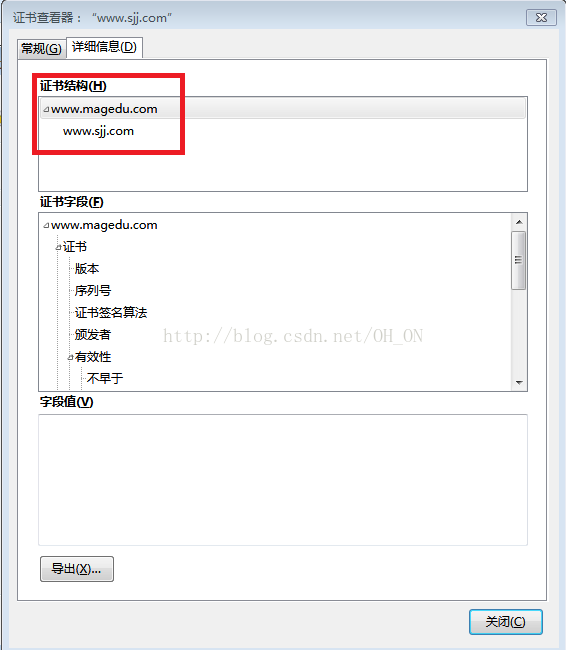
#SSLCertificateChainFile /etc/pki/tls/certs/server-chain.crt #CA的路径---》本来是被注释掉的,这样在查看证书时,就看不到根CA了,
改为:
SSLCertificateFile /etc/httpd/conf.d/ssl/httpd.crt
SSLCertificateKeyFile /etc/httpd/conf.d/ssl/httpd.key
SSLCACertificateFile /etc/httpd/conf.d/ssl/cacert.pem #我们可以启动,在证书里就可以看到根CA了;
1、先看一下80端口是否开着:ss-ntl;若没有80端口,就证明httpd服务没有开:service httpd start开启服务;如果端口开着:service httpdrestart重启一下;
2、检查一下防火墙:最好直接用 iptables -F关闭防火墙;
3、检查SElinux状态:[root@client /etc/pki/CA]# getenforce #查询状态
Enforcing
[root@client /etc/pki/CA]# setenforce 0
[root@client /etc/pki/CA]# getenforce
Permissive #要处于禁止状态,所以用setenforce 0设置一下;
[root@server ~]# cat /var/www/html/index.html
Centos 6
[root@client /etc/pki/CA]# curl http://192.168.242.206/                         #直接用http可以连接
Centos 6
[root@client /etc/pki/CA]# curl https://192.168.242.206/                        #用https连接需要证书
curl: (60) Peer certificate cannot be authenticated with known CA certificates
More details here: http://curl.haxx.se/docs/sslcerts.html

curl performs SSL certificate verification by default, using a "bundle"
 of Certificate Authority (CA) public keys (CA certs). If the default
 bundle file isn't adequate, you can specify an alternate file
 using the --cacert option.
If this HTTPS server uses a certificate signed by a CA represented in
 the bundle, the certificate verification probably failed due to a
 problem with the certificate (it might be expired, or the name might
 not match the domain name in the URL).
If you'd like to turn off curl's verification of the certificate, use
 the -k (or --insecure) option.
[root@client /etc/pki/CA]#curl -k https://192.168.242.206/                      #因为CA证书目前在A上是不安全的,所以加上-k(忽略证书)之后就可以显示页面了
Centos 6
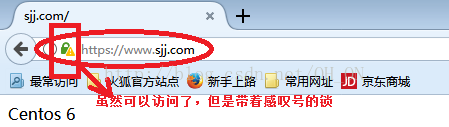
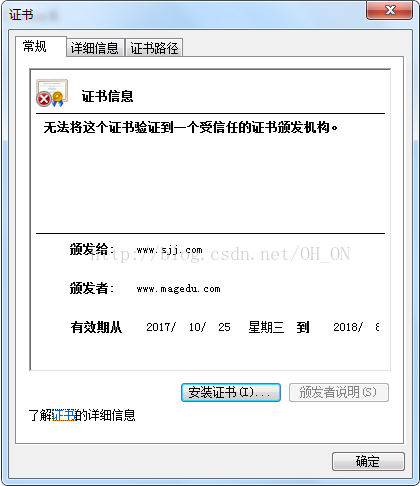
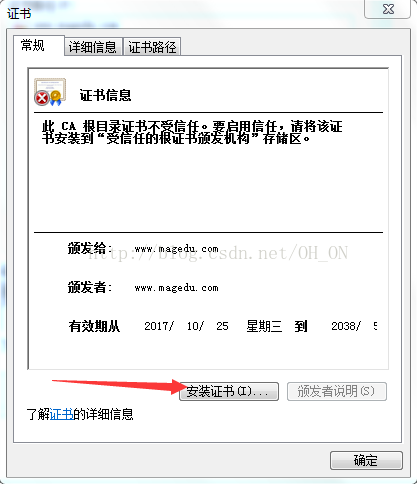
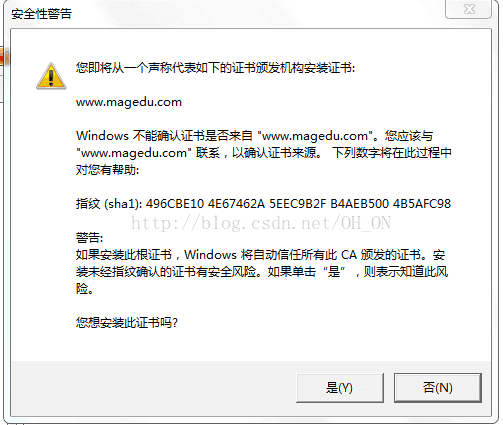
然后我们可以在网页浏览器上看,效果比较明显;
1、我们在windows下的“c:WindowsSystem32driversetc”里的hosts文件里添加上:192.168.242.206 www.sjj.com ; 172.17.0.108 www.sjj.com;
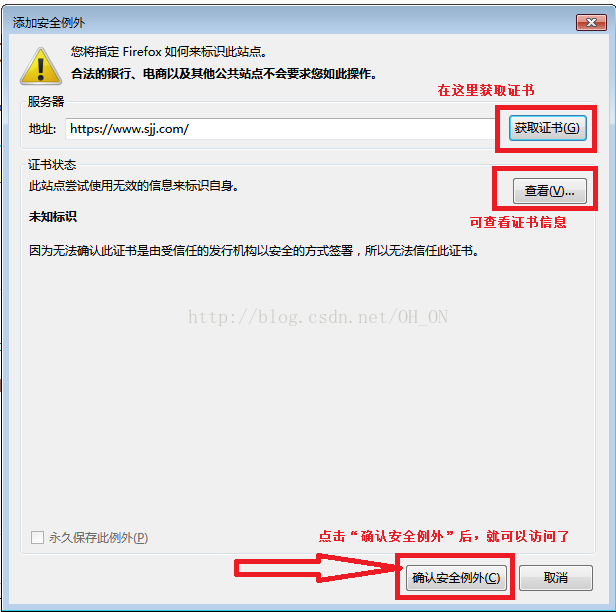
2、我们使用名字去访问站点;
下面用的是火狐浏览器


如果觉得我的文章对您有用,请随意打赏。你的支持将鼓励我继续创作!