社区微信群开通啦,扫一扫抢先加入社区官方微信群

社区微信群
本文采用Spring cloud本文为2.1.8RELEASE,version=Greenwich.SR3<dependency>
<groupId>org.springframework.boot</groupId>
<artifactId>spring-boot-starter-web</artifactId>
</dependency>
<dependency>
<groupId>org.springframework.cloud</groupId>
<artifactId>spring-cloud-starter-netflix-eureka-client</artifactId>
</dependency>package spring.cloud.demoo.eurekaclient;
import org.springframework.boot.SpringApplication;
import org.springframework.boot.autoconfigure.SpringBootApplication;
import org.springframework.cloud.netflix.eureka.EnableEurekaClient;
@EnableEurekaClient
@SpringBootApplication
public class EurekaClientApplication {
public static void main(String[] args) {
SpringApplication.run(EurekaClientApplication.class, args);
}
}@EnableEurekaClient 向eureka服务中心注册服务(推荐使用),如果是其他服务注册中心,例如:consul、zookeeper,建议使用@EnableDiscoveryClient
spring:
  application:
    name: eureka-client
server:
  port: 8801

eureka:
  instance:
    hostname: localhost
    # 表示eureka client间隔多久去拉取服务注册信息,默认为30秒,如果要迅速获取服务注册状态,可以缩小该值
    lease-renewal-interval-in-seconds: 5
    # 表示eureka server至上一次收到client的心跳之后,等待下一次心跳的超时时间,在这个时间内若没收到下一次心跳,则将移除该instance。
    # 默认为90秒
    # 如果该值太大,则很可能将流量转发过去的时候,该instance已经不存活了。
    # 如果该值设置太小了,则instance则很可能因为临时的网络抖动而被摘除掉。
    # 该值至少应该大于 leaseRenewalIntervalInSeconds
    lease-expiration-duration-in-seconds: 10
  client:
    service-url:
      defaultZone: http://localhost:8701/eureka/
配置中http://localhost:8701/eureka/ 调用eureka-server,可以参考: eureka-server注册中心搭建
package spring.cloud.demoo.eurekaclient.controller;

import org.springframework.beans.factory.annotation.Value;
import org.springframework.web.bind.annotation.RequestMapping;
import org.springframework.web.bind.annotation.RestController;

import javax.servlet.http.HttpServletRequest;

/**
 * @auther: maomao
 * @DateT: 2019-09-17
 */
@RestController
public class EurekaClientController {

    @Value("${server.port}")
    private String port;

    @RequestMapping("/info")
    public String syaHello(HttpServletRequest request) {
        String message = request.getScheme()   "://"   request.getServerName()   ":"   request.getServerPort()   request.getServletPath();
        return message;
    }

}访问http://localhost:8801/info,并返回结果,如下图所示。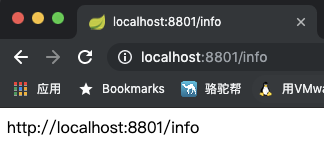
这时在访问服务注册中心,如果下入所示:
 可以看到eureka-client已经注册到服务注册中心。
至此,一个简单的单机eureka client服务提供者就搭建完成。服务的提供者提供一个Restful服务。
127.0.0.1        eureka1.client.com
127.0.0.1        eureka2.client.com
127.0.0.1 eureka3.client.com增加application-clinet1.yml和application-clinet2.yml文件,修改原application.yml文件。
spring:
  application:
    name: eureka-client
server:
  port: 8801

eureka:
  instance:
    hostname: eureka1.client.com
    lease-renewal-interval-in-seconds: 5
    lease-expiration-duration-in-seconds: 10
  client:
    service-url:
defaultZone: http://eureka1.server.com:8701/eureka/,http://eureka2.server.com:8702/eureka/,http://eureka3.server.com:8703/eureka/spring:
application:
name: eureka-client
server:
port: 8802
eureka:
instance:
hostname: eureka2.client.com
lease-renewal-interval-in-seconds: 5
lease-expiration-duration-in-seconds: 10
client:
service-url:
defaultZone: http://eureka1.server.com:8701/eureka/,http://eureka2.server.com:8702/eureka/,http://eureka3.server.com:8703/eureka/spring:
application:
name: eureka-client
server:
port: 8803
eureka:
instance:
hostname: eureka3.client.com
lease-renewal-interval-in-seconds: 5
lease-expiration-duration-in-seconds: 10
client:
service-url:
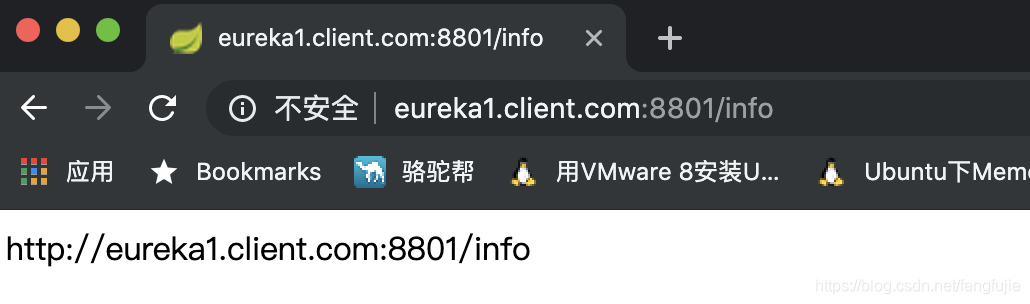
defaultZone: http://eureka1.server.com:8701/eureka/,http://eureka2.server.com:8702/eureka/,http://eureka3.server.com:8703/eureka/分别访问http://eureka1.client.com:8801/info、http://eureka2.client.com:8802/info、 http://eureka3.client.com:8803/info显示结果如下:

 此时打开服务注册中心,显示
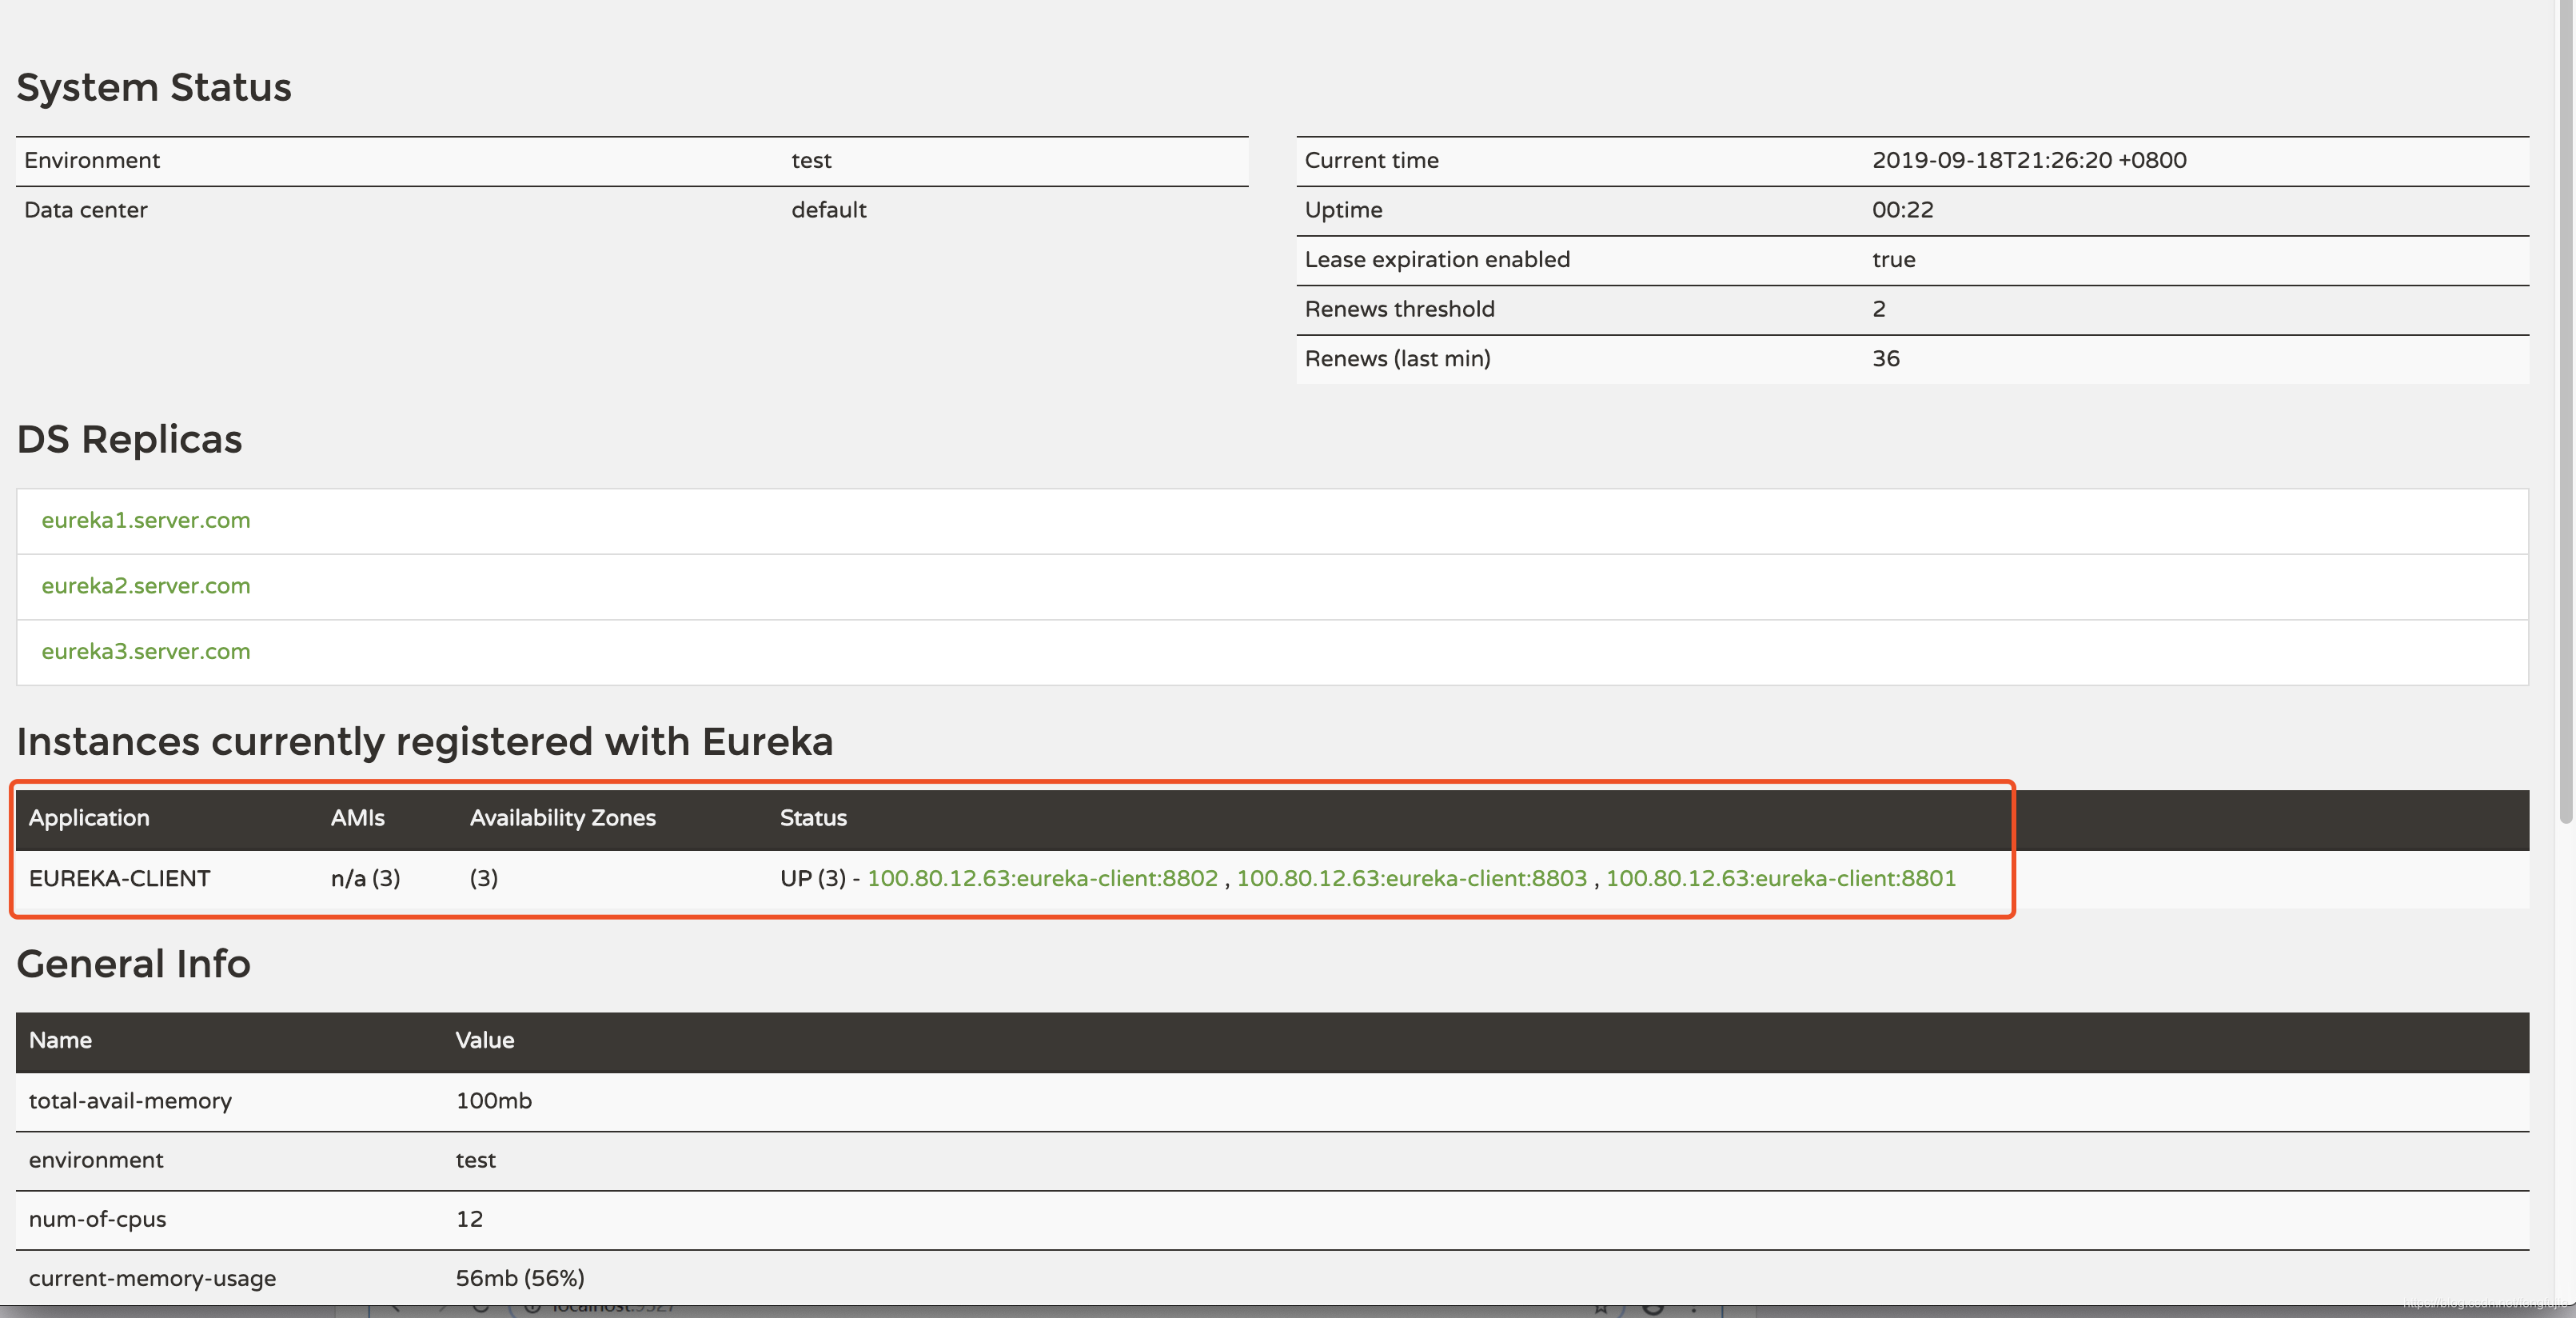
截图中红框中代表三个client已经注册成功。
本文简单实现了服务提供者单机和集群的搭建,后续继续更新其他关于spring cloud其他内容。
转载请注明出处,

如果觉得我的文章对您有用,请随意打赏。你的支持将鼓励我继续创作!
