社区微信群开通啦,扫一扫抢先加入社区官方微信群

社区微信群
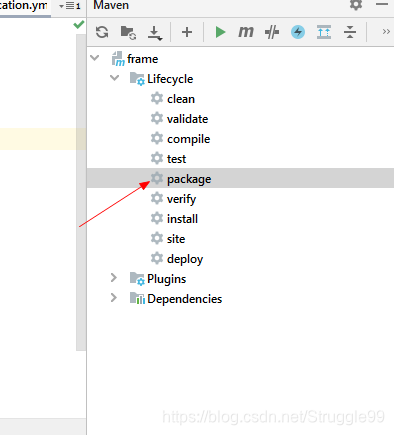


运行成功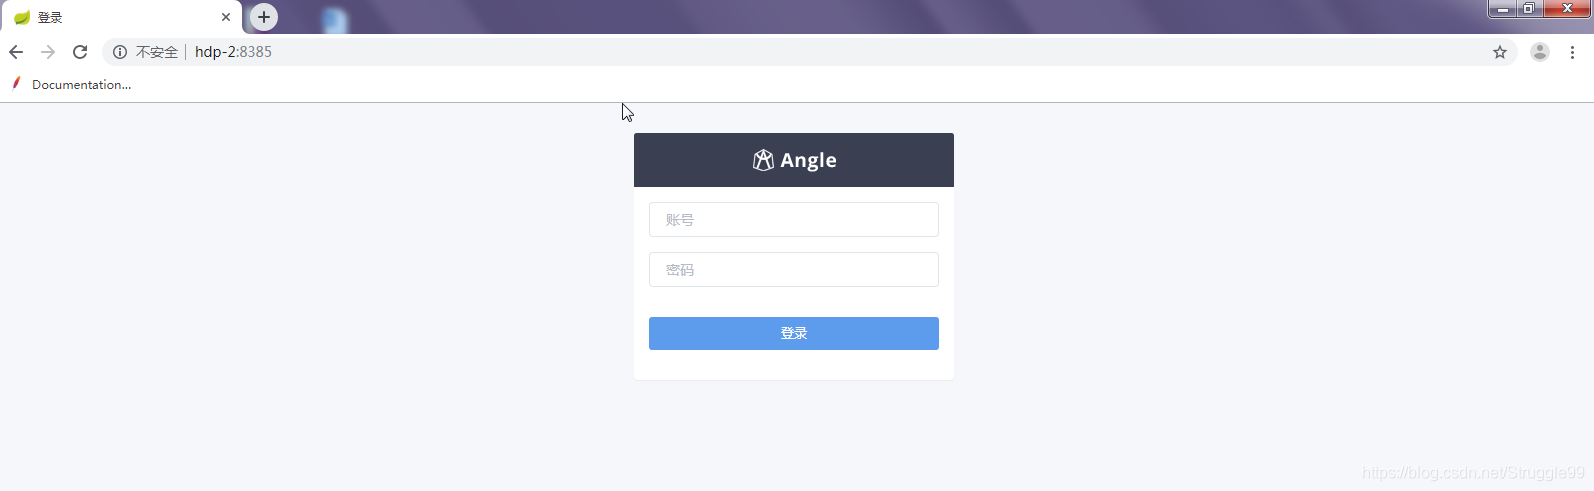
特别注意配置文件
#user  nobody;
worker_processes  1;

#error_log  logs/error.log;
#error_log  logs/error.log  notice;
#error_log  logs/error.log  info;

#pid        logs/nginx.pid;


events {
    worker_connections  1024;
}


http {
    include       mime.types;
    default_type  application/octet-stream;

    log_format  main  '$remote_addr';

    #access_log  logs/access.log  main;

    sendfile        on;
    #tcp_nopush     on;

    #keepalive_timeout  0;
    keepalive_timeout  65;

    #gzip  on;
    upstream frame-tomcat {
           #h指明nginx转发地址
          server hdp-2:8385 ;
    }
    server {
        listen       80;
         #nginx服务地址
        server_name  hdp-1;


        #charset koi8-r;

        #h输出生成的日志文件的路径和格式
        access_log  logs/log.frame.access.log  main;


        location / {
            # root   html;
            # index  index.html index.htm;
            proxy_pass http://frame-tomcat;
        }

        error_page   500 502 503 504  /50x.html;
        location = /50x.html {
            root   html;
        }


    }
    server {
        listen       80;
        server_name  localhost;

        #charset koi8-r;

        #access_log  logs/host.access.log  main;

        location / {
            root   html;
            index  index.html index.htm;
        }

        #error_page  404              /404.html;

        # redirect server error pages to the static page /50x.html
        #
        error_page   500 502 503 504  /50x.html;
        location = /50x.html {
            root   html;
        }

        # proxy the PHP scripts to Apache listening on 127.0.0.1:80
        #
        #location ~ .php$ {
        #    proxy_pass   http://127.0.0.1;
        #}

        # pass the PHP scripts to FastCGI server listening on 127.0.0.1:9000
        #
        #location ~ .php$ {
        #    root           html;
        #    fastcgi_pass   127.0.0.1:9000;
        #    fastcgi_index  index.php;
        #    fastcgi_param  SCRIPT_FILENAME  /scripts$fastcgi_script_name;
        #    include        fastcgi_params;
        #}

        # deny access to .htaccess files, if Apache's document root
        # concurs with nginx's one
        #
        #location ~ /.ht {
        #    deny  all;
        #}
    }


    # another virtual host using mix of IP-, name-, and port-based configuration
    #
    #server {
    #    listen       8000;
    #    listen       somename:8080;
    #    server_name  somename  alias  another.alias;

    #    location / {
    #        root   html;
    #        index  index.html index.htm;
    #    }
    #}


    # HTTPS server
    #
    #server {
    #    listen       443;
    #    server_name  localhost;

    #    ssl                  on;
    #    ssl_certificate      cert.pem;
    #    ssl_certificate_key  cert.key;

    #    ssl_session_timeout  5m;

    #    ssl_protocols  SSLv2 SSLv3 TLSv1;
    #    ssl_ciphers  HIGH:!aNULL:!MD5;
    #    ssl_prefer_server_ciphers   on;

    #    location / {
    #        root   html;
    #        index  index.html index.htm;
    #    }
    #}

}
启动kafka命令:./kafka-server-start.sh -daemon ../config/server.properties
启动成功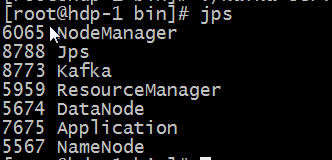
特别注意配置文件
a1.sources = source1
a1.sinks = k1
a1.channels = c1
# 指明数据源来自于一个可执行文件
a1.sources.source1.type = exec
# 可执行指令,跟踪一个文件的内容
a1.sources.source1.command = tail -F /usr/local/nginx/logs/log.frame.access.log
# Describe the sink
# 指明下沉到kafka的类型
a1.sinks.k1.type = org.apache.flume.sink.kafka.KafkaSink
a1.sinks.k1.topic = aaa
a1.sinks.k1.brokerList = hdp-1:9092, hdp-2:9092, hdp-3:9092
a1.sinks.k1.requiredAcks = 1
a1.sinks.k1.batchSize = 20
a1.sinks.k1.channel = c1
# Use a channel which buffers events in memory
a1.channels.c1.type = memory
a1.channels.c1.capacity = 1000
a1.channels.c1.transactionCapacity = 100

# Bind the source and sink to the channel
a1.sources.source1.channels = c1
a1.sinks.k1.channel = c1
启动flume
命令:./flume-ng agent -C ../conf/ -f ../tail-kafka.conf -n a1 -Dflume.root.logger=INFO,console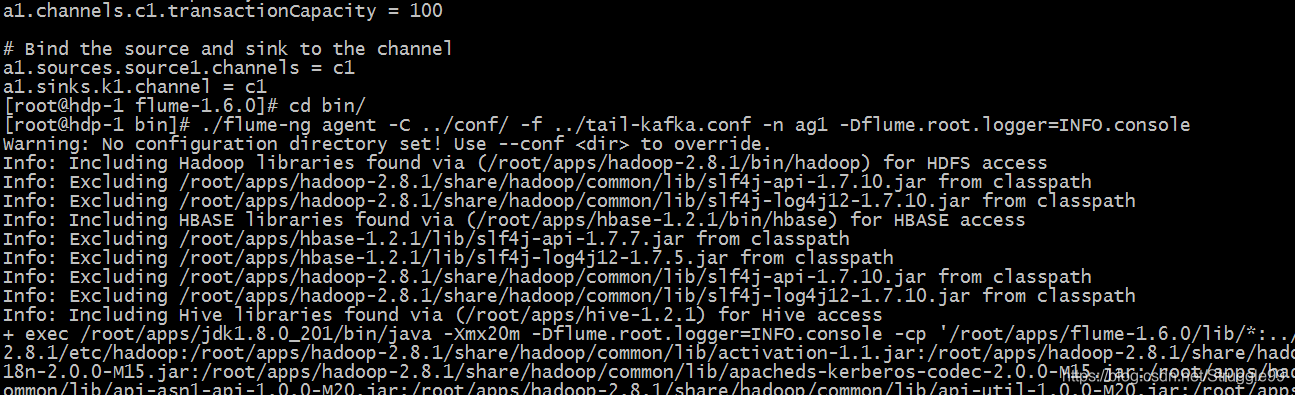
此时可tail -F log.frame.access.log 查看是否监听到日志
点击项目时文件会发生变化表示监听成功(同时flume也会发生变化)
package com.zpark.kafkatest.one;

import org.apache.hadoop.conf.Configuration;
import org.apache.hadoop.fs.FSDataOutputStream;
import org.apache.hadoop.fs.FileSystem;
import org.apache.hadoop.fs.Path;
import org.apache.kafka.clients.consumer.ConsumerRecord;
import org.apache.kafka.clients.consumer.ConsumerRecords;
import org.apache.kafka.clients.consumer.KafkaConsumer;
import org.apache.log4j.Logger;


import java.io.BufferedWriter;
import java.io.FileOutputStream;
import java.io.OutputStreamWriter;
import java.net.URI;
import java.net.URISyntaxException;
import java.util.Collections;
import java.util.Properties;

public class ConsumerLocal {

    public static void main(String[] args) {
        //调用接收消息的方法
        receiveMsg();
    }

    /**
     * 获取kafka topic(aaa)上的数据
     */
    private static void receiveMsg() {
//        Logger logger = Logger.getLogger(ConsumerLocal.class);
        Properties properties = new Properties();
        properties.put("bootstrap.servers", "hdp-2:9092");
        properties.put("key.deserializer", "org.apache.kafka.common.serialization.StringDeserializer");
        properties.put("value.deserializer", "org.apache.kafka.common.serialization.StringDeserializer");
        properties.put("group.id","aaaa");
        properties.put("enable.auto.commit", true);
        //一个方法
        KafkaConsumer<String, String> consumer = new KafkaConsumer<String, String>(properties);
        consumer.subscribe(Collections.singleton("aaa"));
        URI uri = null;
        Configuration conf = null;
        String user = "root";
        try {
            uri = new URI("hdfs://hdp-1:9000");
            conf = new Configuration();
            conf = new Configuration();
            //dfs.replication:分布式文件系统副本的数量
            conf.set("dfs.replication", "2");
            //dfs.blocksize:分布式文件系统的块的大小   100M   64+36
            conf.set("dfs.blocksize", "64m");

        } catch (URISyntaxException e) {
            e.printStackTrace();
        }
        try {
            FileOutputStream fos = new FileOutputStream("D:/tmp.log");
            OutputStreamWriter osw = new OutputStreamWriter(fos);


//            FileSystem fs = FileSystem.get(uri, conf, user);
//            FSDataOutputStream fdos = fs.create(new Path("/cf.txt"));
            while(true) {

                /**
                 * 获取kafka
                 */
                ConsumerRecords<String, String> records = consumer.poll(100);
                for(ConsumerRecord<String, String> record: records) {
                    String msg =record.value()+"rn";
                    System.out.printf("key=%s,value=%s,offet=%s,topic=%s",record.key() , record.value() , record.offset(), record.topic());
//                    logger.debug(record.value());
                    BufferedWriter bw = new BufferedWriter(osw);
                    bw.write(msg);
                    bw.flush();

                }
            }
        }catch (Exception e) {
            e.printStackTrace();
        } finally {
            consumer.close();
        }
    }
}
此时在本地D盘会生成文件tmp.log 里面的数据即是监听到的数据
a.hive建表
create external table flumetable (ip string) row format delimited location '/usr/';
建表成功 b.上传数据至hive表中
package com.zpark.kafkatest.one;

import org.apache.hadoop.conf.Configuration;
import org.apache.hadoop.fs.FSDataOutputStream;
import org.apache.hadoop.fs.FileSystem;
import org.apache.hadoop.fs.Path;

import java.io.BufferedWriter;
import java.io.IOException;
import java.io.OutputStreamWriter;
import java.net.URI;
import java.net.URISyntaxException;

public class HdfsTest {
    public static void main(String[] args) {
        URI uri = null;
        Configuration conf = null;
        String user = "root";
        FileSystem fs = null;
        try {
            uri = new URI("hdfs://hdp-1:9000");
            conf = new Configuration();
            //dfs.replication:分布式文件系统副本的数量
            conf.set("dfs.replication", "2");
            //dfs.blocksize:分布式文件系统的块的大小   100M   64+36
            conf.set("dfs.blocksize", "64m");
            fs = FileSystem.get(uri, conf, user);
            fs.copyFromLocalFile(new Path("D://tmp.log"),new Path("/usr/a.txt"));


            /**
             * 往hdfs中写文件
             */
//            FSDataOutputStream out = fs.create(new Path("/bc.txt"));
//            OutputStreamWriter outWriter = new OutputStreamWriter(out);
//            BufferedWriter bw = new BufferedWriter(outWriter);
//            bw.write("hello");
//            bw.close();
//            out.close();
            fs.close();
        } catch (URISyntaxException e) {
            e.printStackTrace();
        } catch (InterruptedException e) {
            e.printStackTrace();
        } catch (IOException e) {
            e.printStackTrace();
        } finally {

        }
    }
}
/usr/目录下出现a.txt上传成功,此时可用hql查询
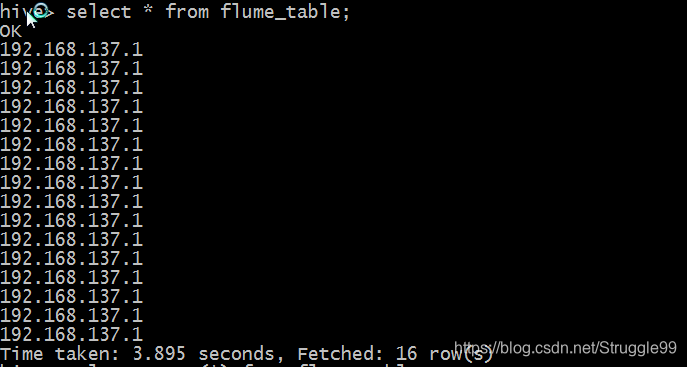
查询表数据:
select * from frametable;
 查询数据总数:
select count(*) from frametable;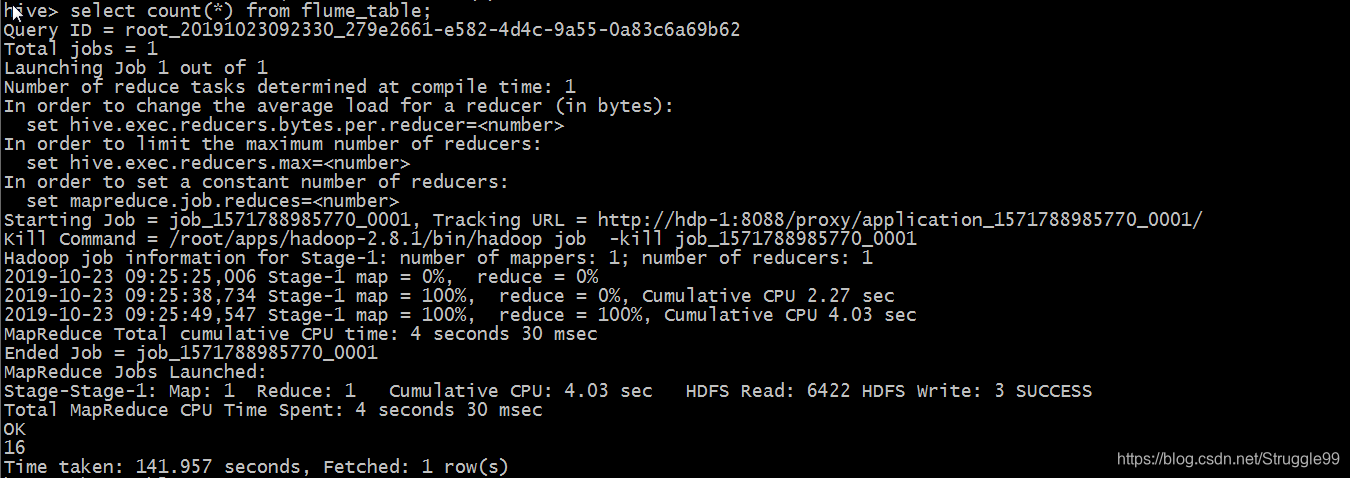
如果觉得我的文章对您有用,请随意打赏。你的支持将鼓励我继续创作!
