社区微信群开通啦,扫一扫抢先加入社区官方微信群

社区微信群
前面介绍了netty的基本使用以及和websocket的整合,下面就说说如何用springboot整合netty,毕竟我们是要把netty作为一个服务端的框架整合到我们的项目中去的,总不能用main函数启动吧,下面来看具体的整合过程,
项目的基本结构如图,这里为了省事,没有整合mybatis和mysql,有兴趣的同学可参考我之前的博客把相关的依赖加进去即可,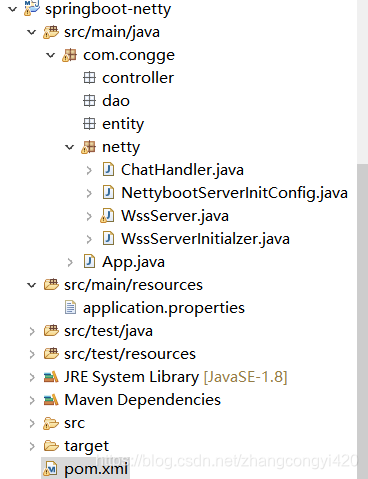
1、pom文件,springboot的基本配置和一个netty包,
<parent>
		<groupId>org.springframework.boot</groupId>
		<artifactId>spring-boot-starter-parent</artifactId>
		<version>2.0.1.RELEASE</version>
		<relativePath /> <!-- lookup parent from repository -->
	</parent>

	<properties>
		<project.build.sourceEncoding>UTF-8</project.build.sourceEncoding>
		<project.reporting.outputEncoding>UTF-8</project.reporting.outputEncoding>
		<java.version>1.8</java.version>
	</properties>

	<dependencies>

		<dependency>
			<groupId>io.netty</groupId>
			<artifactId>netty-all</artifactId>
			<version>5.0.0.Alpha2</version>
			<!-- <version>4.1.24.Final</version> -->
		</dependency>

		<dependency>
			<groupId>org.springframework.boot</groupId>
			<artifactId>spring-boot-starter-web</artifactId>
		</dependency>

		<dependency>
			<groupId>org.springframework.boot</groupId>
			<artifactId>spring-boot-starter-test</artifactId>
			<scope>test</scope>
		</dependency>

		<dependency>
			<groupId>org.mybatis.spring.boot</groupId>
			<artifactId>mybatis-spring-boot-starter</artifactId>
			<version>1.3.2</version>
		</dependency>

	</dependencies>

	<build>
		<plugins>
			<plugin>
				<groupId>org.springframework.boot</groupId>
				<artifactId>spring-boot-maven-plugin</artifactId>
			</plugin>
		</plugins>
	</build>
2、application.properties配置文件,如果还有其他的像mybatis之类的都可以配置在这个里面,
server.port=8089

spring.datasource.jdbc-url=jdbc:mysql://localhost:3306/babaytun?useUnicode=true&characterEncoding=utf-8&useSSL=false
spring.datasource.username=root
spring.datasource.password=root
spring.datasource.driver-class-name=com.mysql.jdbc.Driver
#first.datasource.type=com.alibaba.druid.pool.DruidDataSource
3、netty服务端相关配置类,有了前面的整合篇,其实我在这里只会main函数里面的相关配置做了一些改进,通过注解在项目启动的时候被spring加载管理,几个类的代码前一篇都说过,这里直接贴出来,WssServer 是最主要的配置类,其他的基本都是上一篇讲到的,
package com.congge.netty;

import org.springframework.stereotype.Component;

import io.netty.bootstrap.ServerBootstrap;
import io.netty.channel.ChannelFuture;
import io.netty.channel.EventLoopGroup;
import io.netty.channel.nio.NioEventLoopGroup;
import io.netty.channel.socket.nio.NioServerSocketChannel;

/**
 * 服务端基本配置,通过一个静态单例类,保证启动时候只被加载一次
 * @author asus
 *
 */
@Component
public class WssServer {

	/**
	 * 单例静态内部类
	 * @author asus
	 *
	 */
	public static class SingletionWSServer{
		static final WssServer instance = new WssServer();
	}

	public static WssServer getInstance(){
		return SingletionWSServer.instance;
	}

	private EventLoopGroup mainGroup ;
	private EventLoopGroup subGroup;
	private ServerBootstrap server;
	private ChannelFuture future;

	public WssServer(){
		mainGroup = new NioEventLoopGroup();
		subGroup = new NioEventLoopGroup();
		server = new ServerBootstrap();
		server.group(mainGroup, subGroup)
				.channel(NioServerSocketChannel.class)
				.childHandler(new WssServerInitialzer());	//添加自定义初始化处理器
	}

	public void start(){
		future = this.server.bind(8087);
		System.err.println("netty 服务端启动完毕 .....");
	}

}
package com.congge.netty;


import io.netty.channel.ChannelInitializer;
import io.netty.channel.ChannelPipeline;
import io.netty.channel.socket.SocketChannel;
import io.netty.handler.codec.http.HttpObjectAggregator;
import io.netty.handler.codec.http.HttpServerCodec;
import io.netty.handler.codec.http.websocketx.WebSocketServerProtocolHandler;
import io.netty.handler.stream.ChunkedWriteHandler;

public class WssServerInitialzer extends ChannelInitializer<SocketChannel>{

	@Override
	protected void initChannel(SocketChannel ch) throws Exception {

		ChannelPipeline pipeline = ch.pipeline();

		//websocket基于http协议,所以需要http编解码器
		pipeline.addLast(new HttpServerCodec());
		//添加对于读写大数据流的支持
		pipeline.addLast(new ChunkedWriteHandler());
		//对httpMessage进行聚合
		pipeline.addLast(new HttpObjectAggregator(1024*64));

		// ================= 上述是用于支持http协议的 ==============

		//websocket 服务器处理的协议,用于给指定的客户端进行连接访问的路由地址
		//比如处理一些握手动作(ping,pong)
		pipeline.addLast(new WebSocketServerProtocolHandler("/ws"));

		//自定义handler
		pipeline.addLast(new ChatHandler());


	}

}
package com.congge.netty;

import java.time.LocalDateTime;

import io.netty.channel.Channel;
import io.netty.channel.ChannelHandlerContext;
import io.netty.channel.SimpleChannelInboundHandler;
import io.netty.channel.group.ChannelGroup;
import io.netty.channel.group.DefaultChannelGroup;
import io.netty.handler.codec.http.websocketx.TextWebSocketFrame;
import io.netty.util.concurrent.GlobalEventExecutor;

/**
 * 聊天的ehandler
 * TextWebSocketFrame  用于为websockt处理文本的对象
 * @author asus
 *
 */
public class ChatHandler extends SimpleChannelInboundHandler<TextWebSocketFrame>{

	//用于记录和管理所有客户端的channel
	private static ChannelGroup clients =
			new DefaultChannelGroup(GlobalEventExecutor.INSTANCE);

	@Override
	protected void messageReceived(ChannelHandlerContext ctx, TextWebSocketFrame msg)
			throws Exception {
		//客户端传递过来的消息
		String content = msg.text();
		System.out.println("接收到了客户端的消息是:" + content);

		//将客户端发送过来的消息刷到所有的channel中
		for(Channel channel : clients){
			//channel.writeAndFlush(msg);
			channel.writeAndFlush(
					new TextWebSocketFrame("[服务器接收到了客户端的消息:]" + LocalDateTime.now()+",消息为:" + content));
		}

//		clients.writeAndFlush(
//				new TextWebSocketFrame("[服务器接收到了客户端的消息:]" + LocalDateTime.now()+",消息为:" + content));

	}

	//客户端创建的时候触发,当客户端连接上服务端之后,就可以获取该channel,然后放到channelGroup中进行统一管理
	@Override
	public void handlerAdded(ChannelHandlerContext ctx) throws Exception {
		clients.add(ctx.channel());
	}

	//客户端销毁的时候触发,
	@Override
	public void handlerRemoved(ChannelHandlerContext ctx) throws Exception {
		//当handlerRemoved 被触发时候,channelGroup会自动移除对应的channel
		//clients.remove(ctx.channel());
		System.out.println("客户端断开,当前被移除的channel的短ID是:" +ctx.channel().id().asShortText());
	}


}
最后,添加一个初始化时候加载netty配置信息使之生效的配置文件,这里我实现了ApplicationListener这个接口,这样springboot容器启动完毕就可以加载netty的相关配置信息,
package com.congge.netty;

import org.springframework.context.ApplicationListener;
import org.springframework.context.event.ContextRefreshedEvent;
import org.springframework.stereotype.Component;

/**
 * netty服务端启动加载配置
 * @author asus
 *
 */

@Component
public class NettybootServerInitConfig implements ApplicationListener<ContextRefreshedEvent>{

	@Override
	public void onApplicationEvent(ContextRefreshedEvent event) {

		if(event.getApplicationContext().getParent() == null){
			WssServer.getInstance().start();
		}
	}

}
最后,我们使用springboot的main函数启动工程,
package com.congge;

import org.springframework.boot.SpringApplication;
import org.springframework.boot.autoconfigure.SpringBootApplication;
import org.springframework.boot.autoconfigure.jdbc.DataSourceAutoConfiguration;

@SpringBootApplication(exclude={DataSourceAutoConfiguration.class})
public class App {

	public static void main(String[] args) {
		SpringApplication.run(App.class, args);
	}

}
可以看到,netty服务端启动了,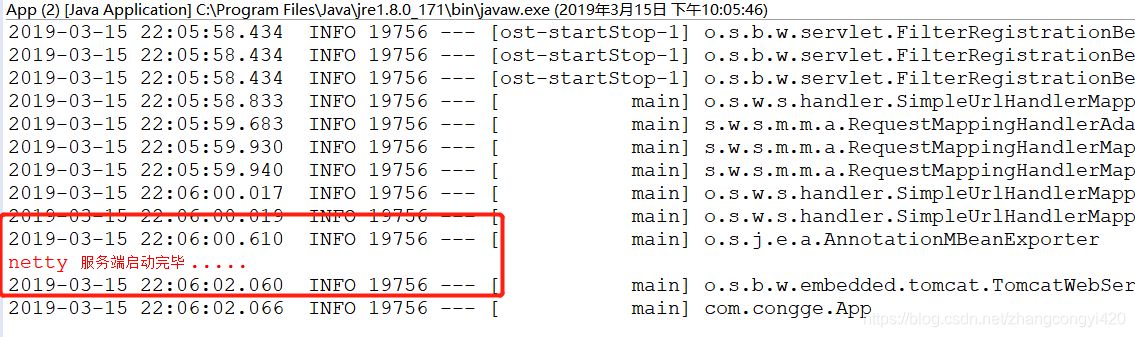
使用前一篇的前端页面,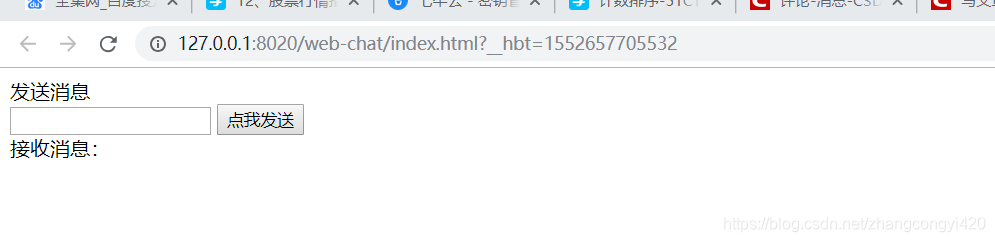
我们向服务端发送一条消息,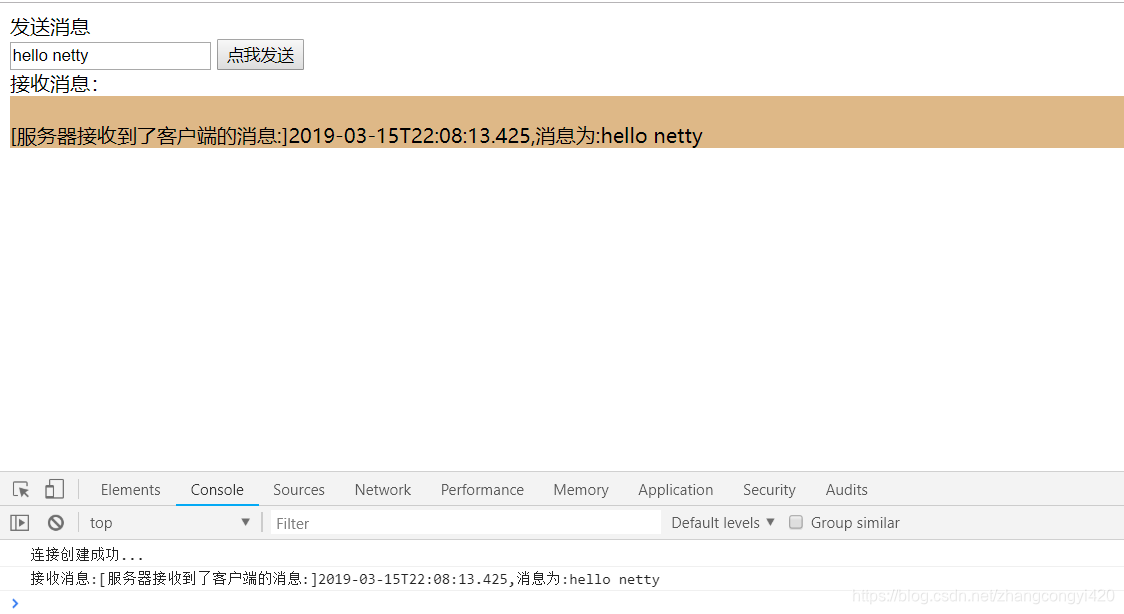
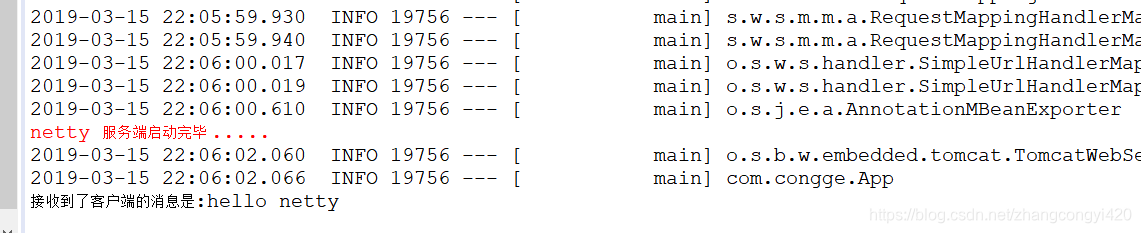
可以看到,客户端和服务端都已经成功收到了消息!
如果觉得我的文章对您有用,请随意打赏。你的支持将鼓励我继续创作!
