社区微信群开通啦,扫一扫抢先加入社区官方微信群

社区微信群
https://drive.google.com/drive/my-drive
!apt-get install -y -qq software-properties-common python-software-properties module-init-tools
!add-apt-repository -y ppa:alessandro-strada/ppa 2>&1 > /dev/null
!apt-get update -qq 2>&1 > /dev/null
!apt-get -y install -qq google-drive-ocamlfuse fuse
from google.colab import auth
auth.authenticate_user()
from oauth2client.client import GoogleCredentials
creds = GoogleCredentials.get_application_default()
import getpass
!google-drive-ocamlfuse -headless -id={creds.client_id} -secret={creds.client_secret} < /dev/null 2>&1 | grep URL
vcode = getpass.getpass()
!echo {vcode} | google-drive-ocamlfuse -headless -id={creds.client_id} -secret={creds.client_secret}
会出现2次校验,详细信息
E: Package 'python-software-properties' has no installation candidate
Selecting previously unselected package google-drive-ocamlfuse.
(Reading database ... 144328 files and directories currently installed.)
Preparing to unpack .../google-drive-ocamlfuse_0.7.22-0ubuntu1~ubuntu18.04.1_amd64.deb ...
Unpacking google-drive-ocamlfuse (0.7.22-0ubuntu1~ubuntu18.04.1) ...
Setting up google-drive-ocamlfuse (0.7.22-0ubuntu1~ubuntu18.04.1) ...
Processing triggers for man-db (2.8.3-2ubuntu0.1) ...
Please, open the following URL in a web browser: https://accounts.google.com/o/oauth2/auth?client_id=32555940559.apps.googleusercontent.com&redirect_uri=urn%3Aietf%3Awg%3Aoauth%3A2.0%3Aoob&scope=https%3A%2F%2Fwww.googleapis.com%2Fauth%2Fdrive&response_type=code&access_type=offline&approval_prompt=force
··········
Please, open the following URL in a web browser: https://accounts.google.com/o/oauth2/auth?client_id=32555940559.apps.googleusercontent.com&redirect_uri=urn%3Aietf%3Awg%3Aoauth%3A2.0%3Aoob&scope=https%3A%2F%2Fwww.googleapis.com%2Fauth%2Fdrive&response_type=code&access_type=offline&approval_prompt=force
Please enter the verification code: Access token retrieved correctly.
然后输入并执行执行以下命令:
!mkdir -p drive
!google-drive-ocamlfuse drive
输入ls命令,若drive文件夹已列出则说明连接成功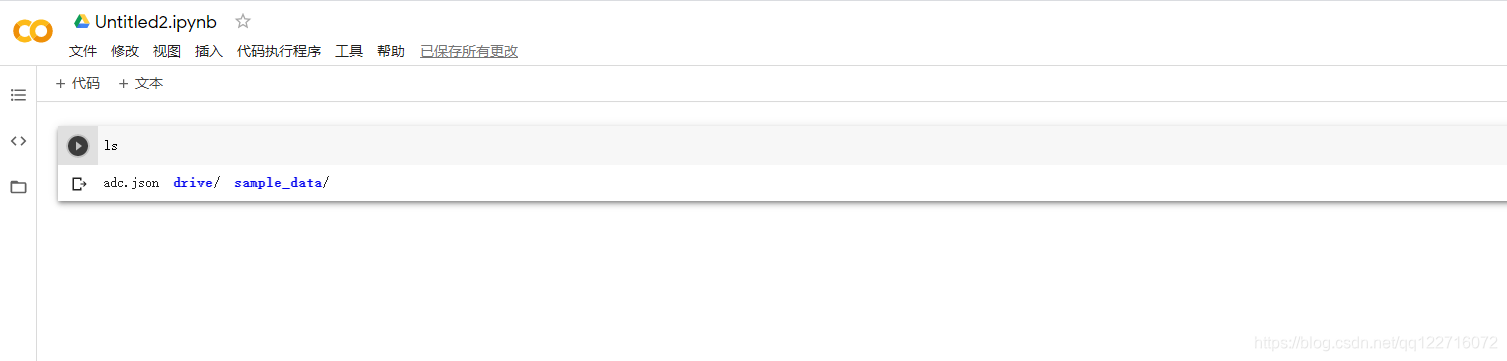
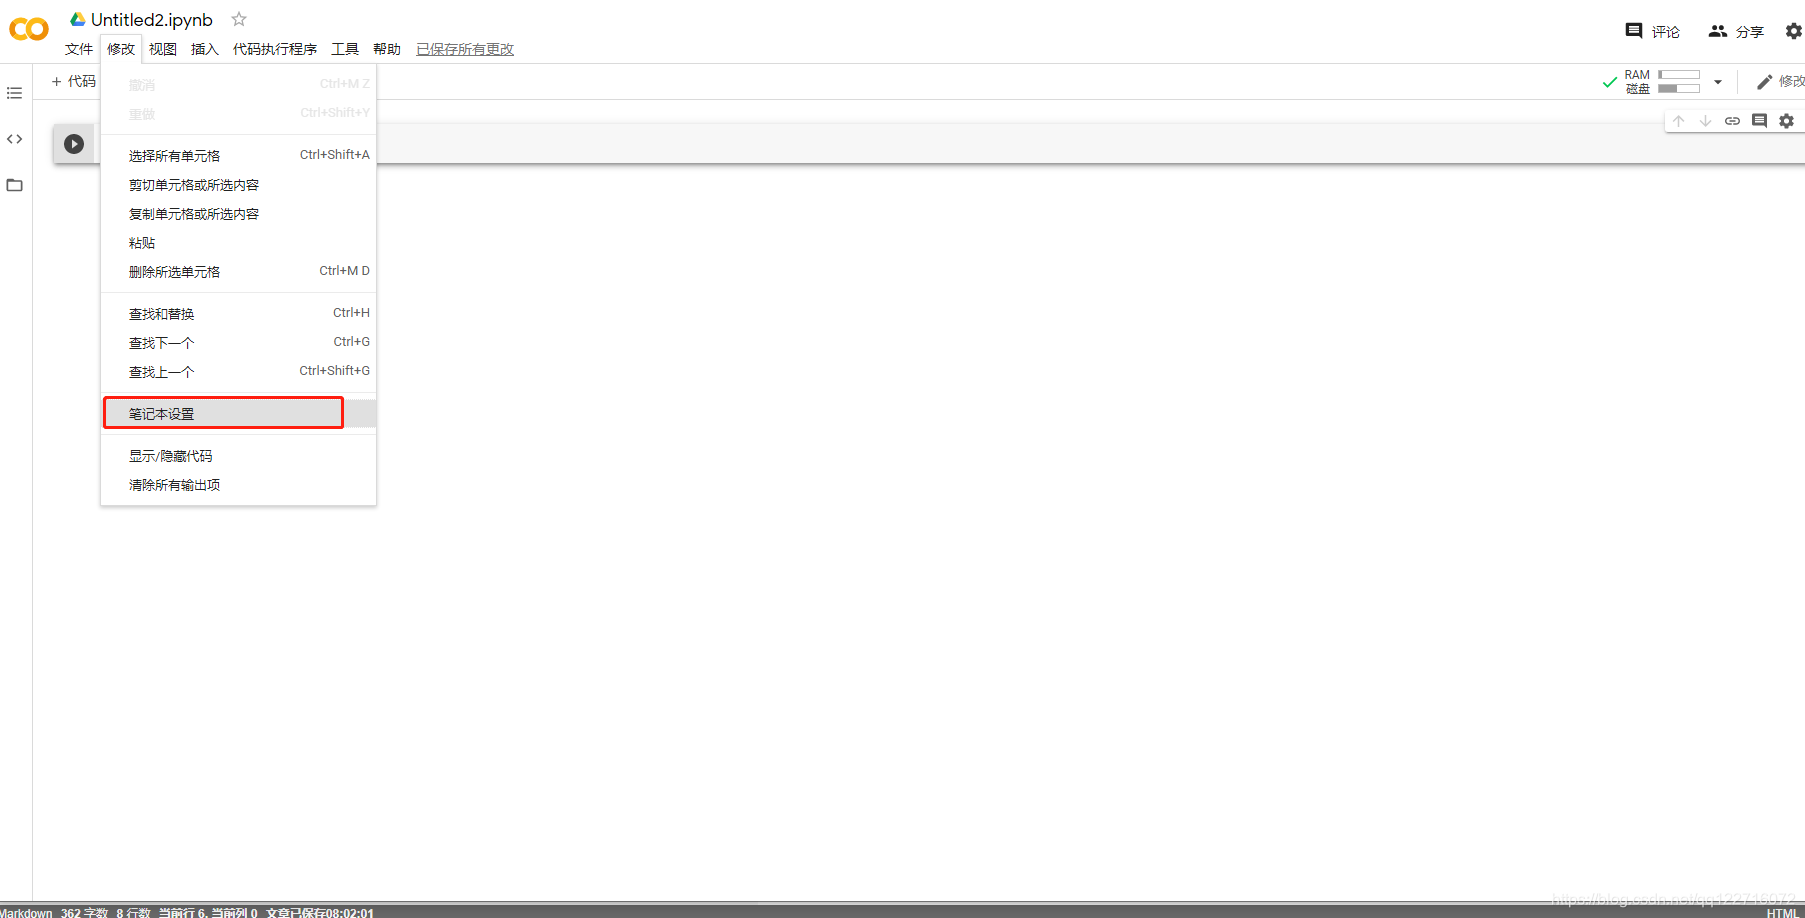
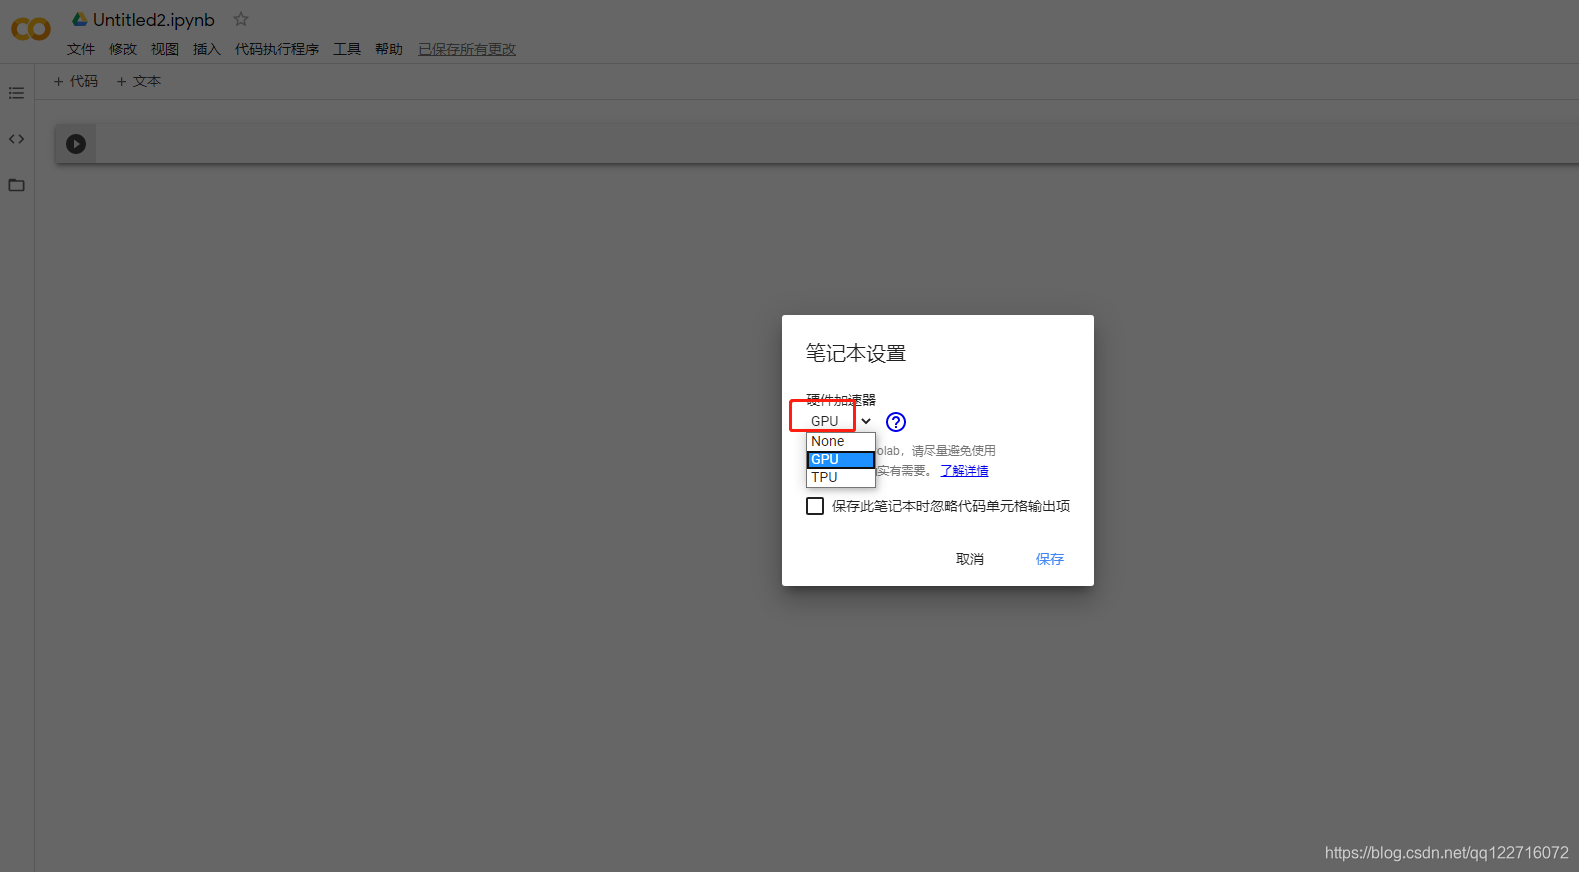
4. 查看GPU、CPU情况
查看GPU是否在colab中
import tensorflow as tf
tf.test.gpu_device_name()
如果结果为空,则不能使用GPU,如果结果为/device:GPU:0
使用!/opt/bin/nvidia-smi查看显存情况
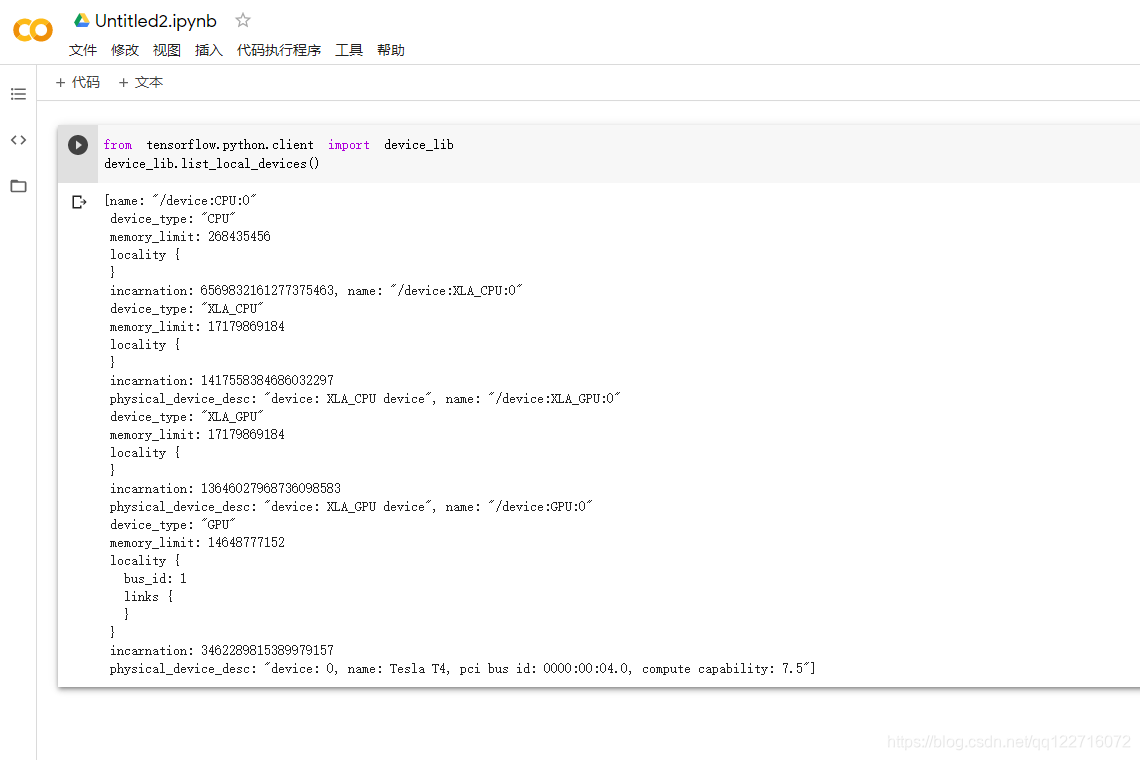
查看显卡内存使用上限
from tensorflow.python.client import device_lib
device_lib.list_local_devices()
5. clolab笔记本的使用
!pip install -q keras
import keras
!pip uninstall -y keras
# 注意这儿用-y是因为,google笔记本只会显示结果不能输入,因此避免安装过程中需要你输入yes什么的
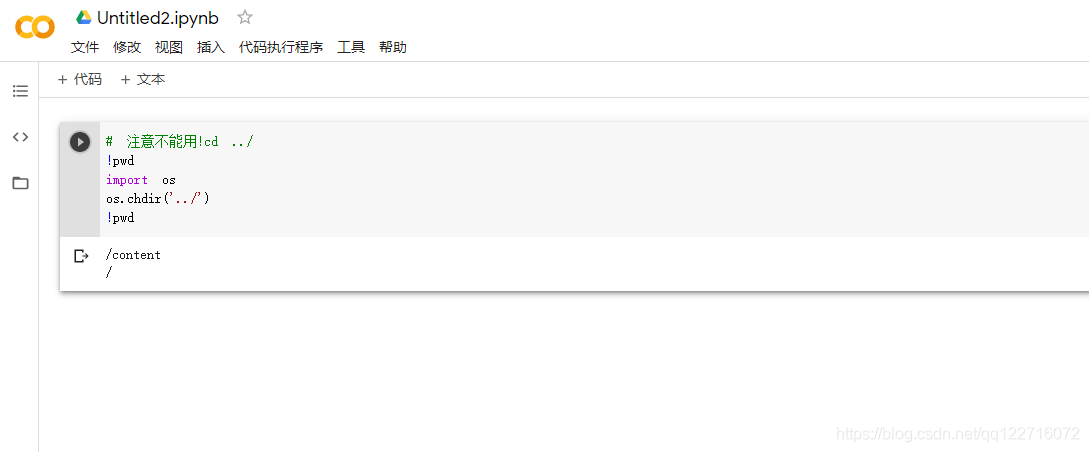
# 注意不能用!cd ../
!pwd
import os
os.chdir('../')
!pwd
!git clone https://github.com/wxs/keras-mnist-tutorial.git!wget https://raw.githubusercontent.com/vincentarelbundock/Rdatasets/master/csv/datasets/Titanic.csv -P drive/app!cat /proc/meminfo!cat /proc/cpuinfo如果觉得我的文章对您有用,请随意打赏。你的支持将鼓励我继续创作!
