社区微信群开通啦,扫一扫抢先加入社区官方微信群

社区微信群
官网:GitHub – xybu/onedrived-dev: A Microsoft OneDrive client for Linux, written in Python3.
准备工作
gccpython3-devlibssl-devinotify-toolspython3-dbus (or probably libdbus-glib-1-dev)一般情况下只需安装python3-dev libssl-dev inotify-tools python3-dbus 执行命令:
sudo apt-get install build-essential python3-dev libssl-dev inotify-tools python3-dbus
如果之前安装过onedrive需要将老版本卸载
$ sudo pip3 uninstall onedrive_d onedrived
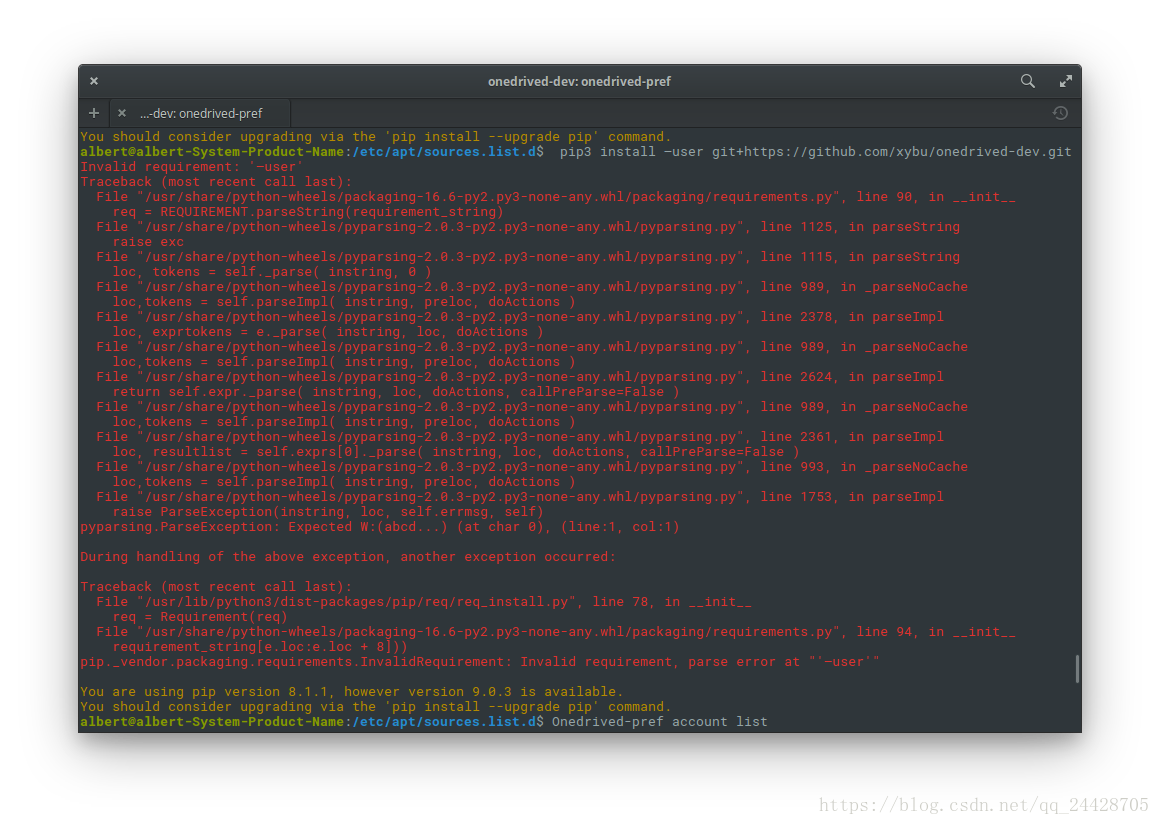
$ rm -rf ~/.onedrive ~/.onedrived确保已经安装过git执行命令:pip3 install –user git+https://github.com/xybu/onedrived-dev.git
以下为成功
执行命令
$ git clone https://github.com/xybu/onedrived-dev.git
$ cd onedrived-dev
安装onedrive
$ pip3 install -e .
$ python3 ./setup.py install --user
配置已安装的onedrive
1.添加账号:onedrived-pref account add
这是它会给出一个URL链接,我们在浏览器里打开、登录账号、授权应用,最后在会得到一个类似 https://login.live.com/oauth20_desktop.srf?code=…… 这样的链接
然后把这个链接复制到终端,点击回车,如果显示 Successfully authorized onedrived 则成功
2.设置同步目录
在终端执行onedrived-pref drive set
输入要选择的号码 回车之后显示Successfully configured Drive 2662......... 要求输入同步文件夹路径,默认文件夹直接回车,如果文件夹不存在,则会提示是否要创建。然后一路回车,当看到Successfully configured Drive时,说明设置成功。至此,就到了最后一步,开启同步。
3.开启同步
首先到ngrok官网下载ngrok,因为同步时需要。如果下载速度慢的同学,可以到https://pan.baidu.com/s/1pLAy12j下载,密码:qpic
然后解压,把文件复制到你想要目录。因为我的ngrok在home目录,所以
这时只需要执行NGROK=~/ngrok onedrived start就可以开始同步了。
如果觉得我的文章对您有用,请随意打赏。你的支持将鼓励我继续创作!