社区微信群开通啦,扫一扫抢先加入社区官方微信群

社区微信群
这几天工作中需要用到grpc进行交互,找到的相关非常多的中文资料,表示大部分都是抄自官网的,没什么自己的理解和解说,导致我花了差不多一整天的工作日才搞明白怎么回事,这里我就写个简单易懂的方法进行记录,以备哪天忘记了可以查阅。
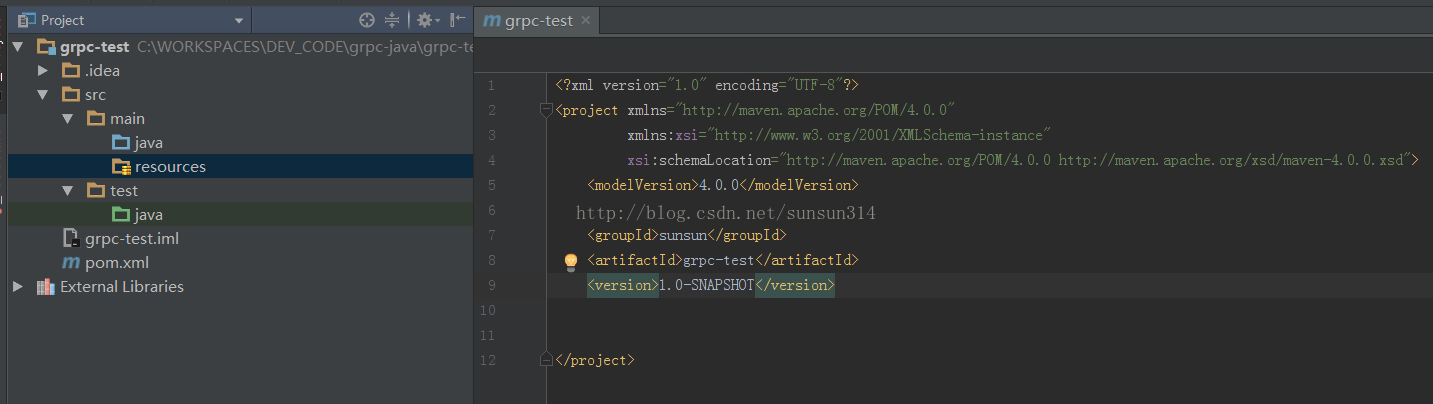
首先我们抛弃官网那一套重新来进行操作一遍,我是用的是IDEA具体的IDE这个问题视个人情况而定,首先是千篇一律的创建一个空的maven工程。
这个空的工程创建出来之后我们就可以先配置基础的maven相关的配置了,这里我们可以抄袭下官网的相关配置
<name>test-grpc</name>
    <url>http://maven.apache.org</url>
    <properties>
        <grpc.version>1.4.0</grpc.version><!-- CURRENT_GRPC_VERSION -->
    </properties>
    <dependencies>
        <dependency>
            <groupId>io.grpc</groupId>
            <artifactId>grpc-netty</artifactId>
            <version>${grpc.version}</version>
        </dependency>
        <dependency>
            <groupId>io.grpc</groupId>
            <artifactId>grpc-protobuf</artifactId>
            <version>${grpc.version}</version>
        </dependency>
        <dependency>
            <groupId>io.grpc</groupId>
            <artifactId>grpc-stub</artifactId>
            <version>${grpc.version}</version>
        </dependency>
        <dependency>
            <groupId>io.grpc</groupId>
            <artifactId>grpc-testing</artifactId>
            <version>${grpc.version}</version>
            <scope>test</scope>
        </dependency>
        <dependency>
            <groupId>junit</groupId>
            <artifactId>junit</artifactId>
            <version>4.11</version>
            <scope>test</scope>
        </dependency>
        <dependency>
            <groupId>org.mockito</groupId>
            <artifactId>mockito-core</artifactId>
            <version>1.9.5</version>
            <scope>test</scope>
        </dependency>
    </dependencies>
    <build>
        <extensions>
            <extension>
                <groupId>kr.motd.maven</groupId>
                <artifactId>os-maven-plugin</artifactId>
                <version>1.4.1.Final</version>
            </extension>
        </extensions>
        <plugins>
            <plugin>
                <groupId>org.xolstice.maven.plugins</groupId>
                <artifactId>protobuf-maven-plugin</artifactId>
                <version>0.5.0</version>
                <configuration>
                    <protocArtifact>com.google.protobuf:protoc:3.3.0:exe:${os.detected.classifier}</protocArtifact>
                    <pluginId>grpc-java</pluginId>
                    <pluginArtifact>io.grpc:protoc-gen-grpc-java:${grpc.version}:exe:${os.detected.classifier}</pluginArtifact>
                </configuration>
                <executions>
                    <execution>
                        <goals>
                            <goal>compile</goal>
                            <goal>compile-custom</goal>
                        </goals>
                    </execution>
                </executions>
            </plugin>
        </plugins>
</build>完成了第一步pom.xml配置以后可以进行尝试下进行mvn install命令的打包,如果正确的话这个时候就能够获取build success的提示信息,如果这些没问题的话继续下一步。
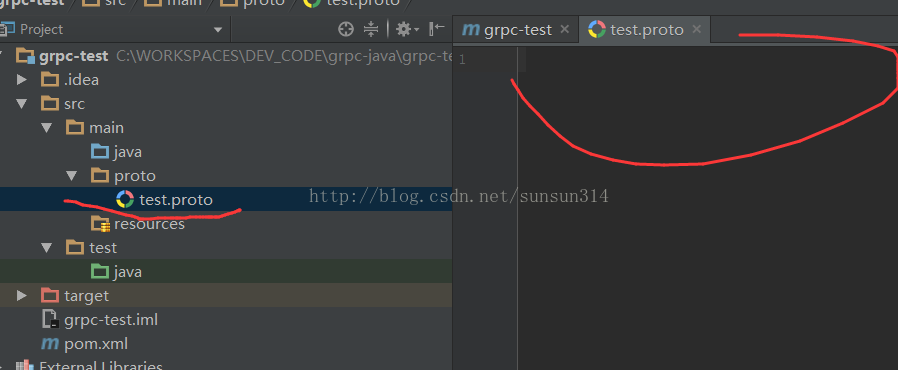
我们知道grpc的核心是通过google的proto文件来进行网络接口的定义,在这里我们就首先需要创建一个proto文件
空的文件创建在proto目录下面,之后我们对于这个空白的proto进行写入需要的内容,具体proto文件的语法在这里就不进行介绍了,我们选取一个最简单的形式
这里对于这些进行简单的解释 syntax是语法,我们这里采用的额是proto3的风格如果使用proto2的风格那么string不能单独使用这里就会报错
java_package生成java代码的package
java_outer_classname 创建的javaBean的文件名
java_multiple_files是否需要多文件,创建java文件的时候如果这个选项是true那么我们的TestInput以及TestOutPut会有两个独立的文件,在一般的工作中一个proto往往会有很多个不同的接口定义,所以在这里我们就只讨论false也就是文件合一的情况
具体的方法以及bean类的定义一目了然不再展开
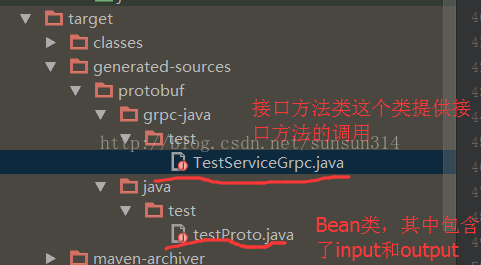
之后我们参看官网给的教程进行编写服务端以及客户端的信息情况,在写好proto之后进行mvn install一下就会看到有如下的文件结构创建出了默认的类
我们将这些类复制到我们java代码的目录中去,并且创建两个空的类testserver以及testclient通过这两个类来测试客户端以及服务端,这里server的代码主要分为三个部分,main方法就简单略过
 public static void main(String[] args) throws IOException, InterruptedException {
        final TestServer server = new TestServer();
        //启动server
        server.start();
        //block Server防止关闭
        server.blockUntilShutdown();
}接下来的start方法才是启动服务的核心
    private void start() throws IOException {
    /* The port on which the server should run */
        int port = 50051;
        //这个部分启动server
        server = ServerBuilder.forPort(port)
                .addService(new TestImpl())
                .build()
                .start();

}而具体的服务实现通过重载TestServiceGrpc对应的testFunction方法完成
 static class TestImpl extends TestServiceGrpc.TestServiceImplBase {

        //基础TestServiceImplBase这个基础类实现里面的对应方法
        @Override
        public void testFunction(testProto.TestInput req, StreamObserver<testProto.TestOutput> responseObserver) {
            testProto.TestOutput reply = testProto.TestOutput.newBuilder().setKey(" 瓜皮 "+req.getKey()).build();
            responseObserver.onNext(reply);
            responseObserver.onCompleted();
        }
}当然这里是为了简化,在实际应用中需要使用独立的类来对于这个TestServiceGrpc.TestServiceImplBase每个server中的每个方法进行重载和实现
接下来我们需要准备TestClient的相关内容了,将官网获取的内容进行简化,发现整个逻辑还是比较简单的分为两个方法main方法略过解释
 public static void main(String[] args) throws Exception {
        TestClient client = new TestClient();
        try {
            String user = "大司马";
            //调用对应的方法
            client.test(user);
        } finally {
        }
}调用到的test方法基本上也就是初始化并连接发送请求
 public void test(String name) {
        testProto.TestInput request = testProto.TestInput.newBuilder().setKey(name).build();
        testProto.TestOutput response;
        try {
            Channel channel =  ManagedChannelBuilder.forAddress("localhost", 50051).usePlaintext(true).build();
            TestServiceGrpc.TestServiceBlockingStub blockingStub =TestServiceGrpc.newBlockingStub(channel);
            //调用方法
            response = blockingStub.testFunction(request);
        } catch (StatusRuntimeException e) {
            return;
        }
        logger.info("Greeting: " + response.getKey());
}如果觉得我的文章对您有用,请随意打赏。你的支持将鼓励我继续创作!