社区微信群开通啦,扫一扫抢先加入社区官方微信群

社区微信群
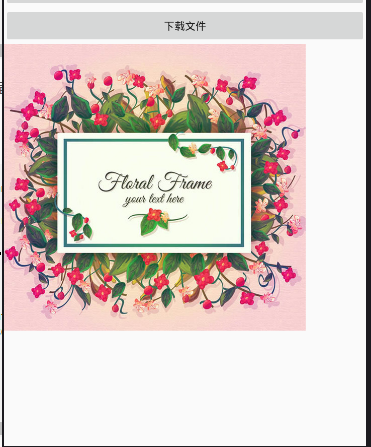
在项目开发中,我们有很多需求都需要将网络图片下载到本地,并且保存到SD卡,等再次用的时候,可以从本地获取即可,这就免去了网络请求,请看效果图。
首先添加Retrofit2.0及RxJava2.0依赖包
// Retrofit库
compile 'com.squareup.okhttp3:okhttp:3.1.2'
compile 'com.squareup.retrofit2:converter-gson:2.0.2'
compile 'com.google.code.gson:gson:2.2.4'
compile 'io.reactivex.rxjava2:rxjava:2.0.1'
compile 'io.reactivex.rxjava2:rxandroid:2.0.1'
compile 'com.jakewharton.retrofit:retrofit2-rxjava2-adapter:1.0.0'
网络权限:
 <uses-permission android:name="android.permission.MOUNT_UNMOUNT_FILESYSTEMS"></uses-permission>
    <uses-permission android:name="android.permission.WRITE_EXTERNAL_STORAGE" />
    <uses-permission android:name="android.permission.READ_EXTERNAL_STORAGE" />
    <uses-permission android:name="android.permission.INTERNET"></uses-permission>
将URL都封装到Constants类里面:
public class Constants {

    //http://img.sccnn.com/bimg/338/34264.jpg   这是图片完整路径
    public static final String BASE_URL4 = "http://img.sccnn.com/"; //BASE_URL


}
来看ApiService接口:
public interface ApiService {

    @GET("bimg/338/{fileName}")  //{fileName}是动态码
    @Streaming                    //GET下载文件必须结合@Streaming使用
    Observable<ResponseBody> downLoadImg(@Path("fileName") String fileName);

}<?xml version="1.0" encoding="utf-8"?> <LinearLayout xmlns:android="http://schemas.android.com/apk/res/android" xmlns:app="http://schemas.android.com/apk/res-auto" xmlns:tools="http://schemas.android.com/tools" android:layout_width="match_parent" android:layout_height="match_parent" android:orientation="vertical" tools:context="com.example.administrator.retrofit20demo.MainActivity"> <Button android:id="@+id/btn_download" android:layout_width="match_parent" android:layout_height="wrap_content" android:onClick="onClick" android:text="下载文件" /> <ImageView android:src="@mipmap/ic_launcher" android:layout_width="wrap_content" android:layout_height="wrap_content" android:id="@+id/img"/> </LinearLayout>
MainActivity 代码如下:
Bitmap bitmap = null;
private void downLoadImg() {
new Thread(new Runnable() {
@Override
public void run() {
//OK设置请求超时时间,读取超时时间
OkHttpClient client = new OkHttpClient.Builder()
.connectTimeout(15, TimeUnit.SECONDS)
.readTimeout(15, TimeUnit.SECONDS)
.build();
Retrofit retrofit = new Retrofit.Builder().baseUrl(Constants.BASE_URL4)
.addConverterFactory(GsonConverterFactory.create())
.client(client)
.addCallAdapterFactory(RxJava2CallAdapterFactory.create())
.build();
ApiService apiService = retrofit.create(ApiService.class);
Observable<ResponseBody> observable = apiService.downLoadImg("34264.jpg");
observable.subscribeOn(Schedulers.io())
.subscribe(new Observer<ResponseBody>() {
@Override
public void onSubscribe(Disposable d) {
}
@Override
public void onNext(ResponseBody value) {
byte[] bys = new byte[0];
try {
bys = value.bytes(); //注意:把byte[]转换为bitmap时,也是耗时操作,也必须在子线程
bitmap = BitmapFactory.decodeByteArray(bys, 0, bys.length);
runOnUiThread(new Runnable() {//开启主线程更新UI
@Override
public void run() {
img.setImageBitmap(bitmap);
try {//调用saveFile方法
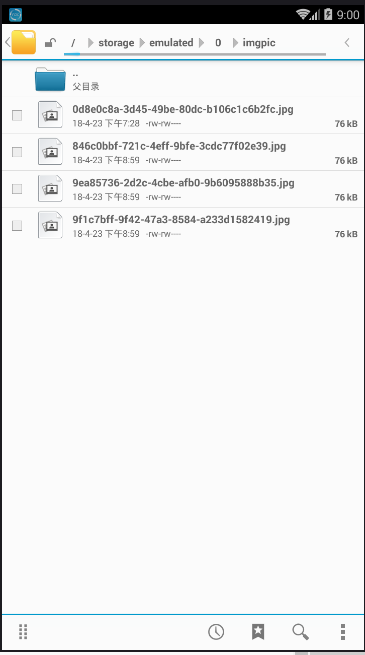
saveFile(bitmap, Environment.getExternalStorageDirectory() + "/imgpic/");
Log.e("TAG", Environment.getExternalStorageDirectory() + "/imgpic/");
} catch (IOException e) {
e.printStackTrace();
}
}
});
} catch (IOException e) {
e.printStackTrace();
}
}
@Override
public void onError(Throwable e) {
}
@Override
public void onComplete() {
}
});
}
}).start();
}
注意:要始终分清网络请求必须在子线程中进行,UI在主线程进行,否则这里很容易报错(线程问题);需谨慎。
来看一个保存到SD卡的方法:
 //保存图片到SD卡
    public void saveFile(Bitmap bm, String fileName) throws IOException {

        String imgName = UUID.randomUUID().toString() + ".jpg"; //随机生成不同的名字
        File jia = new File(fileName);              //新创的文件夹的名字
        if (!jia.exists()) {   //判断文件夹是否存在,不存在则创建
            jia.mkdirs();
        }
        File file = new File(jia + "/" + imgName);
        BufferedOutputStream bos = new BufferedOutputStream(new FileOutputStream(file));
        bm.compress(Bitmap.CompressFormat.JPEG, 80, bos);

        bos.flush();
        bos.close();

}如果觉得我的文章对您有用,请随意打赏。你的支持将鼓励我继续创作!