社区微信群开通啦,扫一扫抢先加入社区官方微信群

社区微信群
最近自己使用vue-cli3框架,仿照起点中文页面,参考网上一些追书神器的api和项目,自己重新做了一个阅读器,顺便打包部署到阿里云。因为是第一次部署到云,所以踩了不少坑,特此记录这个过程,防止以后采坑。
因为我是第一次购买ecs(云服务器),所以有一个低配版免费试用一个月的机会,所以就先不花钱,直接领免费的,因为对配置也不是很在意,将就着用。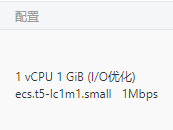

Welcome to Alibaba Cloud Elastic Compute Service !
1、通过npm run prod(这个是我自己的package.json配置的命令)打包代码,然后会生成一个dist文件。
"scripts": {
    "dev": "vue-cli-service serve",
    "prod": "vue-cli-service build",
  },
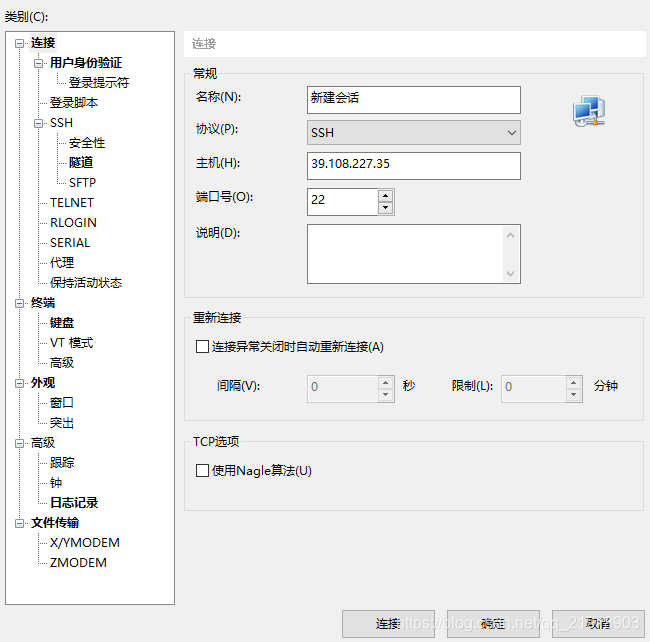
2、打开xftp,和xshell一样连接云服务器。xftp可以看到云服务器的文件目录。我将dist放在root/qidian/web这个路径下(如果文件夹不存在,可以手动创建)。如下图,左边是本地电脑文件目录,右边是云服务器目录。通过xftp可以进行文件传输。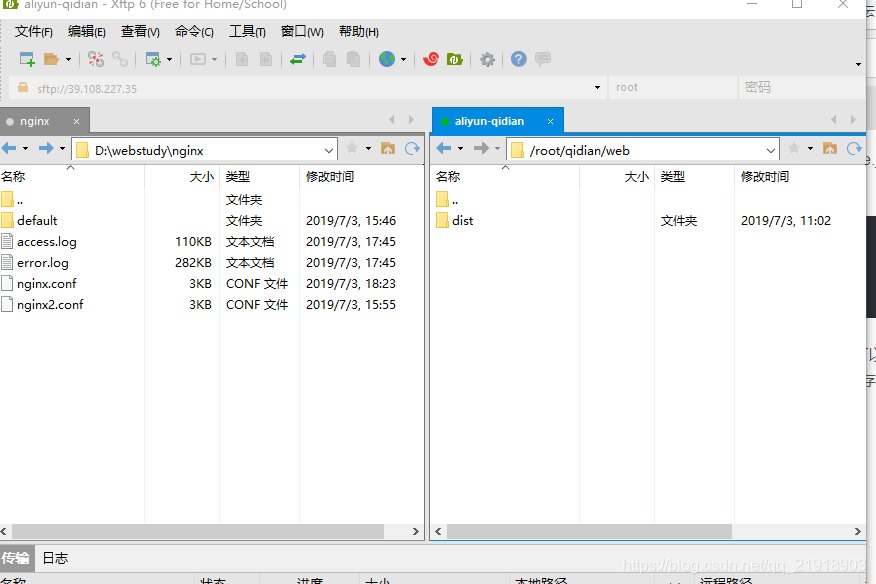
到了这一步,我们访问公网ip还是不能看到页面的,因为我们还没配服务器代理,这里用nginx配置服务器代理。
# For more information on configuration, see:
#   * Official English Documentation: http://nginx.org/en/docs/
#   * Official Russian Documentation: http://nginx.org/ru/docs/

user nginx;
worker_processes auto;
error_log /var/log/nginx/error.log;
pid /run/nginx.pid;

# Load dynamic modules. See /usr/share/nginx/README.dynamic.
include /usr/share/nginx/modules/*.conf;

events {
    worker_connections 1024;
}

http {
    log_format  main  '$remote_addr - $remote_user [$time_local] "$request" '
                      '$status $body_bytes_sent "$http_referer" '
                      '"$http_user_agent" "$http_x_forwarded_for"';

    access_log  /var/log/nginx/access.log  main;

    sendfile            on;
    tcp_nopush          on;
    tcp_nodelay         on;
    keepalive_timeout   65;
    types_hash_max_size 2048;

    include             /etc/nginx/mime.types;
    default_type        application/octet-stream;

    # Load modular configuration files from the /etc/nginx/conf.d directory.
    # See http://nginx.org/en/docs/ngx_core_module.html#include
    # for more information.
    include /etc/nginx/conf.d/*.conf;

    server {
        listen       80;   #服务器开放端口
        server_name  39.108.227.35;//云服务器公网ip
        #root         /usr/share/nginx/html;

        # Load configuration files for the default server block.
        include /etc/nginx/default.d/*.conf;

		proxy_redirect off;
		# 把host头传过去,后端服务程序将收到your.domain.name, 否则收到的是localhost:8080
		proxy_set_header Host $host;
		proxy_set_header  X-Real-IP  $remote_addr;
		proxy_set_header X-Forwarded-For $proxy_add_x_forwarded_for;

        location  / {
			root  /root/qidian/web/dist/;		#root 是dist文件夹所在目录
			index index.html index.htm;	#默认访问路径
			try_files $uri $uri/ @router;   #如果没有使用vue-router页面路由,不需要配置try_files
        }

		location  /chapterapi/ {   #本地代理
			proxy_pass http://chapter2.zhuishushenqi.com/chapter/http://vip.zhuishushenqi.com/;
        }

		location /api/ {
			proxy_pass http://api.zhuishushenqi.com/;
        }


        error_page 404 /404.html;
            location = /40x.html {
        }

        error_page 500 502 503 504 /50x.html;
            location = /50x.html {
        }
    }

# Settings for a TLS enabled server.
#
#    server {
#        listen       443 ssl http2 default_server;
#        listen       [::]:443 ssl http2 default_server;
#        server_name  _;
#        root         /usr/share/nginx/html;
#
#        ssl_certificate "/etc/pki/nginx/server.crt";
#        ssl_certificate_key "/etc/pki/nginx/private/server.key";
#        ssl_session_cache shared:SSL:1m;
#        ssl_session_timeout  10m;
#        ssl_ciphers HIGH:!aNULL:!MD5;
#        ssl_prefer_server_ciphers on;
#
#        # Load configuration files for the default server block.
#        include /etc/nginx/default.d/*.conf;
#
#        location / {
#        }
#
#        error_page 404 /404.html;
#            location = /40x.html {
#        }
#
#        error_page 500 502 503 504 /50x.html;
#            location = /50x.html {
#        }
#    }

}
注意:这里监听的80端口 listen 80,所以我们还需要再阿里云控制台开放80端口,不然还是无法访问。如下图,点开安全组,添加规则就行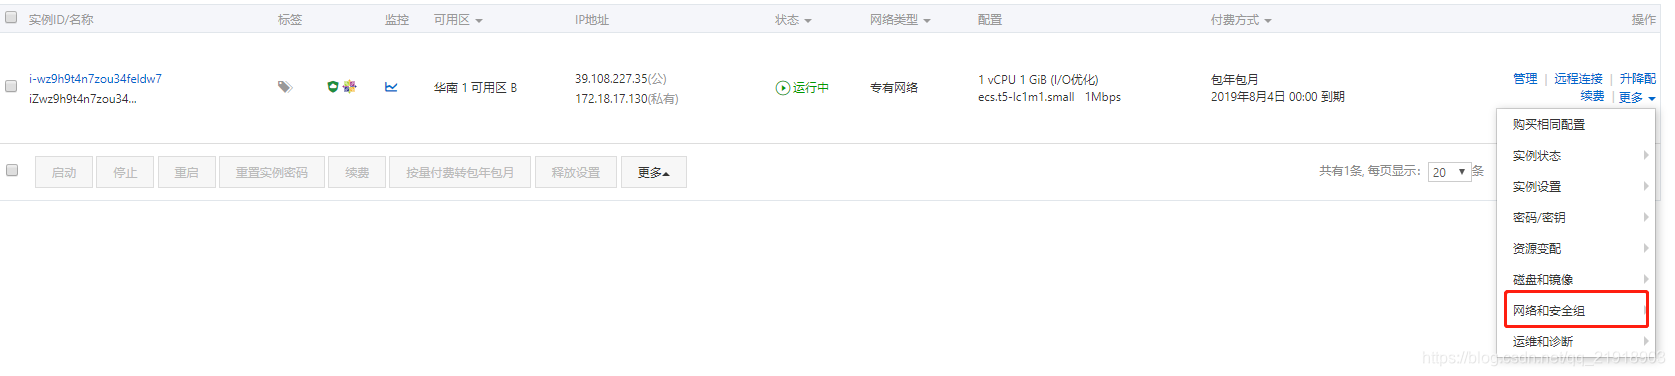

yum remove nginx  //卸载
which nginx  //看下是否删除成功
yum install nginx   //安装
systemctl start nginx  //启动
proxy: {
      '/chapterapi': {
        target: 'http://chapter2.zhuishushenqi.com/chapter/http://vip.zhuishushenqi.com',
        changeOrigin: true,
        pathRewrite: {                //需要rewrite重写的, 如果在服务器端做了处理则可以不要这段
          '^/chapterapi': ''
        }
      },
      '/api': {
        target: 'http://api.zhuishushenqi.com',
        changeOrigin: true,
        pathRewrite: {                //需要rewrite重写的, 如果在服务器端做了处理则可以不要这段
          '^/api': ''
        }
      }
    }
nginx代理配置:
#proxy的配置
proxy_redirect off;
# 把host头传过去,后端服务程序将收到your.domain.name, 否则收到的是localhost:8080
proxy_set_header Host $host;
proxy_set_header  X-Real-IP  $remote_addr;
proxy_set_header X-Forwarded-For $proxy_add_x_forwarded_for;

location  /chapterapi/ {
			proxy_pass http://chapter2.zhuishushenqi.com/chapter/http://vip.zhuishushenqi.com/;
        }

location /api/ {
	proxy_pass http://api.zhuishushenqi.com/;
      }
注意:location 后面的是两个斜杆,proxy_pass 最后边也要加一个斜杆。具体原因可以深入了解一下nginx的location机制
如果觉得我的文章对您有用,请随意打赏。你的支持将鼓励我继续创作!
