社区微信群开通啦,扫一扫抢先加入社区官方微信群

社区微信群
Swagger 是一个规范和完整的框架,用于生成、描述、调用和可视化 RESTful 风格的 Web 服务。总体目标是使客户端和文件系统作为服务器以同样的速度来更新。
作用:
接口的文档在线自动生成。
功能测试。
配置
添加依赖
  <!--swagger 文档注释  https://mvnrepository.com/artifact/io.springfox/springfox-swagger2 -->
        <dependency>
            <groupId>io.springfox</groupId>
            <artifactId>springfox-swagger2</artifactId>
            <version>2.9.2</version>
        </dependency>
        <!--访问地址:/swagger-ui.html swagger-ui界面 -->
        <dependency>
            <groupId>io.springfox</groupId>
            <artifactId>springfox-swagger-ui</artifactId>
            <version>2.9.2</version>
        </dependency>
        <!--第三方的ui界面的美化  地址为 /doc.html-->
        <dependency>
            <groupId>com.github.xiaoymin</groupId>
            <artifactId>swagger-bootstrap-ui</artifactId>
            <version>1.9.4</version>
        </dependency>
配置Swagger2Config
import com.github.xiaoymin.swaggerbootstrapui.annotations.EnableSwaggerBootstrapUI;
import org.springframework.context.annotation.Bean;
import org.springframework.context.annotation.Configuration;
import org.springframework.web.bind.annotation.RequestMethod;
import springfox.documentation.builders.ApiInfoBuilder;
import springfox.documentation.builders.PathSelectors;
import springfox.documentation.builders.RequestHandlerSelectors;
import springfox.documentation.builders.ResponseMessageBuilder;
import springfox.documentation.schema.ModelRef;
import springfox.documentation.service.ApiInfo;
import springfox.documentation.service.Contact;
import springfox.documentation.service.ResponseMessage;
import springfox.documentation.spi.DocumentationType;
import springfox.documentation.spring.web.plugins.Docket;
import springfox.documentation.swagger2.annotations.EnableSwagger2;

import java.util.ArrayList;
import java.util.List;

/**
 * Swagger2的配置
 * @author sxyuser
 */
@Configuration
@EnableSwaggerBootstrapUI
//扫描swagger2的注解类
@EnableSwagger2
public class Swagger2Config {
    /**
     * 创建API应用
     * apiInfo() 增加API相关信息
     * 通过select()函数返回一个ApiSelectorBuilder实例,用来控制哪些接口暴露给Swagger来展现,
     * 本例采用指定扫描的包路径来定义指定要建立API的目录。
     *
     * @return
     */
    @Bean
    public Docket createRestApi() {
        //设置全局响应状态码
        List<ResponseMessage> responseMessageList = new ArrayList<>();
        responseMessageList.add(new ResponseMessageBuilder().code(404).message("找不到资源").responseModel(new ModelRef("Error")).build());
        responseMessageList.add(new ResponseMessageBuilder().code(400).message("参数错误").build());
        responseMessageList.add(new ResponseMessageBuilder().code(401).message("没有认证").build());
        responseMessageList.add(new ResponseMessageBuilder().code(500).message("服务器内部错误").build());
        responseMessageList.add(new ResponseMessageBuilder().code(403).message("没有访问权限").build());
        responseMessageList.add(new ResponseMessageBuilder().code(200).message("请求成功").build());
        return new Docket(DocumentationType.SWAGGER_2).useDefaultResponseMessages(false)
                .globalResponseMessage(RequestMethod.GET, responseMessageList)
                .globalResponseMessage(RequestMethod.POST, responseMessageList)
                .globalResponseMessage(RequestMethod.PUT, responseMessageList)
                .globalResponseMessage(RequestMethod.DELETE, responseMessageList)
                .apiInfo(apiInfo())
                .select()
                .apis(RequestHandlerSelectors.basePackage("com.demo.springboot.controller"))
                .paths(PathSelectors.any())
                .build();
    }
    /**
     * 创建该API的基本信息(这些基本信息会展现在文档页面中)
     * 访问地址:http://项目实际地址/swagger-ui.html
     * @return
     */
    private ApiInfo apiInfo() {
        return new ApiInfoBuilder()
                .title("springboot 测试后台接口")
                .description("展示先做基础功能,后面再添加业务")
                .termsOfServiceUrl("http://localhost:8081/springboot/")
                .contact(new Contact("sxyuser","www.baidu.com",""))
                .version("1.0")
                .build();
    }

}
配置Controller
/**
 * (User)表控制层
 *
 * @author makejava
 * @since 2020-04-06 20:02:06
 */
@Controller
@RequestMapping("/user")
@Api(tags = "用户模块API文档")
public class UserController {

    private static final Logger LOGGER = LoggerFactory.getLogger(UserController.class);
    /**
     * 服务对象
     */
    @Resource
    private UserService userService;

    @GetMapping("/login")
    @ResponseBody
    @ApiOperation(value = "用户登录功能",produces = "application/json")
    @ApiImplicitParams({
            @ApiImplicitParam(name = "name",value = "用户名",required = true,dataType = "String",paramType="query")
    })
    public AjaxResult<User> login(String name) {
        User user = userService.queryByUser(name);
        return success(user);
    }
}
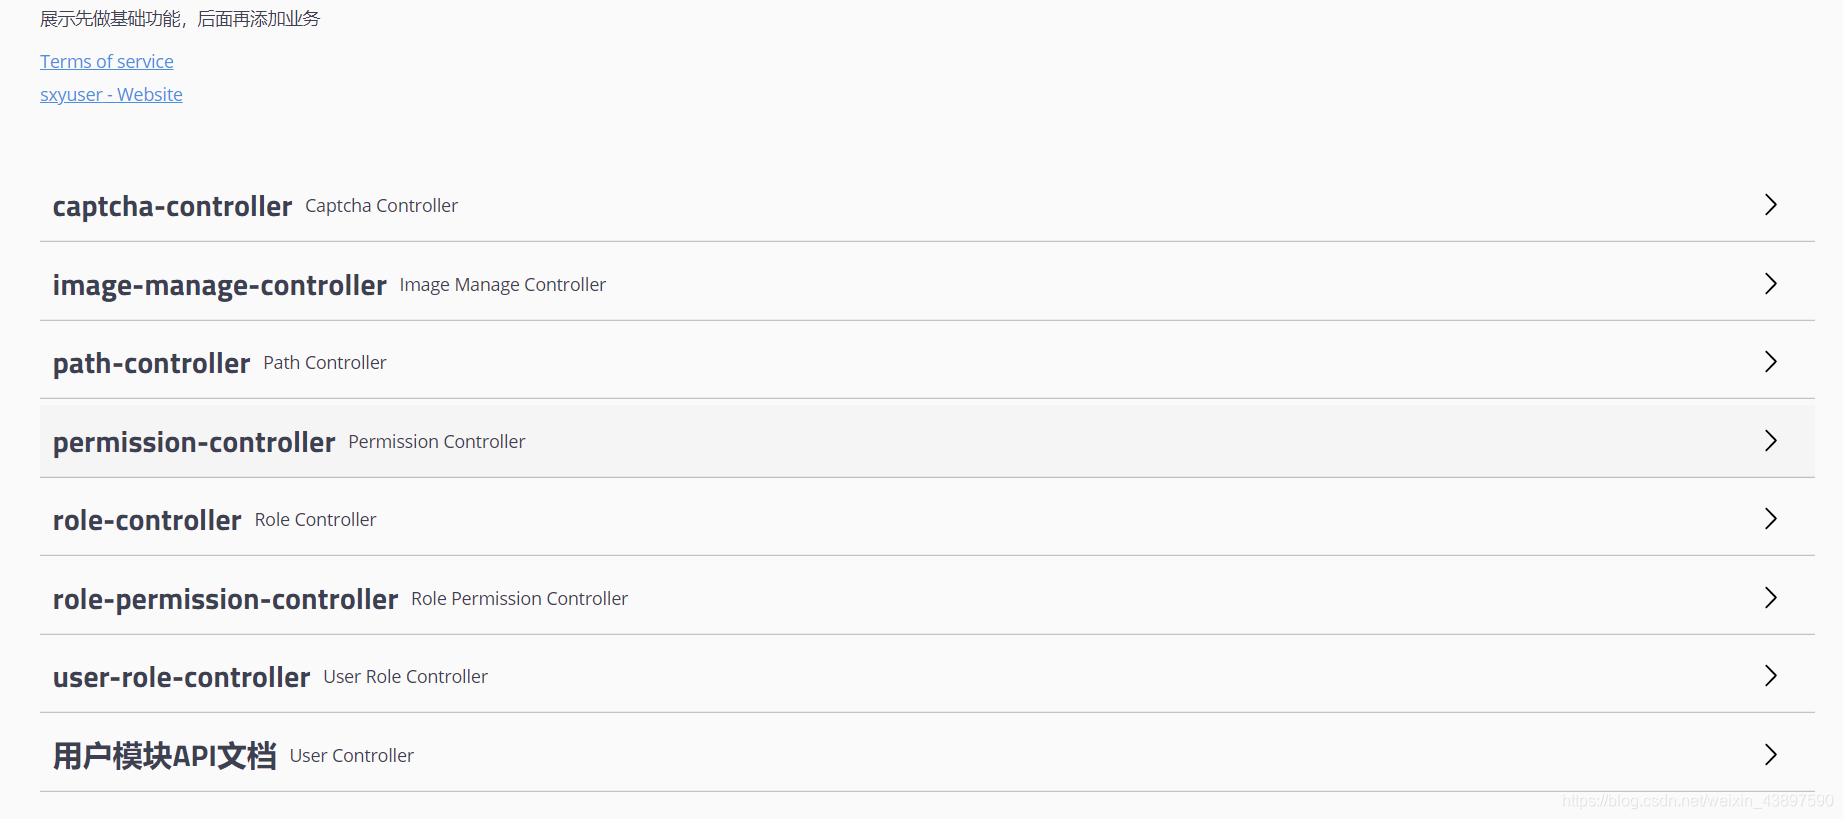
访问http://localhost:8081/springboot/swagger-ui.html查看效果
如果添加了这个依赖
 <!--第三方的ui界面的美化  地址为 /doc.html-->
        <dependency>
            <groupId>com.github.xiaoymin</groupId>
            <artifactId>swagger-bootstrap-ui</artifactId>
            <version>1.9.4</version>
        </dependency>
可以访问http://localhost:8081/springboot/doc.html查看效果,这个比swagger原生的界面好看
Swagger常用注解
用于controller类上的注解
@Api 说明:协议集描述(比如:@Api(value=“借款接口服务集合”,tags={“借款接口”}))
用于方法上的:
@ApiOperation 比如:@ApiOperation(value=“获取客户最近的借款信息”,tags={“借款接口”},notes=“获取客户的最近借款信息”)
@Api()用于类:表示标识这个类是swagger的资源
@ApiOperation()用于方法:表示一个http请求的操作
@ApiParam():用于方法,参数,字段说明:表示对参数的添加元数据(说明或是否必填等)
@ApiModel()用于类:表示对类进行说明,用于参数用实体类接收
@ApiModelProperty()用于方法,字段:表示对model属性的说明或者是数据操作更改
@ApiIgnore()用于类,方法,方法参数:表示这个方法或者类被忽略
@ApiImplicitParam()用于方法:表示单独的请求参数
@ApiImplicitParams()用于方法,包含多个@ApiImplicitParam
具体使用举例说明:
@Api():用于类;表示这个类是swagger的资源
tags-表示说明 value-也是说明,可以使用tags替代 但是tags如果有多个值,会生成对个list
@ApiOperation():用于方法;表示一个HTTP请求的操作
Value用于方法的描述 notes:用于提示内容 tags可以重新分组(视情况而用)
@ApiParam()用于方法,参数,字段说明;表示对参数的添加元数据(说明是否必填等)
Name:参数名 value:参数说明 required:是否必填
@ApiModel()用于类:表示对类进行说明,用于参数用实体类接收
Value:表示对象名 description:描述 这些都可以省略
@ApiModelProperty():用于方法,字段;表示对model属性的说明或者是数据操作的更改
Value-字段说明 name-重写属性名字 dataType-重写属性类型 required-是否必填 example-举例说明 hidden-隐藏
@ApiIgnore()用于类或者方法上,可以不被swagger显示在页面上
@ApiImplicitParam();用于方法 表示单独的请求参数
返回处理后的统一json格式的数据
/**
 * 响应码枚举,参考HTTP状态码的语义
 *
 * @author sxyuser
 */
@Getter
public enum ResultCode {

    /**
     * 操作成功
     */
    SUCCESS(200, "操作成功"),
    /**
     * 操作失败
     */
    ERROR(400, "操作失败"),
    /**
     * 未经过身份认证
     */
    AUTH_ERROR(401, "未经过身份认证"),
    /**
     * token参数不存在,无访问权限
     */
    NO_TOKEN(40101, "token参数不存在,无访问权限"),
    /**
     * token验证失败,无访问权限
     */
    CHECK_TOKEN(40102, "token验证失败,无访问权限"),
    /**
     * accessKeyId参数不存在
     */
    NO_SECRET_ID(40151, "accessKeyId参数不存在"),
    /**
     * sign签名参数不存在
     */
    NO_SECRET_SIGN(40152, "sign签名参数不存在"),
    /**
     * 请求校验失败
     */
    CHECK_SECRET(40153, "请求校验失败"),
    /**
     * 资源不存在
     */
    NOT_FOUND(404, "资源不存在"),
    /**
     * 服务器异常,请稍后再试
     */
    SYSTEM_ERROR(500, "服务器异常,请稍后再试"),
    /**
     * 用户信息解析异常,请稍后再试
     */
    USERPRINCIPAL_RESOLVER_ERROR(50001, "用户信息解析异常,请稍后再试"),
    /**
     * RPC或其他项目通信调用异常,外部服务异常
     */
    RPC_ERROR(503, "外部服务异常"),
    ;


    private final int code;
    private final String msg;

    ResultCode(int code, String msg) {
        this.code = code;
        this.msg = msg;
    }

}
2.创建统一API响应结果封装
/**
 * 统一API响应结果封装
 *
 * @author sxyuser
 */
@ApiModel("统一API响应结果封装")
@Getter
public class AjaxResult<T> implements Serializable {
    /**
     * 状态码,比如1000代表响应成功
     */
    @ApiModelProperty(value = "成功失败的标志",required = true)
    private final int code;
    /**
     * 响应信息,用来说明响应情况
     */
    @ApiModelProperty(value = "成功失败的响应信息",required = true)
    private final String msg;
    /**
     * 响应的具体数据
     */
    @ApiModelProperty(value = "成功失败的响应数据",required = false)
    private T data;


    public AjaxResult(T data) {
        this(ResultCode.SUCCESS, data);
    }

    public AjaxResult(ResultCode resultCode, T data) {
        this.code = resultCode.getCode();
        this.msg = resultCode.getMsg();
        this.data = data;
    }
    public AjaxResult(ResultCode resultCode) {
        this.code = resultCode.getCode();
        this.msg = resultCode.getMsg();
    }


    /**
     * 返回成功消息
     *
     * @param data 数据对象
     * @return 成功消息
     */
    public static <T> AjaxResult<T>  success(T data) {
        return new AjaxResult<>(ResultCode.SUCCESS, data);
    }


    /**
     * 返回成功消息
     *
     * @return 成功消息
     */
    public static <T> AjaxResult<T>  success() {
        return new AjaxResult<>(ResultCode.SUCCESS);
    }

    /**
     * 返回警告消息
     *
     * @param data 数据对象
     * @return 警告消息
     */
    public static <T> AjaxResult<T> warn(T data) {
        return new AjaxResult<>(ResultCode.WARN,data);
    }


    /**
     * 返回警告消息
     *
     * @return 警告消息
     */
    public static <T> AjaxResult<T> warn() {
        return new AjaxResult<>(ResultCode.WARN);
    }
    /**
     * 返回错误消息
     *
     * @param data 数据对象
     * @return 警告消息
     */
    public static <T> AjaxResult<T> error(T data) {
        return new AjaxResult<>(ResultCode.ERROR, data);
    }
    /**
     * 返回错误消息
     *
     * @return 警告消息
     */
    public static <T> AjaxResult<T> error() {
        return new AjaxResult<>(ResultCode.ERROR);
    }

}
/**
 * 全局异常处理器
 *
 * @author sxy
 */
@RestControllerAdvice
public class GlobalExceptionHandler {

    private static final Logger LOGGER = LoggerFactory.getLogger(GlobalExceptionHandler.class);

    /**
     * 权限异常处理
     */
    @ExceptionHandler(AuthorizationException.class)
    public Object handleAuthorizationException(AuthorizationException e) {
        LOGGER.error(e.getMessage(), e);
        if (e instanceof UnauthorizedException) {
            ModelAndView modelAndView = new ModelAndView();
            modelAndView.setViewName("error/unauth");
            return modelAndView;
        } else {
            return e.getMessage();
        }
    }


    /**
     * 自定义访问受限异常
     *
     * @param e
     * @return
     */
    @ExceptionHandler(value = AccessException.class)
    public ResponseEntity<String> accessExceptionHandler(AccessException e) {
        return ResponseEntity.status(HttpStatus.UNAUTHORIZED).body(e.getMessage());
    }

    /**
     * 自定义资源不存在异常
     *
     * @param e
     * @return
     */
    @ExceptionHandler(value = NotFoundException.class)
    public ResponseEntity<Void> notFoundExceptionHandler(NotFoundException e) {
        return ResponseEntity.notFound().build();
    }

    /**
     * 自定义系统异常
     *
     * @param e
     * @return
     */
    @ExceptionHandler(value = SystemException.class)
    public ResponseEntity<String> systemExceptionHandler(SystemException e) {
        LOGGER.error(e.getMessage(), e);
        return ResponseEntity.status(HttpStatus.INTERNAL_SERVER_ERROR).body(ResultCode.SYSTEM_ERROR.toString());
    }


    /**
     * 非法参数异常
     *
     * @param e
     * @return
     */
    @ExceptionHandler(value = IllegalArgumentException.class)
    public ResponseEntity<AjaxResult<String>> illegalArgumentExceptionHandler(IllegalArgumentException e) {
        return ResponseEntity.badRequest().body(AjaxResult.error(e.getMessage()));
    }

    @ExceptionHandler(value = IllegalStateException.class)
    public ResponseEntity<AjaxResult<String>> illegalStateExceptionHandler(IllegalStateException e) {
        return ResponseEntity.badRequest().body(AjaxResult.error(e.getMessage()));
    }

    /**
     * 参数缺失异常
     *
     * @param e
     * @return
     */
    @ExceptionHandler(value = MissingServletRequestParameterException.class)
    public ResponseEntity<AjaxResult<String>> missingServletRequestParameterExceptionHandler(
            MissingServletRequestParameterException e) {
        return ResponseEntity.badRequest().body(AjaxResult.error(e.getParameterName() + "参数缺失"));
    }

    /**
     * 参数类型不匹配异常
     *
     * @param e
     * @return
     */
    @ExceptionHandler(value = TypeMismatchException.class
如果觉得我的文章对您有用,请随意打赏。你的支持将鼓励我继续创作!
