社区微信群开通啦,扫一扫抢先加入社区官方微信群

社区微信群
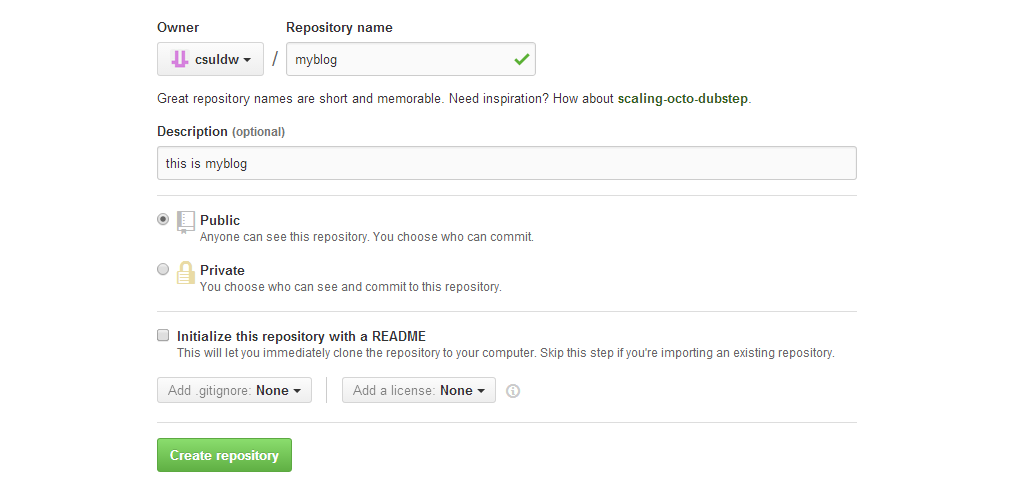
到你的github上 https://github.com去create a new repository命名为 github.myblog
如果本地centos没有git,使用yum安装
$ yum install git克隆jekyll-bootstrap
$ git clone https://github.com/plusjade/jekyll-bootstrap.git myblog
$ cd myblog
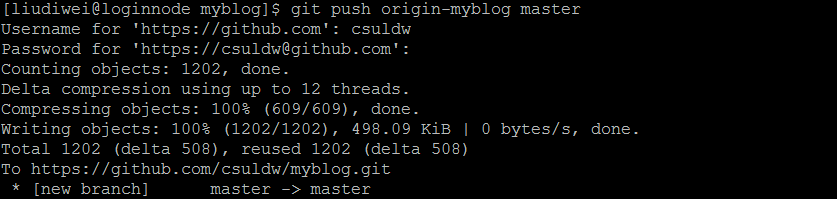
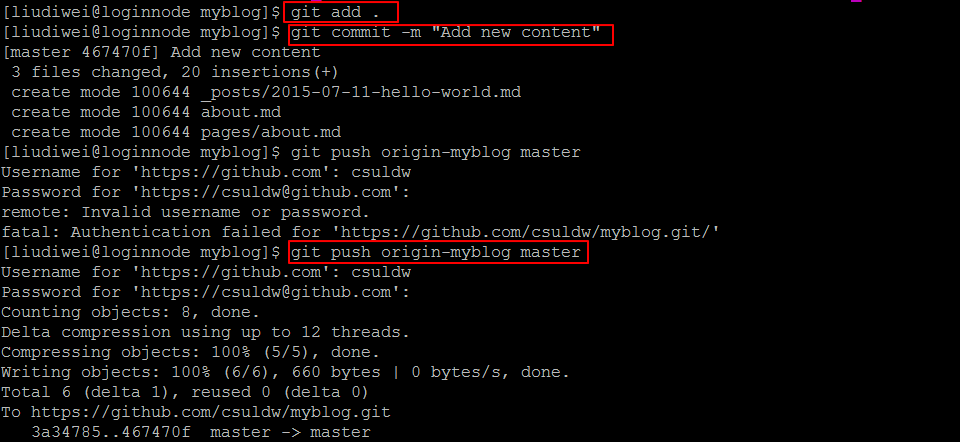
$ git remote add origin-myblog https://github.com/csuldw/myblog.git
$ git push origin-myblog master #代码传至github经过上面的代码之后,就可以看到自己的博客了:http://myblog.github.io/
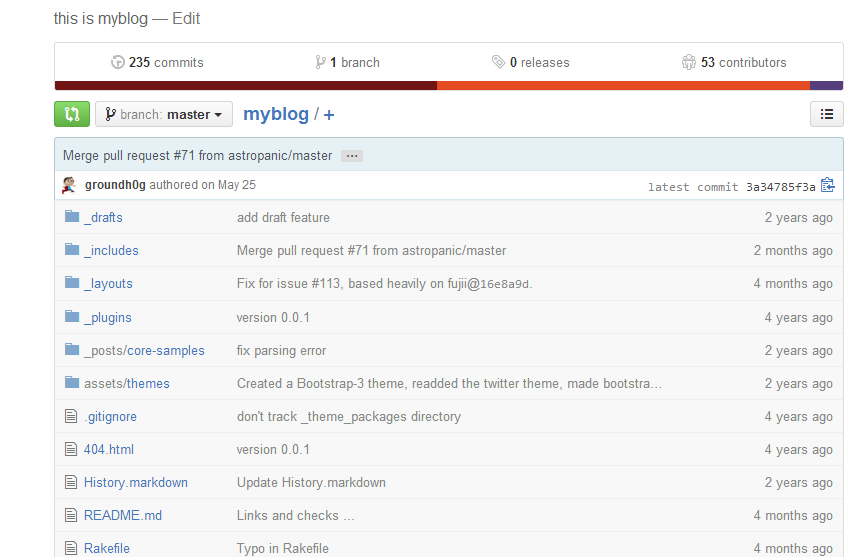
github文件目录
使用下面代码看看是否安装了jekyll
$ git clone https://github.com/plusjade/jekyll-bootstrap.git
$ cd jekyll-bootstrap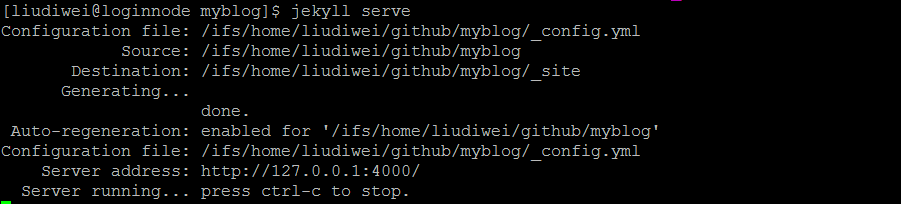
$ jekyll serve根据网址http://localhost:4000. 看是否安装成功
如果没有安装成功,下面再centos中安装jekyll,参考:https://hack0nair.me/2013-10-31-config-jekyll-on-centos/
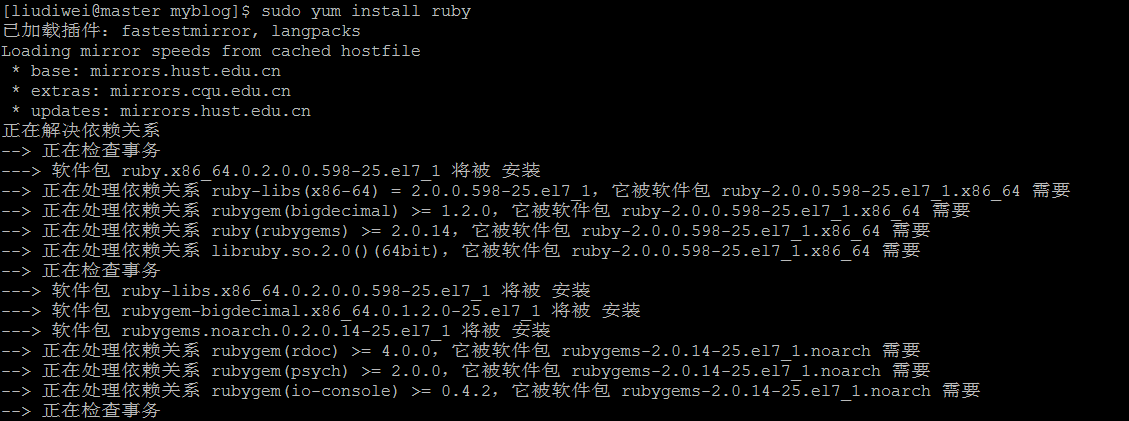
首先安装ruby:
$ sudo yum install ruby
接着安装jekyll
$ gem install jekyll然后回到myblog目录,执行下列代码检测jekyll是否安装成功
$ jekyll server如果出现下面情况,表示安装成功
下载rake
$ gem install rake创建页面
$ rake page name="about.md"创建一个内部页面
rake page name="pages/about.md"
Create a page with a “pretty” path:
$ rake page name="pages/about"
# this will create the file: ./pages/about/index.html
The rake task automatically creates a page file with properly formatted filename and YAML Front Matter as well as includes the Jekyll Bootstrap “setup” file.
$ git add .
$ git commit -m "Add new content"
$ git push origin master
附:jekyll支持主题定做 http://jekyllbootstrap.com/usage/jekyll-theming.html
主题目录位于:_includes/themes 下面.
如果觉得我的文章对您有用,请随意打赏。你的支持将鼓励我继续创作!