社区微信群开通啦,扫一扫抢先加入社区官方微信群

社区微信群
test-env:
| hostname | ip |
| centos7 | 192.168.10.11/24 |
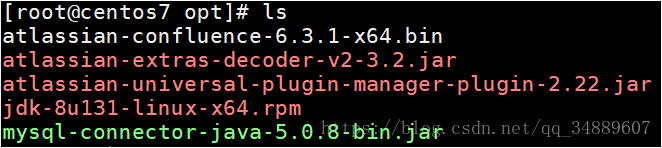
1、首先下载相关软件包,放在/opt下
2、解压mysql驱动.zip,把里面的文件mv到/opt下
3、安装jdk,然后进行相关的配置,并测试
[root@centos7 opt]# rpm -ivh jdk-8u131-linux-x64.rpm
# 在/etc/profile文件最后面添加下面这几行,jdk具体的路径自己ls查一下
JAVA_HOME=/usr/java/jdk1.8.0_131
JAVA_BIN=/usr/java/jdk1.8.0_131/bin
PATH=/usr/local/sbin:/usr/local/bin:/usr/sbin:/usr/bin:/root/bin:/bin:/sbin/
CLASSPATH=.:/lib/dt.jar:/lib/tools.jar
export JAVA_HOME JAVA_BIN PATH CLASSPATH
[root@centos7 opt]# source /etc/profile
[root@centos7 opt]# java -version
4、安装mysql数据库
# 在centos7中直接yum安装mariadb就可以,然后启动
[root@centos7opt]# yum install -y mariadb mariadb-server
[root@centos7 opt]# systemctl start mariadb
[root@centos7 opt]# systemctl enable mariadb
# 习惯性的备份下配置文件
[root@centos7opt]# cp /etc/my.cnf /etc/my.cnf.bak
[root@centos7opt]# cp /etc/my.cnf.d/client.cnf /etc/my.cnf.d/client.cnf.bak
[root@centos7 opt]# cp/etc/my.cnf.d/mysql-clients.cnf /etc/my.cnf.d/mysql-clients.cnf.bak
# 修改配置文件
[root@centos7 opt]# vim /etc/my.cnf ---> # 在[mysqld]下面添加如下
init_connect='SET collation_connection = utf8_unicode_ci'
init_connect='SET NAMES utf8'
character-set-server=utf8
collation-server=utf8_unicode_ci
skip-character-set-client-handshake
[root@centos7 opt]# vim /etc/my.cnf.d/mysql-clients.cnf ---> # 在[mysql]下面添加如下
default-character-set=utf8
[root@centos7 opt]# vim /etc/my.cnf.d/client.cnf ---> # 在[client]下面添加如下
default-character-set=utf8
# 给mariadb设置密码,并简单设置
[root@centos7opt]# mysql_secure_installation
…………
Enter current password for root (enter for none): ---> # 直接回车就可以了
OK, successfully used password, moving on...
…………
Set root password?[Y/n] y
New password:
Re-enter new password:
Password updated successfully!
Reloading privilege tables..
... Success!
…………
Remove anonymous users? [Y/n] ---> # 直接回车就可以了
... Success!
…………
Disallow root login remotely? [Y/n] ---> # 直接回车就可以了
... Success!
…………
Remove test database and access to it? [Y/n] ---> # 直接回车就可以了
- Dropping test database...
... Success!
- Removing privileges on testdatabase...
... Success!
…………
Reload privilege tables now? [Y/n] ---> # 直接回车就可以了
... Success!
…………
Thanks for using MariaDB!
[root@centos7 opt]# systemctl restart mariadb
[root@centos7 opt]# mysql -uroot -p
Enter password: ---> # 输入密码
MariaDB [(none)]> show variables like "%character%";
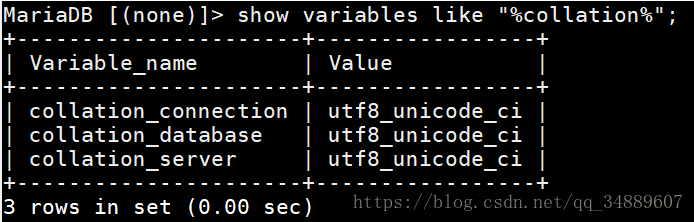
MariaDB[(none)]> show variables like "%collation%";
MariaDB [(none)]> create database confluence default character set utf8 collate utf8_bin;
MariaDB [(none)]> grant all on confluence.* to 'admin'@'%' identified by 'admin';
MariaDB[(none)]> grant all on confluence.* to 'admin'@'localhost' identified by'admin';
MariaDB [(none)]> flush privileges;
MariaDB [(none)]> select user,host,password from mysql.user;
5、安装confluence
[root@centos7opt]# chmod +x atlassian-confluence-6.3.1-x64.bin
[root@centos7opt]# ./atlassian-confluence-6.3.1-x64.bin
…………
OK [o, Enter], Cancel [c] ---> 输入o
o
…………
Express Install (uses default settings) [1],
Custom Install (recommended for advanced users) [2, Enter],
Upgrade an existingConfluence installation [3] ---> 输入1
1
…………
Install [i, Enter], Exit [e] ---> 输入i
i
…………
Yes [y, Enter], No[n] ---> 输入y
y
…………
Confluence 6.3.1 canbe accessed at http://localhost:8090
Finishing installation ...
[root@centos7 opt]# lsof -i:8090
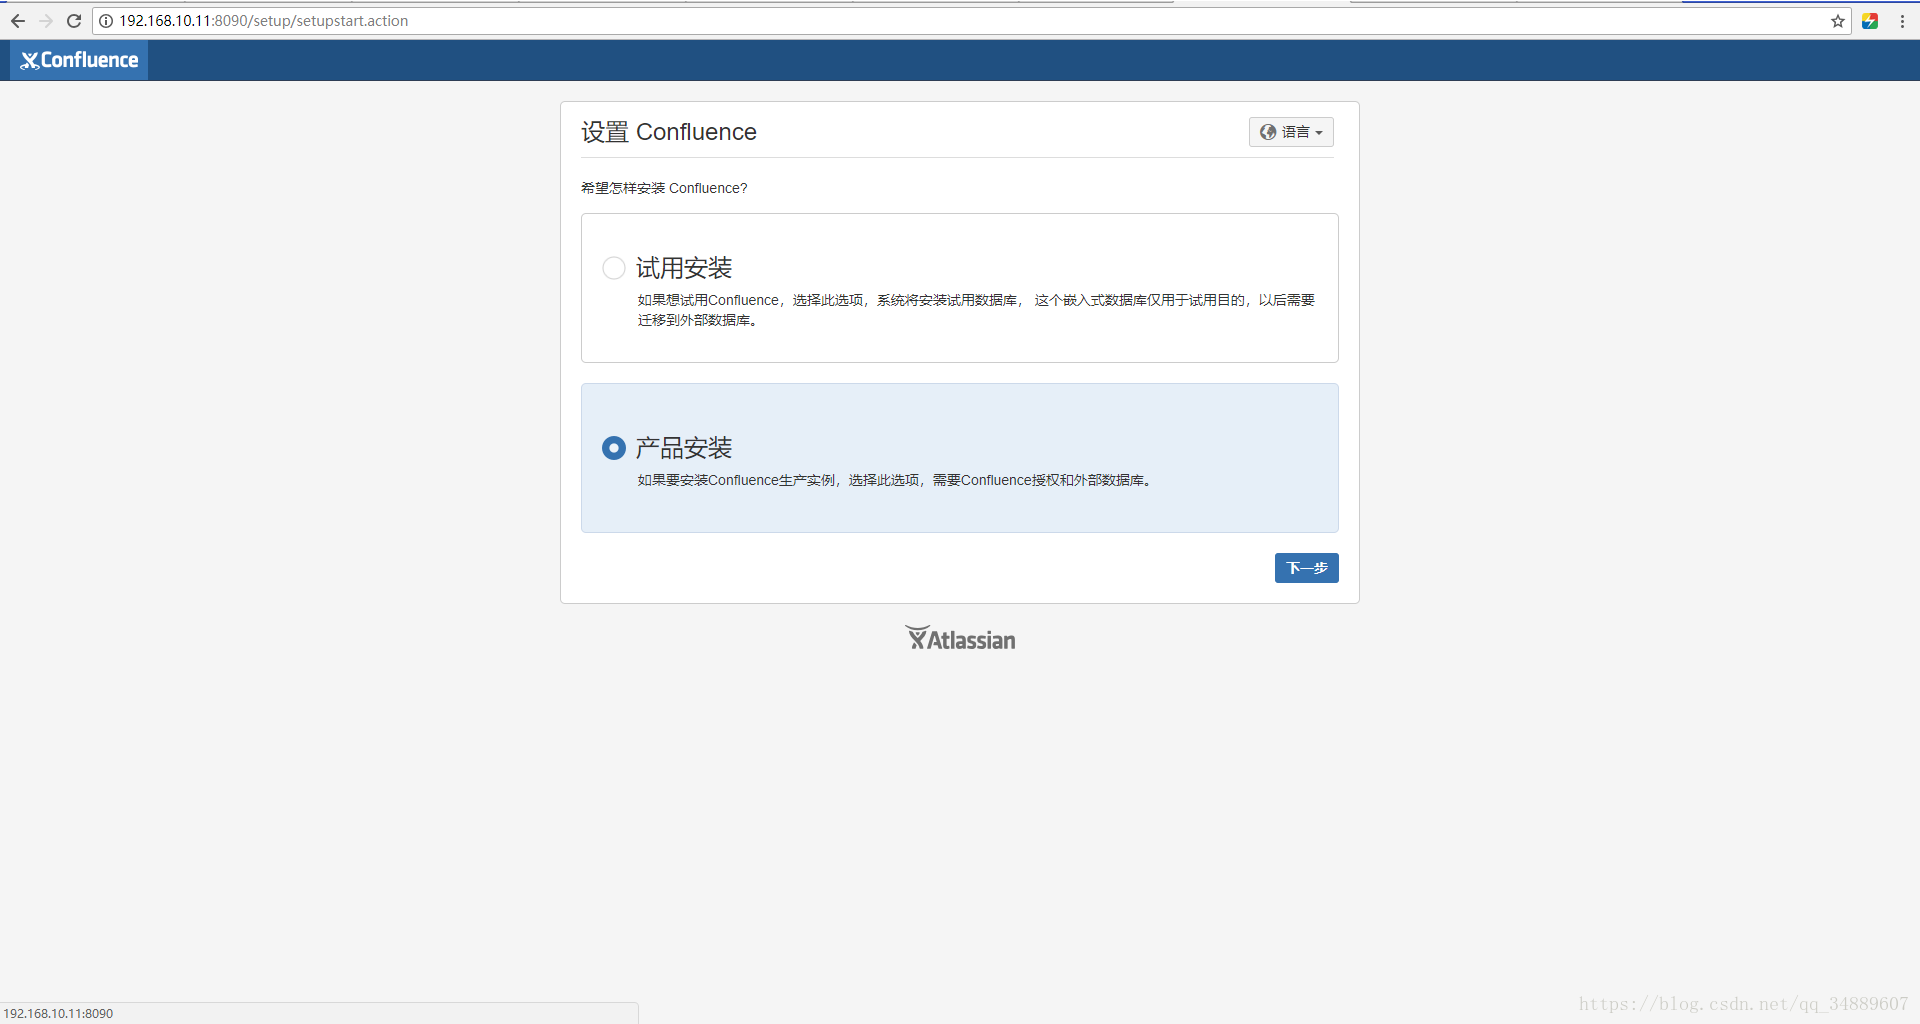
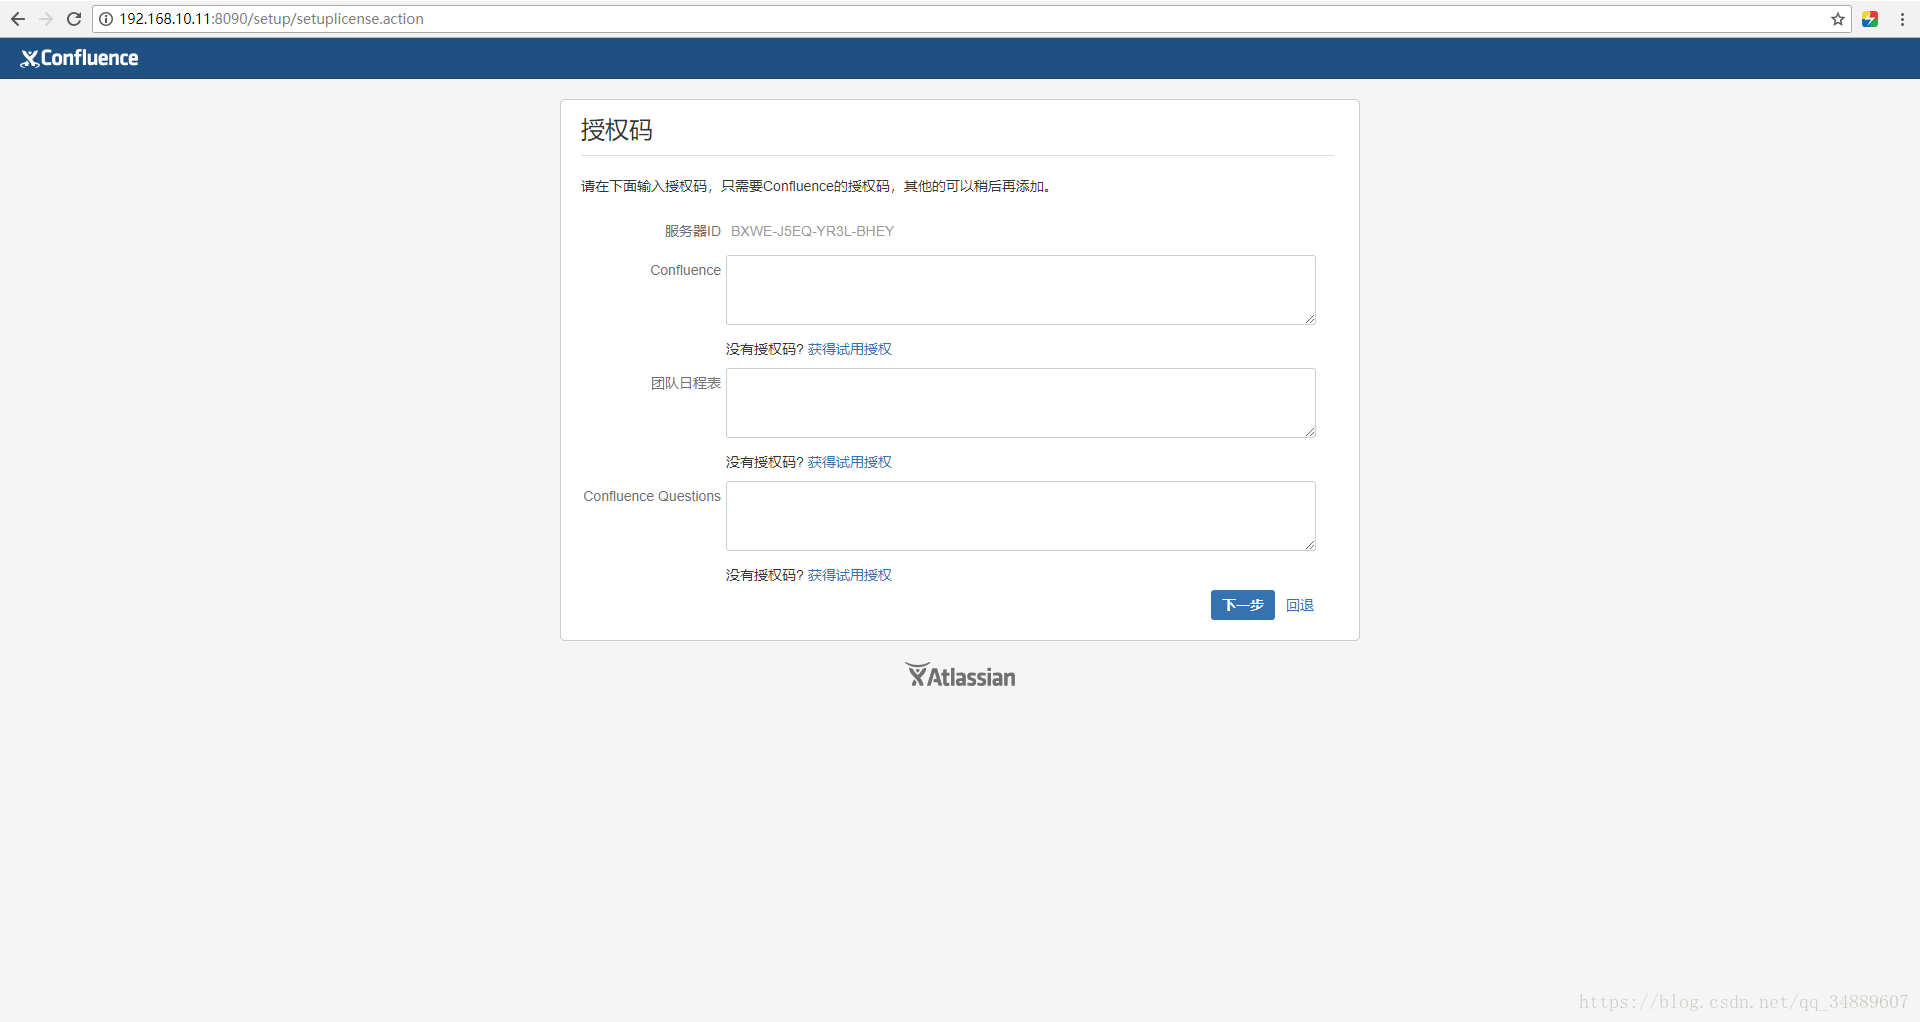
# 使用浏览器访问confluence:http://192.168.10.11:8090
# 因为个人实验 使用,没有授权码,先去破解一下,企业的话建议购买。
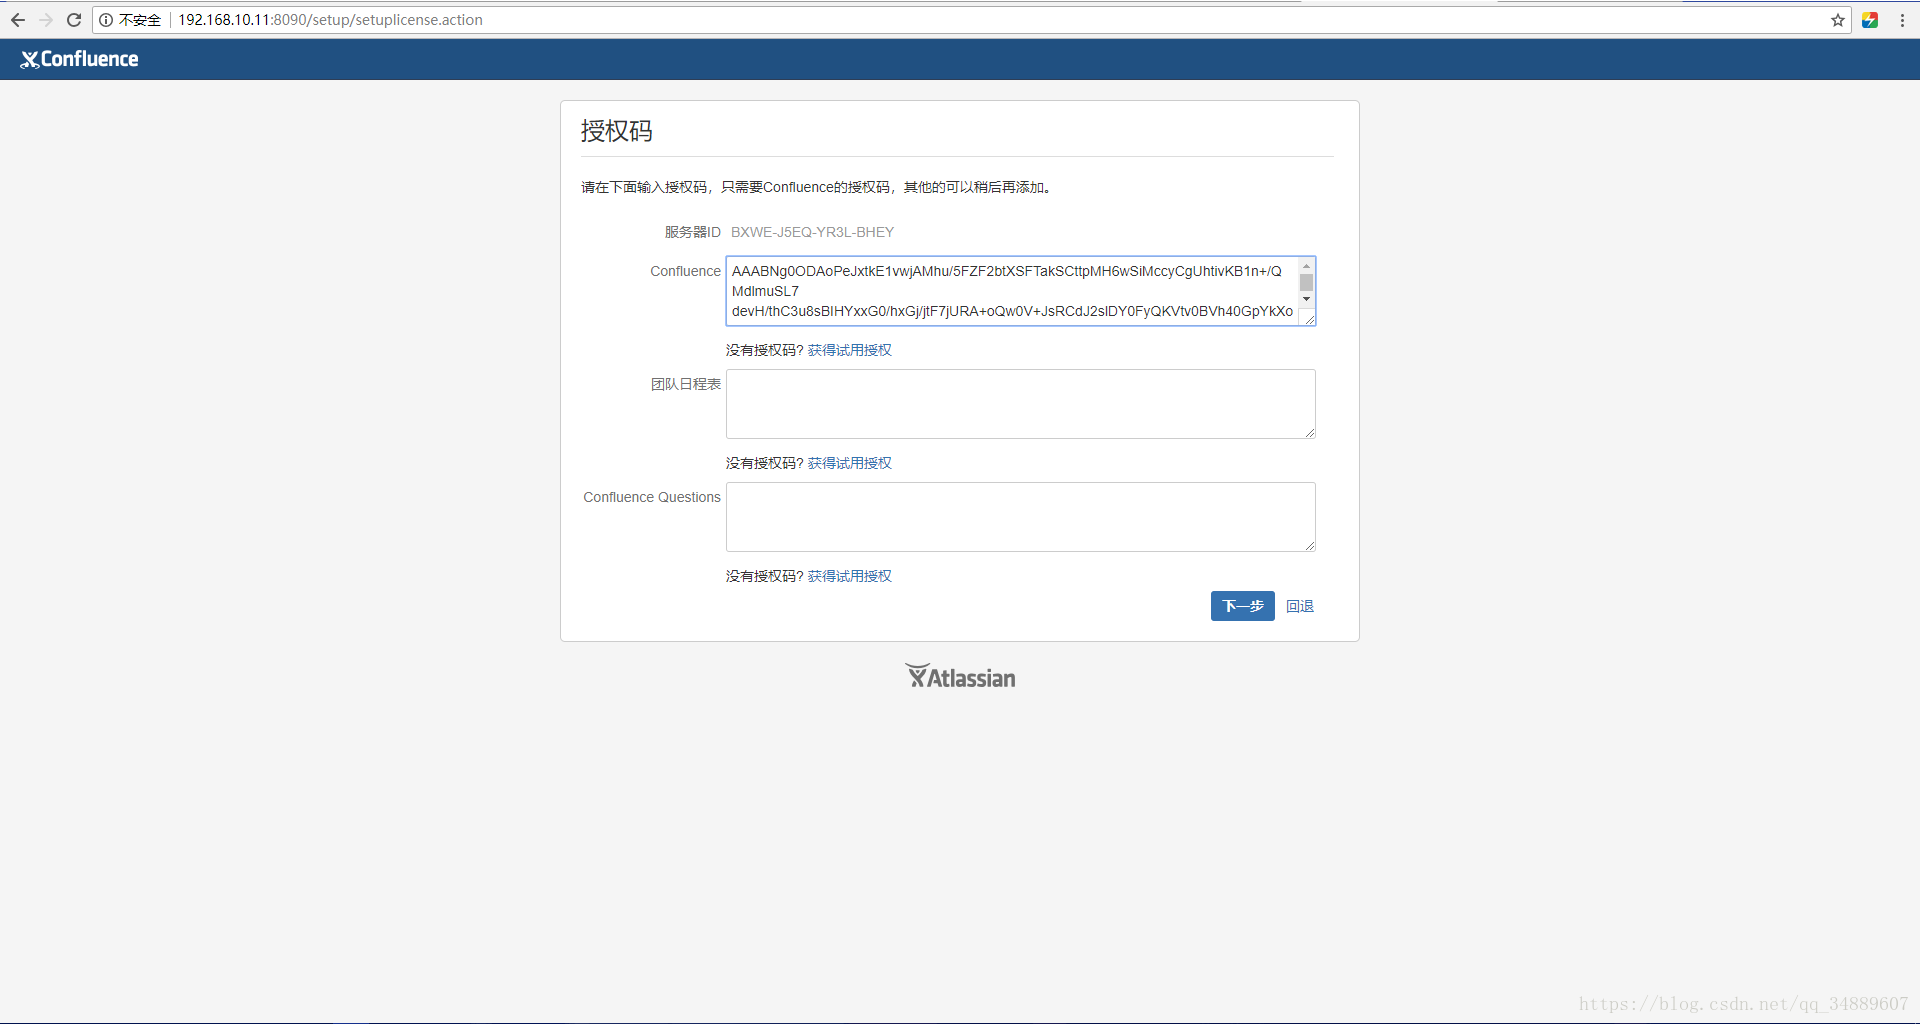
# 特别注意!!!先把上面的服务器ID复制下来,破解的时候要用。
6、破解confluence
# 先把“/opt/atlassian/confluence/confluence/WEB-INF/lib/atlassian-extras-decoder-v2-3.2.jar”这个文件拷贝到windows上面,改名为“atlassian-extras-2.4.jar”
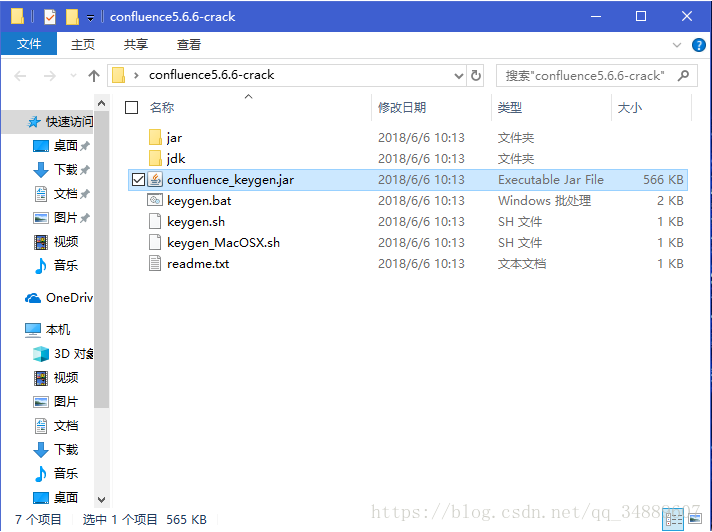
# 然后解压“confluence5.6.6-crack.zip”这个破解包,里面有个“confluence_keygen.jar”文件,打开。
# 注意:这个文件需要java环境才能打开。
# windows安装jdk及配置:https://blog.csdn.net/qq_34889607/article/details/80595651
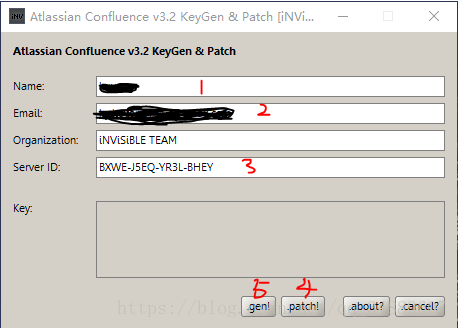
# Name和Email随意填,Organization默认的就好,Server ID就是刚才的服务器ID。
# 点击“.patch!”选择刚才拷贝到windows的文件“atlassian-extras-2.4.jar”,然后点击“.gen!”。
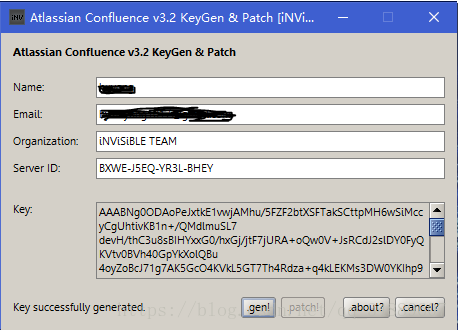
# 复制生成的key。
# 破解完成之后会生成一个新的“atlassian-extras-2.4.jar”文件
# 把新生成的“atlassian-extras-2.4.jar”文件拷贝到“/opt/atlassian/confluence/confluence/WEB-INF/lib/”下
# 并改名为“atlassian-extras-decoder-v2-3.2.jar”
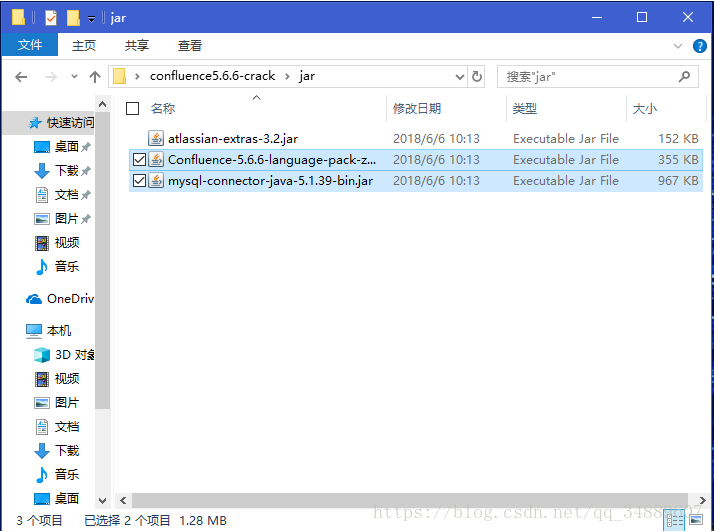
# 在“confluence5.6.6-crackjar”下有两个文件“Confluence-5.6.6-language-pack-zh_CN.jar”和“mysql-connector-java-5.1.39-bin.jar”
# 把这两个文件拷贝到“/opt/atlassian/confluence/confluence/WEB-INF/lib/”下
# 然后重新启动confluence
[root@centos7opt]# /etc/init.d/confluence restart
# 将刚才生成的key粘贴到这里。
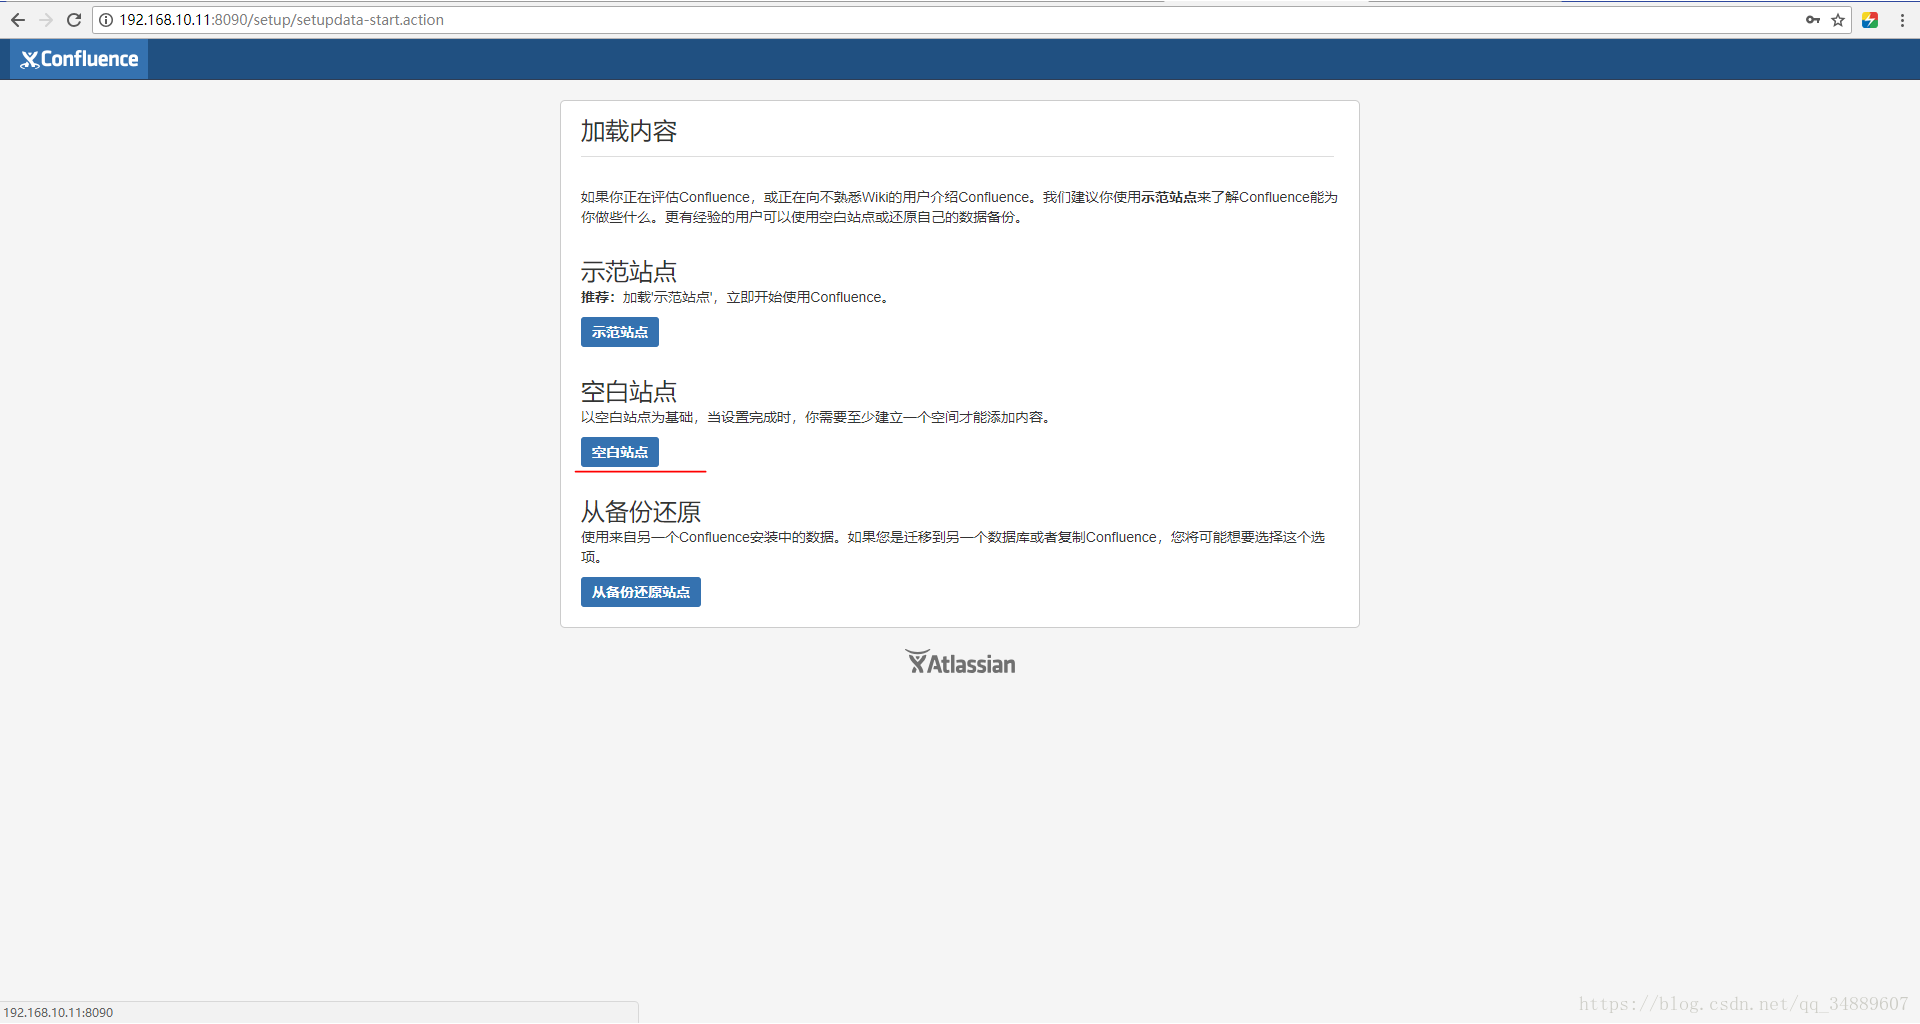
# 这个过程可能会有些漫长,毕竟第一次连接,用户名和密码就是刚才的“admin”和“admin”。
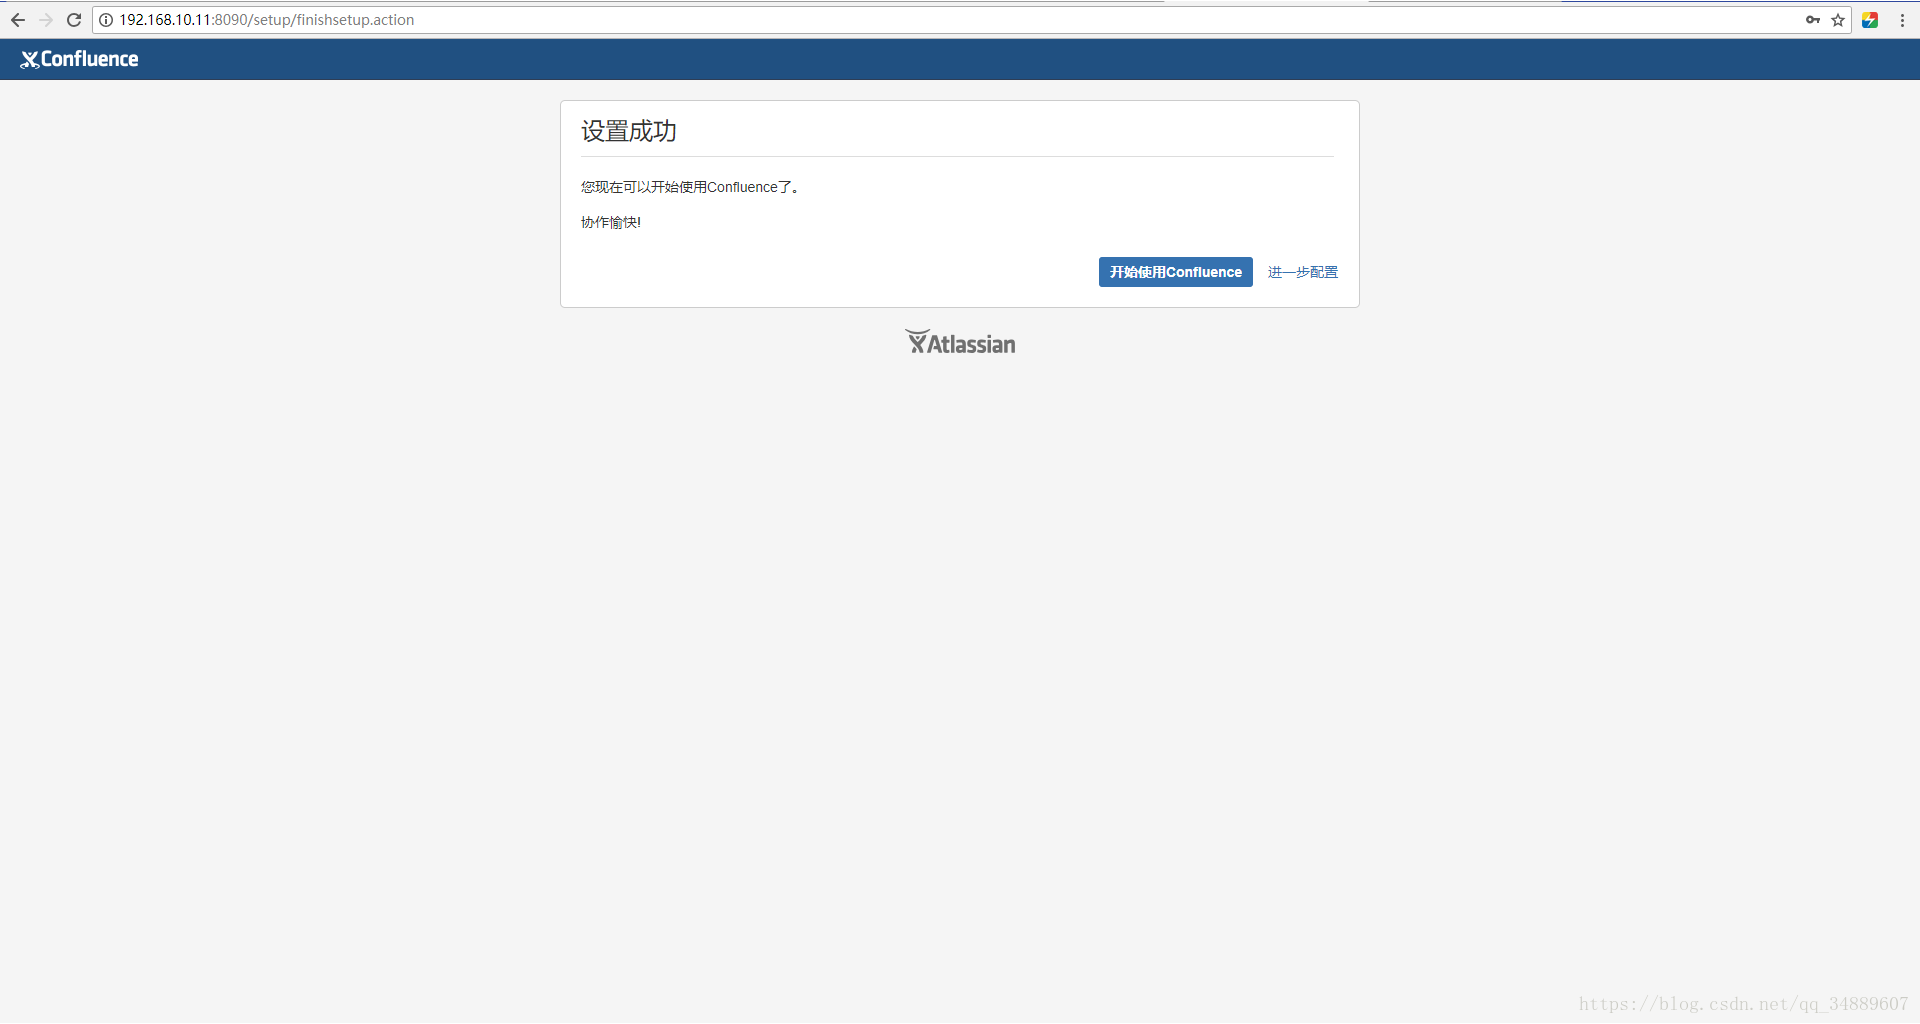
# 然后就可以开始使用了,至于使用教程,等我熟悉怎么使用了在考虑整理。
7、提示
# 如果在选择 外部数据库之后报错“confluence需要MySQL的驱动”
[root@centos7opt]# cp /opt/mysql-connector-java-5.0.8-bin.jar/opt/atlassian/confluence/confluence/WEB-INF/lib/
参考文档
confluence(6.10.0):https://blog.csdn.net/qq_34889607/article/details/81118106
如果觉得我的文章对您有用,请随意打赏。你的支持将鼓励我继续创作!